


5pcs XH-W1321 0.1 Digital thermostat Mini Embedded Red Digital Display Switch Temperature Controller with Waterproof NTC Sensor Meter
$48.34
Shipping:Standard Shipping about 10-25 business days
Secure Payment:Paypal,VISA,MasterCard
Specifications
Product Name:Miniature embedded digital display thermostat
Product Model:XH-1321
Material:ABS
Case Color:White
LED Color:Red
Input Voltage:DC12V
Temperature Measurement Range:-50-110→
Temperature Control Range:-50-110→
Control Accuracy:0.1→
Display Accuracy:0.1→
Measuring Input:NTC10K Waterproof Probe L=1 Meter
Output Type:Relay Output(Output Switch)
Output Capacity:10A
Size (Length x Width x Height):about 56 x 38 x 32mm (2.17 x 1.50 x 1.26 Inch )
Opening hole size:46 x 34mm
Key Function
SET:Press once during normal use, directly enter the stop temperature setting state, use the up and down keys to set the required stop temperature, long press to enter the internal setting menu.
UP:After long press the setting button to enter the internal setting, increase the value setting by the up button.
DOWN:After long press the setting button to enter the internal setting, use the up button to decrease the value setting.
Code:Description:Setting range (method):Factory settings
P0:Operating mode:H/C:C
P1:Backlash setting:0.1-50:2
P2:Temperature correction:-9.9~+9.9°C:0
P3:Delayed start:0-9:0
Detailed Code Descriptions
P0:Working mode:This value must be set when the thermostat is used for the first time. If it is used for heating heating, set to H, if it is used for cooling cooling, set to C.
P1:Hypothesis setting:Press and hold the setting button for 3 seconds to enter the internal menu, select P1, and press the setting button again to enter the hysteresis value setting state. The hysteresis is the difference required when the thermostat reaches the set temperature and stops working again. For example, it is set to the heating mode. When it is heated to 40 degrees, it stops at 35 degrees and starts to return. The difference is 5
P2:Temperature correction:Press and hold the setting button for 3 seconds to enter the internal menu. Press the up and down keys to select P2, press the setting button again, and set the required calibration temperature by the up and down keys. In the setting, if the detected temperature value is 0.5 °C larger than the actual temperature value, the calibration temperature to be set is -0.5 °C. If the detected temperature value is 1 °C smaller than the actual temperature value, the calibration temperature to be set is 1 °C, and the detection temperature +-calibration temperature = actual temperature.
P3:Delay start:Press and hold the setting button for 3 seconds to enter the internal menu, select P3 by the up and down keys, press the setting button again, and set the required delay time (minutes) by the up and down keys. The delay start is generally used for compressor refrigeration. If it is used in the refrigerator freezer, this value needs to be set. According to the compressor back pressure, the set value is usually 3-6 minutes, if it is not used to control the compressor or no delay. Function, skip this item directly.
Instructions
Set the difference back:Why set the backlash setting When you control the device, the temperature will rise or fall back. How many degrees does the temperature change If you want the temperature to change by 10°, the device needs to set the difference back to 10. By setting the difference back, the device can cycle through the temperature range.
Set the stop temperature:press the set button once in the normal display state to stop the temperature value flashing. You can set the desired stop temperature value by using the up and down keys.
How to set factory settings are restored:Press and hold the up and down keys while the power is on, the digital tube display 888 will then automatically jump to the detection temperature.
Heating mode setting method
Setup steps
The first step is to set P0=H
The second step sets the stop temperature
The third step sets the hysteresis value
Setting method
1. Press and hold the setting button to enter the internal menu and set P0 to H.
2. Press the setting button to stop the temperature flashing, and the up and down keys to set the temperature.
3. Press and hold the setting button to enter the internal menu and set the P1 hysteresis setting.
Use Cases
Control the water heater, heat it to 65 ° C to stop, the temperature drops back to 50 ° C and start heating again, how to set
Step 1:Determine the working mode as heating mode and set P0 to H
Step 2:Press the setting button to stop the temperature flashing. Set the starting temperature to 50 °C with the up and down keys.
The third step:stop at 65 °C, start again at 50 °C, so the return difference needs to be set to 65-50=15, enter the internal menu and set P1 to 15, the heating case is set!
Cooling mode setting mode
Setup steps
The first step is to set P0=C
The second step sets the stop temperature
The third step sets the hysteresis value
Setting method
Press and hold the setting button to enter the internal menu and set P0 to C.
Press the setting button to stop the temperature flashing, and the up and down keys to set the temperature.
Long press the setting button to enter the internal menu, set the P1 backlash setting
Use Cases
Control the farm, ventilate to 26 ° C to stop, the temperature rises to 28 ° C to start the refrigeration again, how to set up
The first step:determine the working mode is cooling mode, set P0 to C
Step 2:Press the SET button to stop the temperature flashing. Set the stop temperature to 28 °C with the up and down keys.
The third step:stop at 26 ° C, start again at 28 ° C, so the return difference needs to be set to 28-26 = 2, enter the internal menu to set P1 to 2, the cooling case is set!
Package includes
5 x Miniature embedded digital display thermostat
| Weight | 0.23 kg |
|---|
Related products
thermal Sensor Module Temperature Switch thermistor Sensor Board
$4.36Sensor & Detector ModuleAdd to cartUsesTemperature detection, temperature control sensors , ambient temperature detectionFeatures1. Using the NTC thermistor sensor, good sensitivity2. The comparator output signal is clean, good waveform, driving ability, more than 15mA.3. Adjust the temperature distribution position detection threshold4. The working voltage 3.3V-5V5. The output format:digital switching outputs ( 0 and 1 )6. Fixed bolt holes for easy …
thermal Sensor Module Temperature Switch thermistor Sensor BoardRead More
30pcs thermal Sensor Module Temperature Switch thermistor Sensor Board
$27.45Sensor & Detector ModuleAdd to cartUsesTemperature detection, temperature control sensors , ambient temperature detectionFeatures1. Using the NTC thermistor sensor, good sensitivity2. The comparator output signal is clean, good waveform, driving ability, more than 15mA.3. Adjust the temperature distribution position detection threshold4. The working voltage 3.3V-5V5. The output format:digital switching outputs ( 0 and 1 )6. Fixed bolt holes for easy …
30pcs thermal Sensor Module Temperature Switch thermistor Sensor BoardRead More
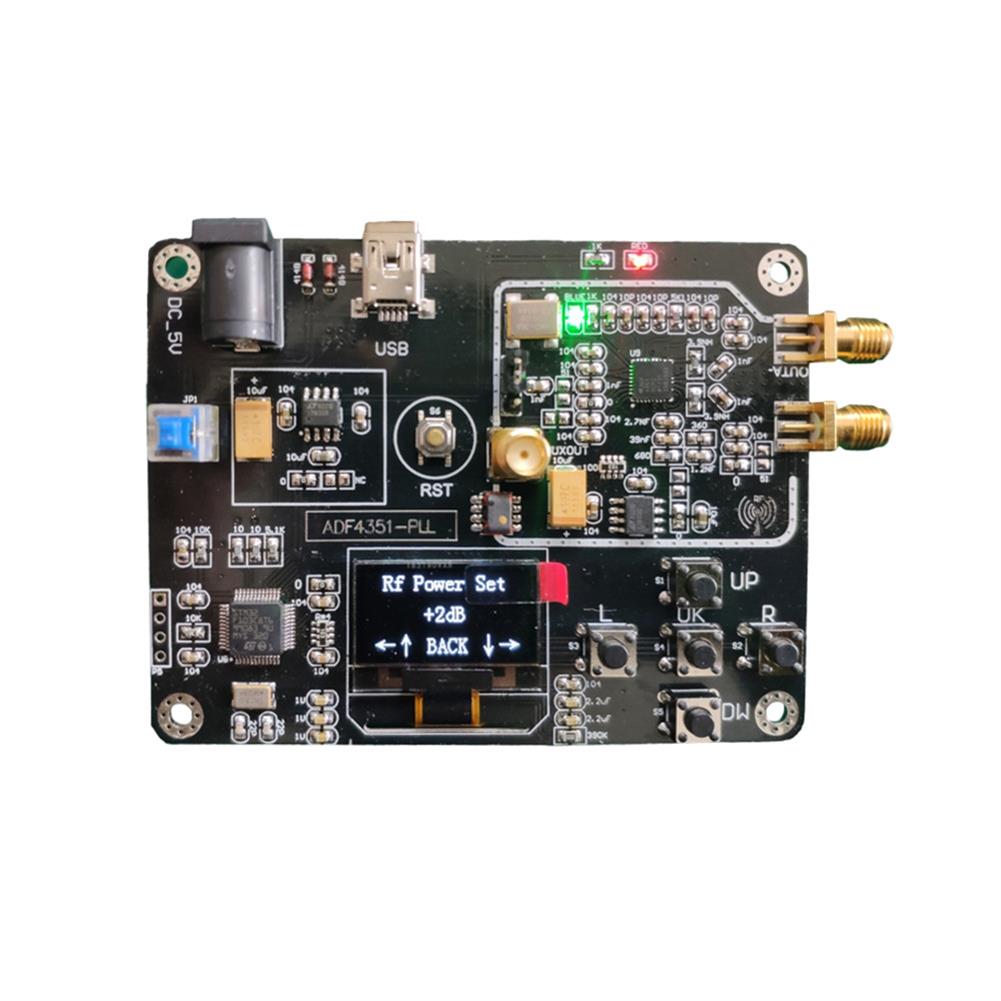
Geekcreit Signal Generator Module 35M-4.4GHz RF Signal Source Frequency Synthesizer ADF4351 Development Board
$54.66Sensor & Detector ModuleAdd to cartThe Source code:Click here to openSchematic:Click here to openHighlightsWith OLED displayHost computer USB & serial portIntegrated key operationWide range voltage supplyGood man-machine interface Many improvements on the phase noise, phase spurious and loop filterMuch enhancement on the power filter and ground processingModule can achieve 35MHz – 4.4GHz frequency output, point frequency, sweep, frequency hopping and …
3pcs thermal Sensor Module Temperature Switch thermistor Sensor Board
$5.49Sensor & Detector ModuleAdd to cartUsesTemperature detection, temperature control sensors , ambient temperature detectionFeatures1. Using the NTC thermistor sensor, good sensitivity2. The comparator output signal is clean, good waveform, driving ability, more than 15mA.3. Adjust the temperature distribution position detection threshold4. The working voltage 3.3V-5V5. The output format:digital switching outputs ( 0 and 1 )6. Fixed bolt holes for easy …
3pcs thermal Sensor Module Temperature Switch thermistor Sensor BoardRead More


Customers Also Viewed
KXYC-DY-CM5S-03 5S 21V Power Tool Protection Board 18.5V Lithium Electric Drill Protection Board
$10.11Battery Protection ModuleAdd to cartProduct parametersModel:KXYC-DY-CM5S-03Overcharge Voltage Range:4.25V ÷ 0.05VOverpressure Voltage Range:2.85V ÷ 0.05VUpper Limit Operating Current:18AUpper Limit Instantaneous Current:40AQuiescent CurrentCharging Voltage:21VSize:90.3 * 62 * 16mmWeight:28.2gBasic Functions:Overcharge, overdischarge, short circuit, overcurrent protectionPackage included1 x 5S Lithium Battery Protection Board
AS50A1 1.4W 5V Solar Panel Pump Fountain Pump Kit Pool Pond Watering Submersible Petals Fountain
$46.56Electrical Pump & ValveAdd to cartPackage included1 * Solar Panel with Pump4 * Fountain Nozzle1 * Nozzle Base1 * Connection Head1 * Outlet1 * Filter Sponge1 * User Manual (English)SpecificationsColor:BlackSolar Panel Material:Monocrystalline PET Laminated, FR-4 Glass Fiber BoardSolar Panel Voltage/Power:5V/1.4WBrushless Pump:Power Range:0.6~1.1W Input Voltage Range:DC 4.5-9V Starting Voltage:DC 4V No-load Voltage:DC 3V Load Current:165±15m Max. Flow:160±L/H Max Water Height:30~50cm Max …
3pcs 1.8 inch TFT LCD Display Module Color Screen SPI Serial Port 128*160
$32.97Display ScreenAdd to cartMore information, please check here:>>>Click here to openFeatureSize:1.8 inch SPI serial busResolution:128*160Driver IC:ST77351. Support various MCU in-line without any wiring2. Integrated voltage regulator IC, support 5V or 3.3V power supply3. On-board level conversion scheme, truly compatible with 5V/3.3V IO level, supporting various microcontroller IO connections4. Integrated SD card expansion circuit,5. Reserve SPI FLASH font circuit …
3pcs 1.8 inch TFT LCD Display Module Color Screen SPI Serial Port 128*160Read More
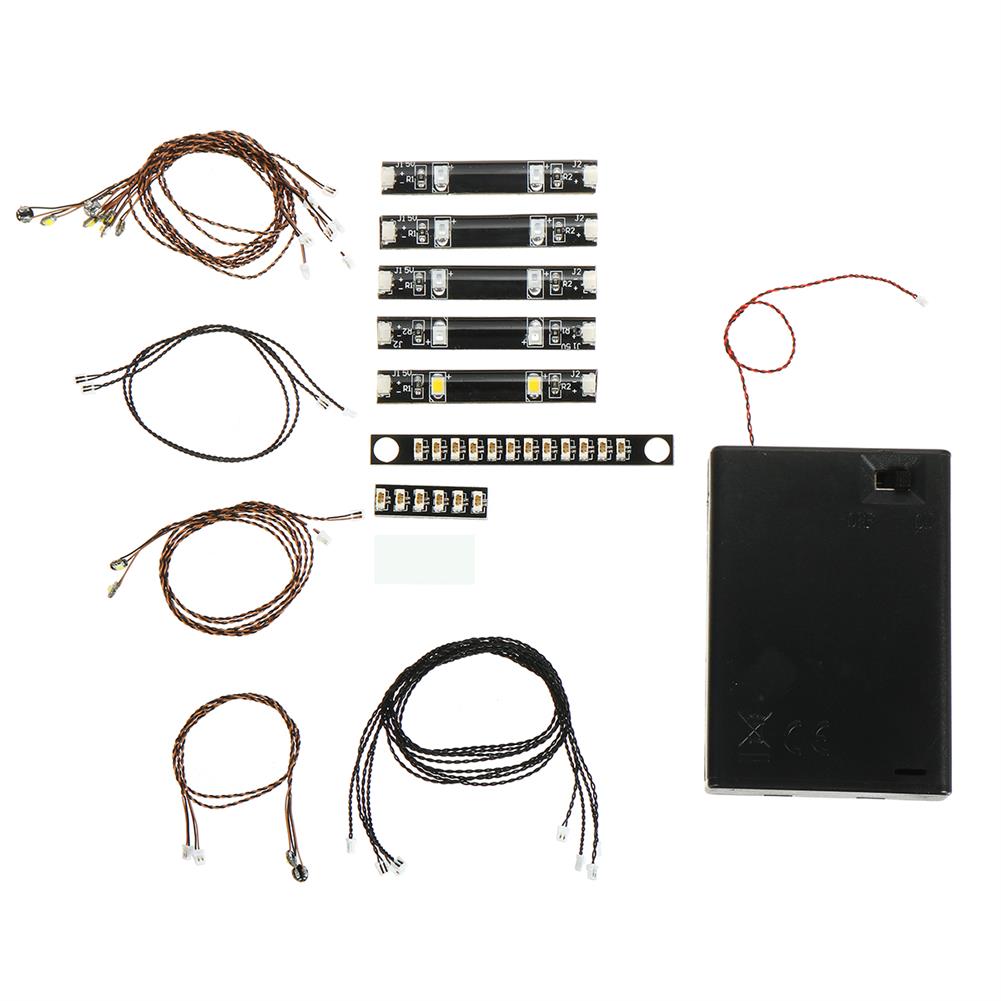
LED Light String Kit for Lego 42096 Technic for Porsche 911 RSR Bricks Toy Plastic
$40.01DIY Electronic KitsAdd to cartType Basic version Light Color White / Type Basic version Light Color Warm White / Type Upgrade Light Color White / Type Upgrade Light Color Warm White / Type Remote and Bulb Socket 220V Light Color White / Type Remote and Bulb Socket 220V Light Color Warm White
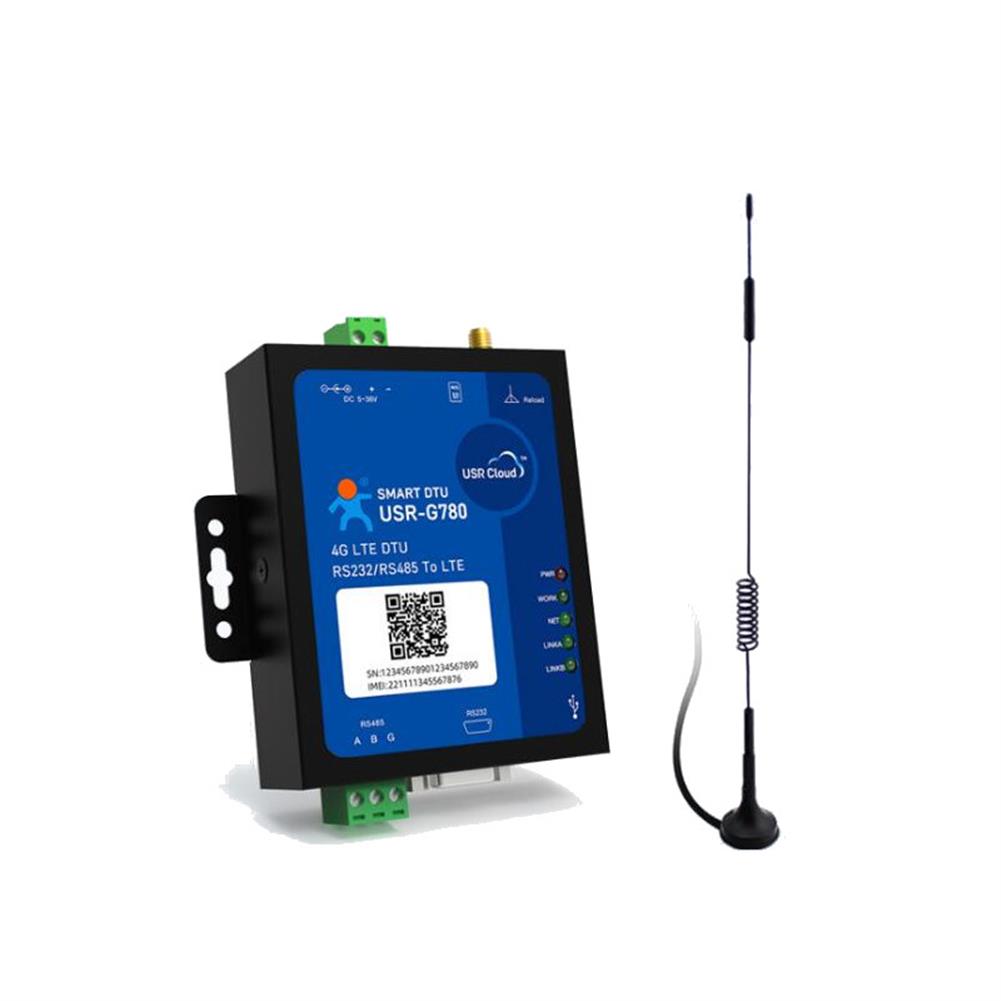
4G DTU Module Compatible with GPRS/3G Wireless DTU Data Transmission Equipment RS485/232 Transparent Transmission G780 V2
$169.65Network ModuleAdd to cartFeatureSheet:Project:IndexWireless parameters:Wireless standard:TDD-LTEFDD-LTEWCDMATD-SCDMAGSM/GPRS/EDGEStandard frequency band:TDD-LTE:Band 38/39/40/41FDD-LTE:Band 1/3/8WCDMA:Band 1/8TD-SCDMA:Band34/39GSM/GPRS/EDGE:Band3/8Transmit power:TDD-LTE:+23dBm(Power class 3)FDD-LTE:+23dBm(Power class 3)WCDMA:+23dBm(Power class 3)TD-SCDMA:+24dBm(Power class 2)GSM Band8:+33dBm(Power class 4)GSM Band3:+30dBm(Power class 1)Specifications:TDD-LTE:3GPP R9 CAT4 downlink 150 Mbps, uplink 50 MbpsFDD-LTE:3GPP R9 CAT4 downlink 150 Mbps, uplink 50 MbpsWCDMA:HSPA+ Downstream rate 21 Mbps Upstream rate 5.76 MbpsTD-SCDMA:3GPP R9 downlink rate 2.8 Mbps uplink rate 2.2 …
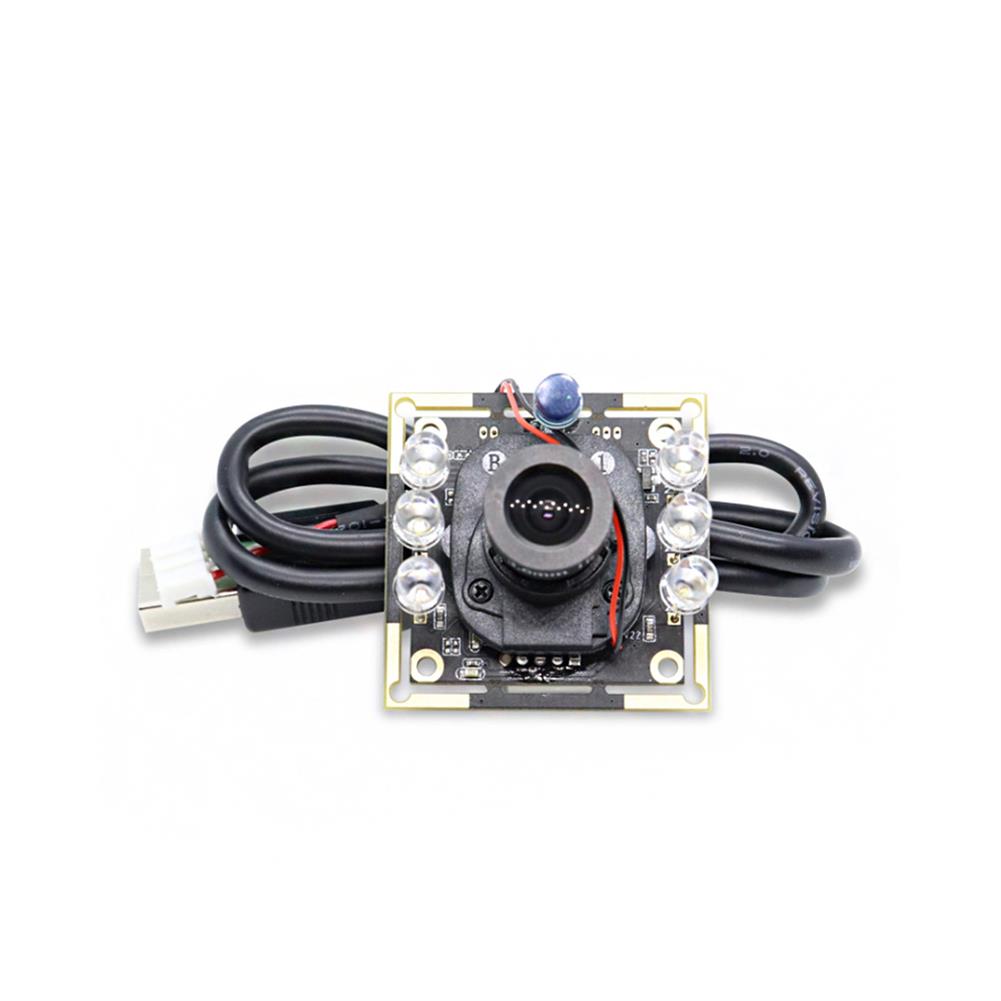
72 IR CUT 1MP OV9732 Mini Cmos Camera Module USB 2.0 Output
$40.45Other Module BoardAdd to cart>>>Manual:Click here to openSpecificationsTemperature (Stable Image):0C to 50CAssembly technique:SMT (ROSH)Focus:FixedResolution:600LW/PH (Center)PCB printing ink:Blackinterface:USB 2.0Power suuply:USB bus powersupply voltage:DC 5V÷5%Maximum Power consumption:840mWOperating system request:Win XP/win 7、8 / vista /android 4.0/ mac /Linux with uvcSensor:OV9732 (1/4” )Seneor Package:CSP,Bare DieMaximum resolution:1280*720Sensitivity:2066mV /(lux-sec)Pixel Size:3┢m x 3┢mMaximum Image Transfer RateMJPEG 320×180 30FPS / YUY2 320×240 20FPSMJPEG 320×240 30FPS / YUY2 …
72 IR CUT 1MP OV9732 Mini Cmos Camera Module USB 2.0 OutputRead More


Reviews
There are no reviews yet.