


3pcs XH-W1321 0.1 Digital thermostat Mini Embedded Red Digital Display Switch Temperature Controller with Waterproof NTC Sensor Meter
$30.89
Shipping:Standard Shipping about 10-25 business days
Secure Payment:Paypal,VISA,MasterCard
Specifications
Product Name:Miniature embedded digital display thermostat
Product Model:XH-1321
Material:ABS
Case Color:White
LED Color:Red
Input Voltage:DC12V
Temperature Measurement Range:-50-110→
Temperature Control Range:-50-110→
Control Accuracy:0.1→
Display Accuracy:0.1→
Measuring Input:NTC10K Waterproof Probe L=1 Meter
Output Type:Relay Output(Output Switch)
Output Capacity:10A
Size (Length x Width x Height):about 56 x 38 x 32mm (2.17 x 1.50 x 1.26 Inch )
Opening hole size:46 x 34mm
Key Function
SET:Press once during normal use, directly enter the stop temperature setting state, use the up and down keys to set the required stop temperature, long press to enter the internal setting menu.
UP:After long press the setting button to enter the internal setting, increase the value setting by the up button.
DOWN:After long press the setting button to enter the internal setting, use the up button to decrease the value setting.
Code:Description:Setting range (method):Factory settings
P0:Operating mode:H/C:C
P1:Backlash setting:0.1-50:2
P2:Temperature correction:-9.9~+9.9°C:0
P3:Delayed start:0-9:0
Detailed Code Descriptions
P0:Working mode:This value must be set when the thermostat is used for the first time. If it is used for heating heating, set to H, if it is used for cooling cooling, set to C.
P1:Hypothesis setting:Press and hold the setting button for 3 seconds to enter the internal menu, select P1, and press the setting button again to enter the hysteresis value setting state. The hysteresis is the difference required when the thermostat reaches the set temperature and stops working again. For example, it is set to the heating mode. When it is heated to 40 degrees, it stops at 35 degrees and starts to return. The difference is 5
P2:Temperature correction:Press and hold the setting button for 3 seconds to enter the internal menu. Press the up and down keys to select P2, press the setting button again, and set the required calibration temperature by the up and down keys. In the setting, if the detected temperature value is 0.5 °C larger than the actual temperature value, the calibration temperature to be set is -0.5 °C. If the detected temperature value is 1 °C smaller than the actual temperature value, the calibration temperature to be set is 1 °C, and the detection temperature +-calibration temperature = actual temperature.
P3:Delay start:Press and hold the setting button for 3 seconds to enter the internal menu, select P3 by the up and down keys, press the setting button again, and set the required delay time (minutes) by the up and down keys. The delay start is generally used for compressor refrigeration. If it is used in the refrigerator freezer, this value needs to be set. According to the compressor back pressure, the set value is usually 3-6 minutes, if it is not used to control the compressor or no delay. Function, skip this item directly.
Instructions
Set the difference back:Why set the backlash setting When you control the device, the temperature will rise or fall back. How many degrees does the temperature change If you want the temperature to change by 10°, the device needs to set the difference back to 10. By setting the difference back, the device can cycle through the temperature range.
Set the stop temperature:press the set button once in the normal display state to stop the temperature value flashing. You can set the desired stop temperature value by using the up and down keys.
How to set factory settings are restored:Press and hold the up and down keys while the power is on, the digital tube display 888 will then automatically jump to the detection temperature.
Heating mode setting method
Setup steps
The first step is to set P0=H
The second step sets the stop temperature
The third step sets the hysteresis value
Setting method
1. Press and hold the setting button to enter the internal menu and set P0 to H.
2. Press the setting button to stop the temperature flashing, and the up and down keys to set the temperature.
3. Press and hold the setting button to enter the internal menu and set the P1 hysteresis setting.
Use Cases
Control the water heater, heat it to 65 ° C to stop, the temperature drops back to 50 ° C and start heating again, how to set
Step 1:Determine the working mode as heating mode and set P0 to H
Step 2:Press the setting button to stop the temperature flashing. Set the starting temperature to 50 °C with the up and down keys.
The third step:stop at 65 °C, start again at 50 °C, so the return difference needs to be set to 65-50=15, enter the internal menu and set P1 to 15, the heating case is set!
Cooling mode setting mode
Setup steps
The first step is to set P0=C
The second step sets the stop temperature
The third step sets the hysteresis value
Setting method
Press and hold the setting button to enter the internal menu and set P0 to C.
Press the setting button to stop the temperature flashing, and the up and down keys to set the temperature.
Long press the setting button to enter the internal menu, set the P1 backlash setting
Use Cases
Control the farm, ventilate to 26 ° C to stop, the temperature rises to 28 ° C to start the refrigeration again, how to set up
The first step:determine the working mode is cooling mode, set P0 to C
Step 2:Press the SET button to stop the temperature flashing. Set the stop temperature to 28 °C with the up and down keys.
The third step:stop at 26 ° C, start again at 28 ° C, so the return difference needs to be set to 28-26 = 2, enter the internal menu to set P1 to 2, the cooling case is set!
Package includes
3 x Miniature embedded digital display thermostat
| Weight | 0.138 kg |
|---|
Related products
10pcs 6mA 3-100CM Adjustable infrared Digital Obstacle Avoidance Sensor Module
$64.02Sensor & Detector ModuleAdd to cartSpecificationsWorking voltage:DC 3.8V-5.5VWorking current (5V):typical current 6mAInput and output signals (3 lines):GND, VCC is power, and VCC is 3.8V-5.5VObstacle detection time (range from obstacle-free to obstacle-free or obstacle-free to obstacle-free)Working Principle:Sensors actively emit infrared light, according to reflected light detection, if detected obstacles, OUT foot output 0, otherwise 1.Detection distance (test environment, indoor, maximum power, …
10pcs 6mA 3-100CM Adjustable infrared Digital Obstacle Avoidance Sensor ModuleRead More
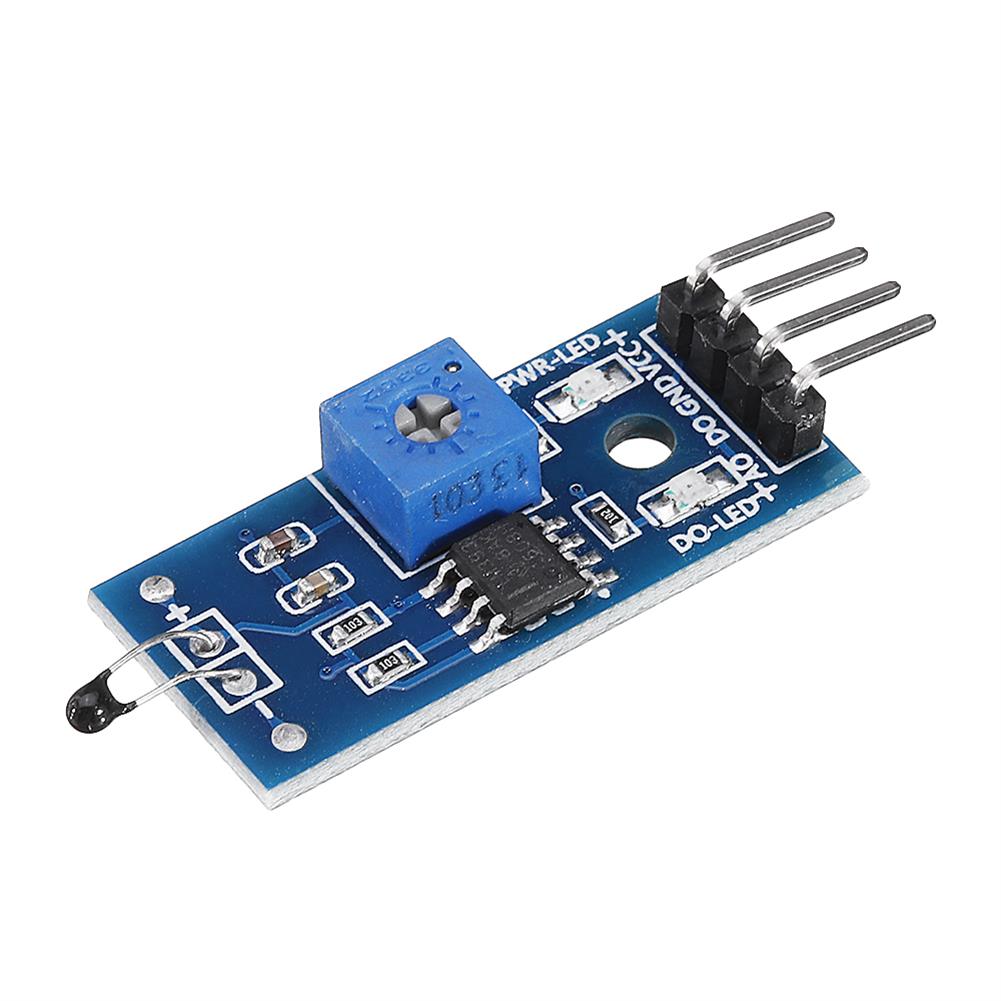
30pcs thermal Sensor Module Temperature Switch thermistor Sensor Board
$27.45Sensor & Detector ModuleAdd to cartUsesTemperature detection, temperature control sensors , ambient temperature detectionFeatures1. Using the NTC thermistor sensor, good sensitivity2. The comparator output signal is clean, good waveform, driving ability, more than 15mA.3. Adjust the temperature distribution position detection threshold4. The working voltage 3.3V-5V5. The output format:digital switching outputs ( 0 and 1 )6. Fixed bolt holes for easy …
30pcs thermal Sensor Module Temperature Switch thermistor Sensor BoardRead More
thermal Sensor Module Temperature Switch thermistor Sensor Board
$4.36Sensor & Detector ModuleAdd to cartUsesTemperature detection, temperature control sensors , ambient temperature detectionFeatures1. Using the NTC thermistor sensor, good sensitivity2. The comparator output signal is clean, good waveform, driving ability, more than 15mA.3. Adjust the temperature distribution position detection threshold4. The working voltage 3.3V-5V5. The output format:digital switching outputs ( 0 and 1 )6. Fixed bolt holes for easy …
thermal Sensor Module Temperature Switch thermistor Sensor BoardRead More
5pcs thermal Sensor Module Temperature Switch thermistor Sensor Board
$6.20Sensor & Detector ModuleAdd to cartUsesTemperature detection, temperature control sensors , ambient temperature detectionFeatures1. Using the NTC thermistor sensor, good sensitivity2. The comparator output signal is clean, good waveform, driving ability, more than 15mA.3. Adjust the temperature distribution position detection threshold4. The working voltage 3.3V-5V5. The output format:digital switching outputs ( 0 and 1 )6. Fixed bolt holes for easy …
5pcs thermal Sensor Module Temperature Switch thermistor Sensor BoardRead More


Customers Also Viewed
Assembled High Power Music Plasma Speaker Driver Board TL494 Singing Arc with Ignition Coil 24V DC
$109.34Other Module BoardAdd to cartDescriptionName:plasma speakerInput:24V DCSize:106 * 79mmAudio input:3.5MM for the audio equipment usedPackage Included1 x Assembled Music Plasma Speaker Driver Board
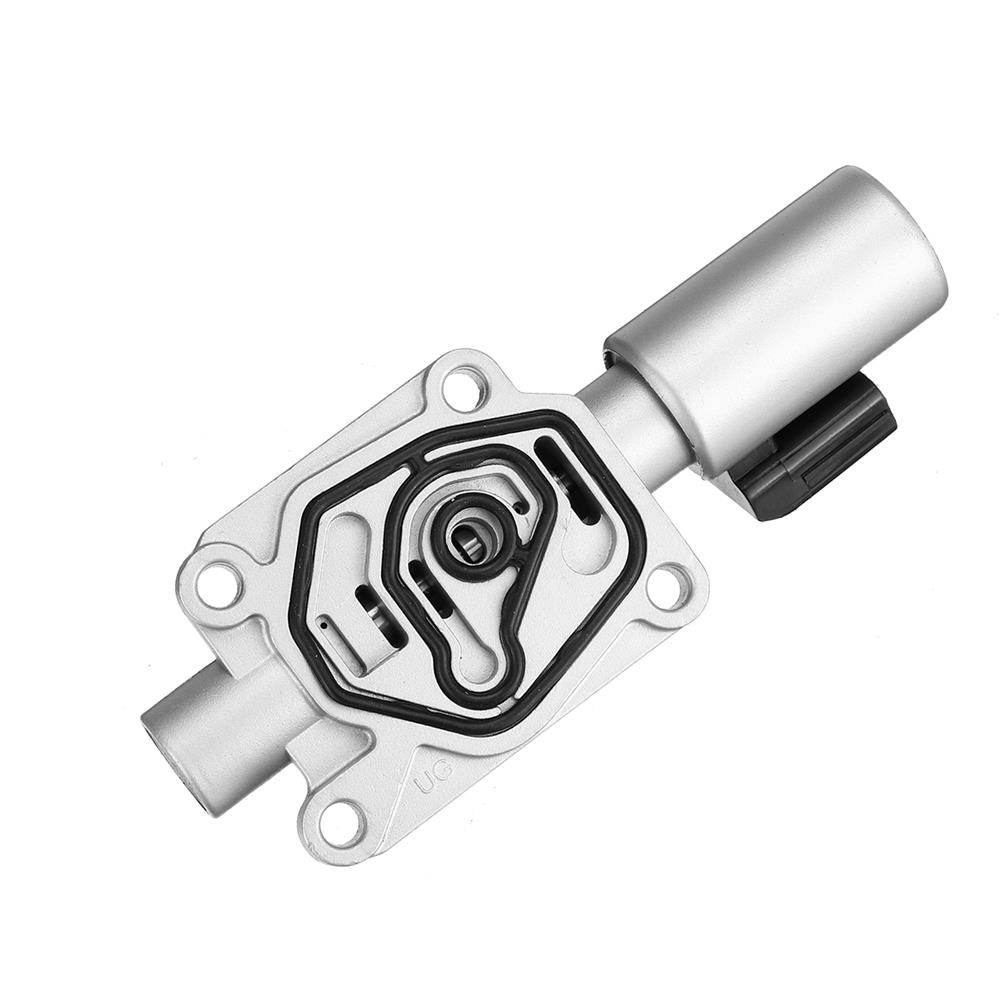
Single Linear Solenoid for Civic CR-V Acura integra 1.8L 2000-2001 28250-P4R-315
$91.08Other Module BoardAdd to cartFitmentFor Honda Civic 1996-2000For Honda CRV 1997-2001For Acura Integra 2000-2001SpecificationType:Single Linear SolenoidMaterial:MetalColor:As showsInterchange Part Number:Replacement for 28250-P4R-305Manufacturer Part Number:Replacement for 28250-P4R-315,28250-P4R-003Quantity:1 pcSize:14.5*6cmFeature-Easy to install.-Excellent mechanical stability and corrosion protection-Direct fit applicationPackage Included1 x Single Linear Solenoid
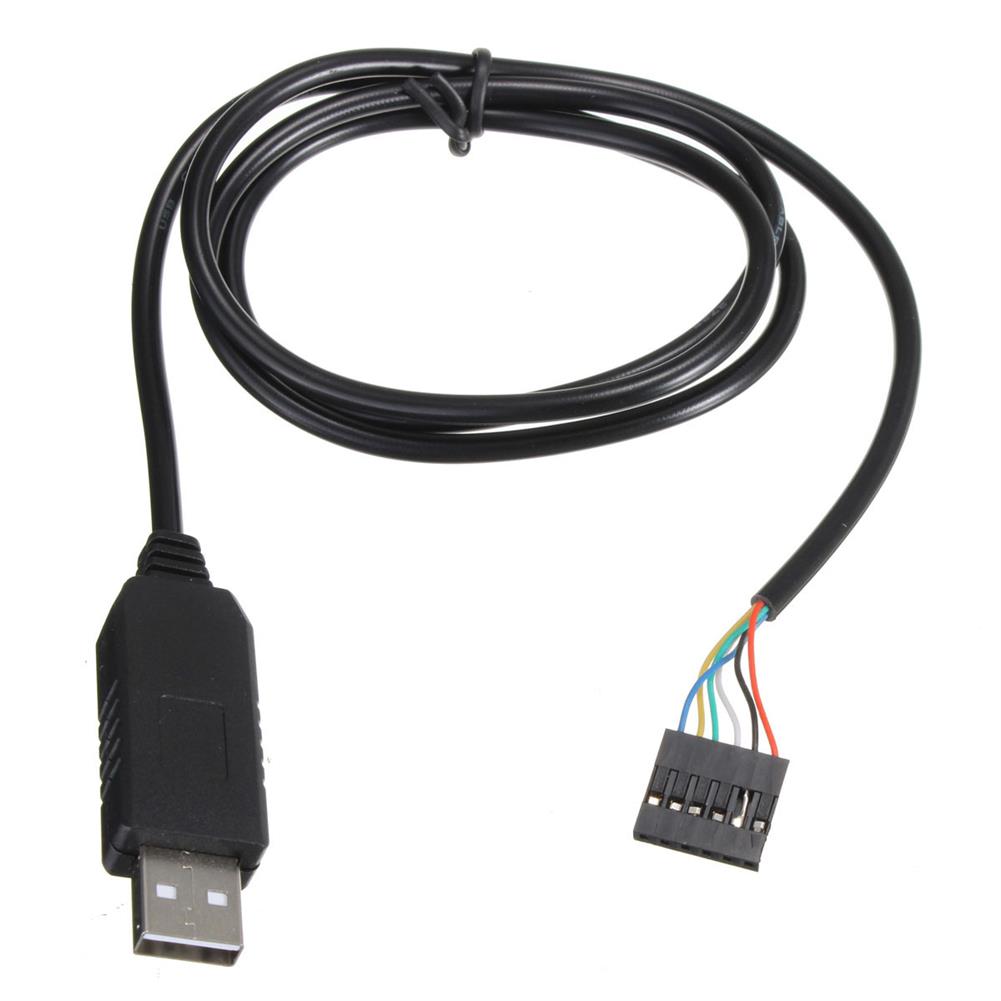
5pcs 6Pin FTDI FT232RL USB To Serial Adapter Module USB TO TTL RS232 Cable
$51.83Electronic Accessories & SuppliesAdd to cartFeaturesThe cables provide a fast, simple way to connect devices with a TTL level serial interface to USBThe cables are available with a 6-way SIL, 0.1inch connectorTTL levels is 3.3VThe TTL-232R cables are a family of USB to TTL serial UART converter cables incorporating FTD’s FT232RQ USB to SerialUART interface IC device which handles all …
5pcs 6Pin FTDI FT232RL USB To Serial Adapter Module USB TO TTL RS232 CableRead More
24V 10A 240W AC/DC Switching Power Supply industrial Equipment Motor Power Supply
$91.11Electrical DC Power SupplyAdd to cartSpecificationOutput voltage:24VOutput current:10ARated power:240WWork efficiency:87 (%)Output voltage accuracy:5%Voltage adjustment rate:5%Load adjustment rate:5%Product certification CE FCCFeatures* Pure copper transformer* The shell is made of original aluminum, strong and durable* High temperature resistance, environmental protection, fire retardant* The switching power supply is suitable for LCD, LED strip, motor, charging equipment, router, switch, color light, camera, monitoring equipment, …
24V 10A 240W AC/DC Switching Power Supply industrial Equipment Motor Power SupplyRead More
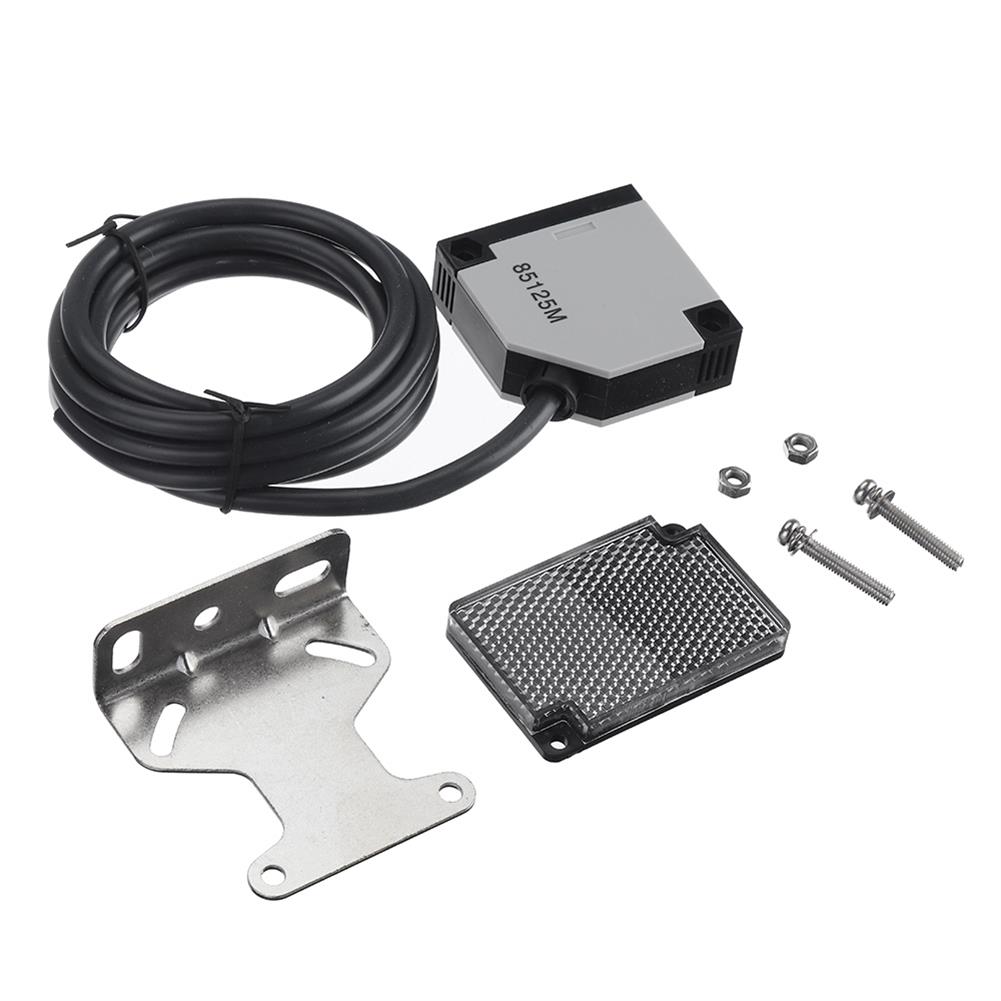
E3JK-R4M2 Retro-Reflective Dark-ON Pre-Wired Type Photoelectric Sensor Switch with E39-R1 Reflector DC 12-24V
$17.48Sensor & Detector ModuleAdd to cart>>>Manual:Click here to openFeatures– Small General-purpose Photoelectric Sensor with Built-in Power Supply– Built-in amplifier accepts wide supply voltage range.– Slim, space-saving construction measures only 50x 50 x 17.4 mm.– Relay outputs with long life expectancy and high switching capacity .– Polarized retroreflective type available for glossy or shiny object detection.SpecificationsDC Relay Output TypeModel:Dark-ON modePolarized light …
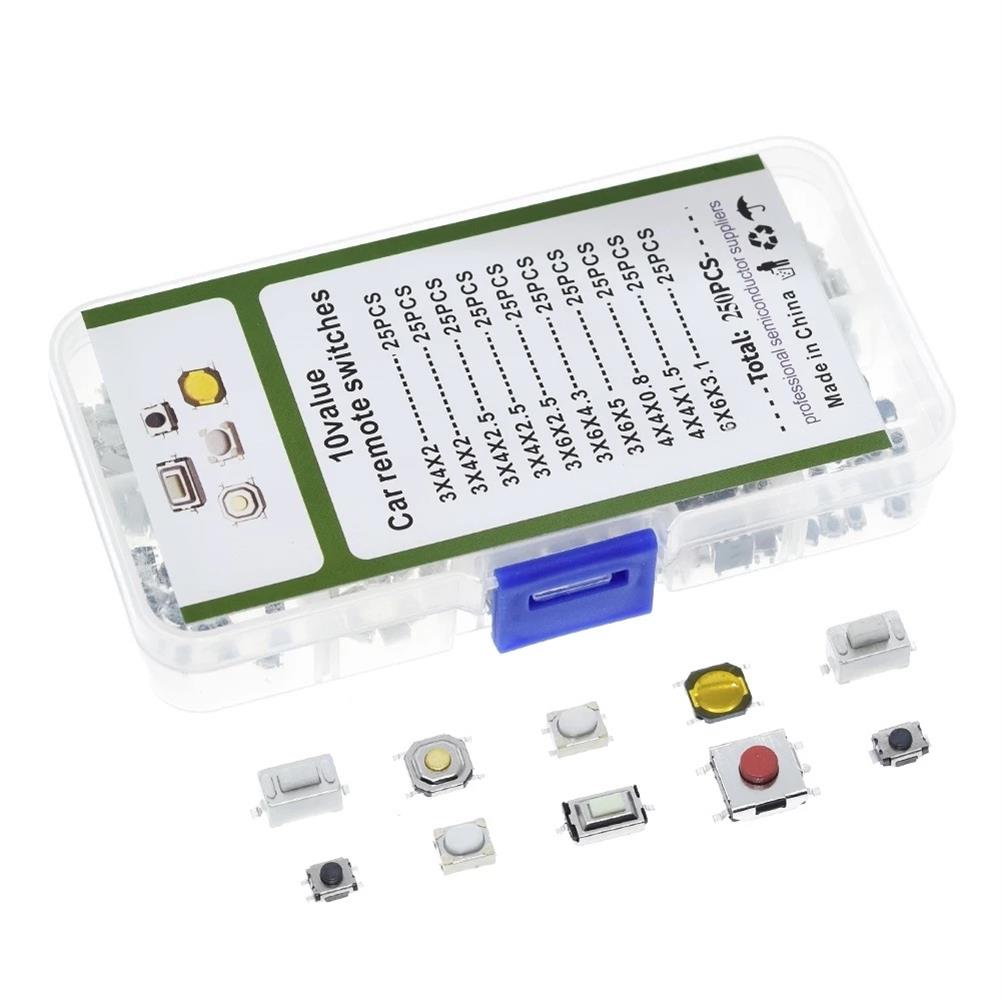
AOQDQDQD 250PCS 10 Values Tactile Push Button Touch Switch Remote Keys Button Microswitch
$16.19Electronic Accessories & SuppliesAdd to cartSpecificationMaterial:ALLOYSwitch Type:Touch On/Off SwitchWeight:49.35g250PCS 10 Values3 * 4 * 2.5 = 25PCS3 * 4 * 2.5 = 25PCS3 * 6 * 4.3 = 25PCS3 * 6 * 5 = 25PCS3 * 4 * 2 = 25PCS3 * 4 * 2 = 25PCS4 * 4 * 1.5 = 25PCS4 * 4 * 0.8 = 25PCS3 * …
AOQDQDQD 250PCS 10 Values Tactile Push Button Touch Switch Remote Keys Button MicroswitchRead More
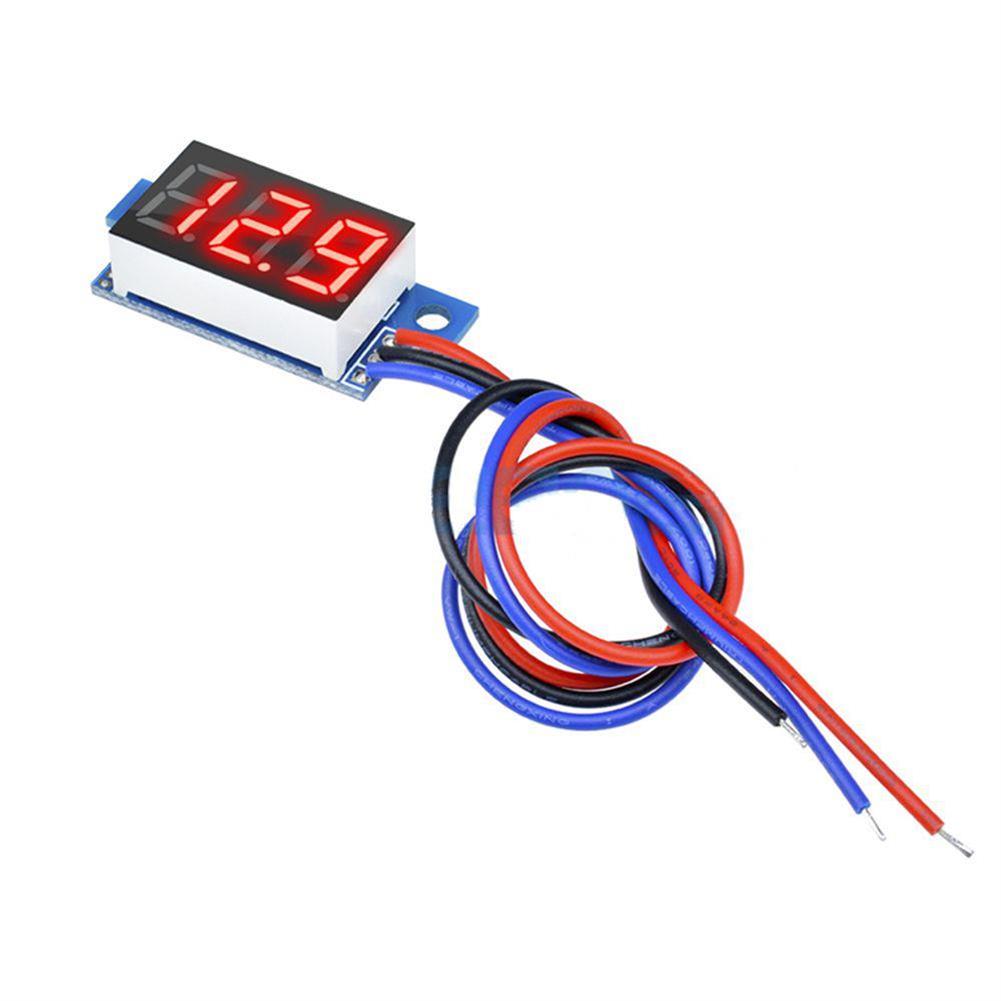
5Pcs Geekcreit DC 0-200V 0.36 inch Mini Digital Volt Meter Voltage Tester 3 Wire Digital Volt indicator Car Voltmeter
$14.50Test & Measuring ModuleAdd to cartSpecifiacationsMeasuring range:0.0V-200VMeasurement accuracy:0.1%Refresh rate:about 200ms onceDisplay mode:three 0.36′ digital tubePower supply range:4V-30VWorking current:less than 8mADisplay color:RedStorage temperature:-10 C to +65 CInput impedance:approximately 100KSize:35x14x10mmNOTEPlease confirm that the measured voltage is within the measurement range of this meter. Exceeding the range may cause damage to the meter.Package Included5 x 0.36 Inch DC 0-200V Mini Digital Volt Meter

Reviews
There are no reviews yet.