


3pcs XH-W1321 0.1 Digital thermostat Mini Embedded Blue Digital Display Switch Temperature Controller with Waterproof NTC Sensor Meter
$30.89
Shipping:Standard Shipping about 10-25 business days
Secure Payment:Paypal,VISA,MasterCard
Specifications
Product Name:Miniature embedded digital display thermostat
Product Model:XH-1321
Material:ABS
Case Color:White
LED Color:Blue
Input Voltage:DC12V
Temperature Measurement Range:-50-110→
Temperature Control Range:-50-110→
Control Accuracy:0.1→
Display Accuracy:0.1→
Measuring Input:NTC10K Waterproof Probe L=1 Meter
Output Type:Relay Output(Output Switch)
Output Capacity:10A
Size (Length x Width x Height):about 56 x 38 x 32mm (2.17 x 1.50 x 1.26 Inch )
Opening hole size:46 x 34mm
Key Function
SET:Press once during normal use, directly enter the stop temperature setting state, use the up and down keys to set the required stop temperature, long press to enter the internal setting menu.
UP:After long press the setting button to enter the internal setting, increase the value setting by the up button.
DOWN:After long press the setting button to enter the internal setting, use the up button to decrease the value setting.
Code:Description:Setting range (method):Factory settings
P0:Operating mode:H/C:C
P1:Backlash setting:0.1-50:2
P2:Temperature correction:-9.9~+9.9°C:0
P3:Delayed start:0-9:0
Detailed Code Descriptions
P0:Working mode:This value must be set when the thermostat is used for the first time. If it is used for heating heating, set to H, if it is used for cooling cooling, set to C.
P1:Hypothesis setting:Press and hold the setting button for 3 seconds to enter the internal menu, select P1, and press the setting button again to enter the hysteresis value setting state. The hysteresis is the difference required when the thermostat reaches the set temperature and stops working again. For example, it is set to the heating mode. When it is heated to 40 degrees, it stops at 35 degrees and starts to return. The difference is 5
P2:Temperature correction:Press and hold the setting button for 3 seconds to enter the internal menu. Press the up and down keys to select P2, press the setting button again, and set the required calibration temperature by the up and down keys. In the setting, if the detected temperature value is 0.5 °C larger than the actual temperature value, the calibration temperature to be set is -0.5 °C. If the detected temperature value is 1 °C smaller than the actual temperature value, the calibration temperature to be set is 1 °C, and the detection temperature +-calibration temperature = actual temperature.
P3:Delay start:Press and hold the setting button for 3 seconds to enter the internal menu, select P3 by the up and down keys, press the setting button again, and set the required delay time (minutes) by the up and down keys. The delay start is generally used for compressor refrigeration. If it is used in the refrigerator freezer, this value needs to be set. According to the compressor back pressure, the set value is usually 3-6 minutes, if it is not used to control the compressor or no delay. Function, skip this item directly.
Instructions
Set the difference back:Why set the backlash setting When you control the device, the temperature will rise or fall back. How many degrees does the temperature change If you want the temperature to change by 10°, the device needs to set the difference back to 10. By setting the difference back, the device can cycle through the temperature range.
Set the stop temperature:press the set button once in the normal display state to stop the temperature value flashing. You can set the desired stop temperature value by using the up and down keys.
How to set factory settings are restored:Press and hold the up and down keys while the power is on, the digital tube display 888 will then automatically jump to the detection temperature.
Heating mode setting method
Setup steps
The first step is to set P0=H
The second step sets the stop temperature
The third step sets the hysteresis value
Setting method
1. Press and hold the setting button to enter the internal menu and set P0 to H.
2. Press the setting button to stop the temperature flashing, and the up and down keys to set the temperature.
3. Press and hold the setting button to enter the internal menu and set the P1 hysteresis setting.
Use Cases
Control the water heater, heat it to 65 ° C to stop, the temperature drops back to 50 ° C and start heating again, how to set
Step 1:Determine the working mode as heating mode and set P0 to H
Step 2:Press the setting button to stop the temperature flashing. Set the starting temperature to 50 °C with the up and down keys.
The third step:stop at 65 °C, start again at 50 °C, so the return difference needs to be set to 65-50=15, enter the internal menu and set P1 to 15, the heating case is set!
Cooling mode setting mode
Setup steps
The first step is to set P0=C
The second step sets the stop temperature
The third step sets the hysteresis value
Setting method
Press and hold the setting button to enter the internal menu and set P0 to C.
Press the setting button to stop the temperature flashing, and the up and down keys to set the temperature.
Long press the setting button to enter the internal menu, set the P1 backlash setting
Use Cases
Control the farm, ventilate to 26 ° C to stop, the temperature rises to 28 ° C to start the refrigeration again, how to set up
The first step:determine the working mode is cooling mode, set P0 to C
Step 2:Press the SET button to stop the temperature flashing. Set the stop temperature to 28 °C with the up and down keys.
The third step:stop at 26 ° C, start again at 28 ° C, so the return difference needs to be set to 28-26 = 2, enter the internal menu to set P1 to 2, the cooling case is set!
Package includes
3 x Miniature embedded digital display thermostat
| Weight | 0.132 kg |
|---|
Related products
3pcs 6mA 3-100CM Adjustable infrared Digital Obstacle Avoidance Sensor Module
$20.45Sensor & Detector ModuleAdd to cartSpecificationsWorking voltage:DC 3.8V-5.5VWorking current (5V):typical current 6mAInput and output signals (3 lines):GND, VCC is power, and VCC is 3.8V-5.5VObstacle detection time (range from obstacle-free to obstacle-free or obstacle-free to obstacle-free)Working Principle:Sensors actively emit infrared light, according to reflected light detection, if detected obstacles, OUT foot output 0, otherwise 1.Detection distance (test environment, indoor, maximum power, …
3pcs 6mA 3-100CM Adjustable infrared Digital Obstacle Avoidance Sensor ModuleRead More
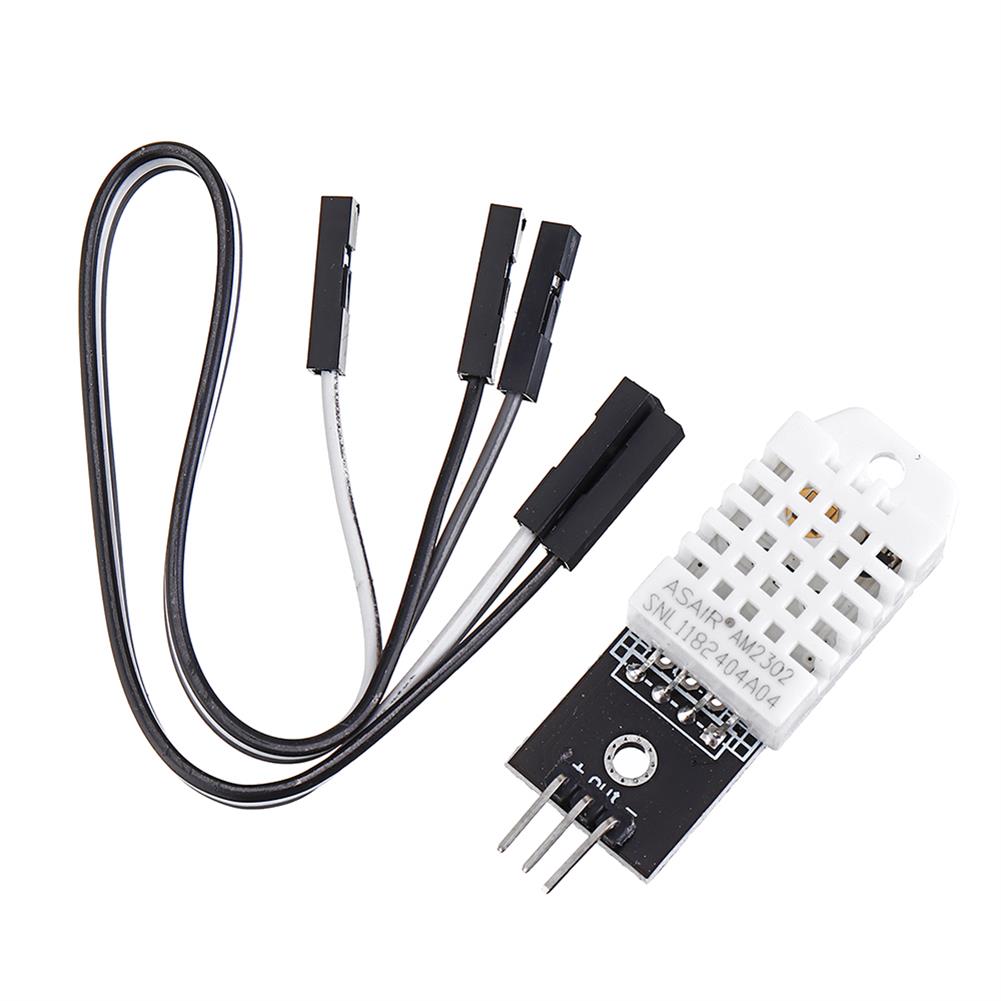
DHT22 Single-bus Digital Temperature and Humidity Sensor Module Electronic Building Blocks AM2302 3.3V-5V DC
$13.11Sensor & Detector ModuleAdd to cartSpecificationsWorking voltage:3 V – 5.5 VSignal output form:digital signalTemperature measurement range:- 40°c to 80°cMeasuring accuracy:0.5°cThe humidity measuring range:0-100% RHMeasuring accuracy:2% RHResolution:16With fixed screw holes, convenient installation and fixation. Diameter of 2.6 mmSize:28.2 x 13.1×10 mm Pininch+inch:positiveinch-inch:the power of anodeinchOutinch:the microcontroller IO portPackage Included1 x DHT22 Temperature Humidity Module1 x Cable
3pcs thermal Sensor Module Temperature Switch thermistor Sensor Board
$5.49Sensor & Detector ModuleAdd to cartUsesTemperature detection, temperature control sensors , ambient temperature detectionFeatures1. Using the NTC thermistor sensor, good sensitivity2. The comparator output signal is clean, good waveform, driving ability, more than 15mA.3. Adjust the temperature distribution position detection threshold4. The working voltage 3.3V-5V5. The output format:digital switching outputs ( 0 and 1 )6. Fixed bolt holes for easy …
3pcs thermal Sensor Module Temperature Switch thermistor Sensor BoardRead More


Customers Also Viewed
5Pcs MAX7219 Dot Matrix Module MCU LED Control Module Kit
$26.64Other Module BoardAdd to cartSpecificationsA single module can drive an 8 x 8 common cathode latticeOperating voltage:5VSize:5 x 3.2 x 1.5 cm (L x W x H)LED color:RedWith four screws hole, aperture 3mmWith input and output interfaces, supports multiple modules cascadeWiring instructions1. The module left side as an input port and the output port on the right2. To control …
5Pcs MAX7219 Dot Matrix Module MCU LED Control Module KitRead More
Geekcreit DIY Electronics Basic Starter Kit Breadboard Jumper Wires Resistors Buzzer for UNO R3 Mega2560
$35.71DIY Electronic KitsAdd to cartPackage included1 x power supply module1 x 400 hole breadboard1 x small resistor card1 x 90 degree 40 pin header1 x 40-pin header1 x 9V battery connection for Ardunio1 x 65 jumper wire1 x active buzzer1 x passive buzzer1 x relay3 x 10k adjustable potentiometer3 x 10k potentiometer1 x 10k adjustable potentiometer5 x 100uf electrolytic …
TDA2030A 2.1 Stereo Audio Amplifier 3 Channel Subwoofer Amplifier Board
$22.38Amplifier BoardAdd to cartNote:This is a DIY kit, you need to assemble it.FeaturesProduct name:2.1 Audio amplifier boardAdjustment type:Master Volume + Treble + BassChip selection:TDA2030APower range:AC8-18V * 2Recommended power:AC12V * 2 30WPCB material:FR-4 fiberglass boardChannel type:Stereo + SubwooferLeft and right channel:TDA2030Ax2Bass output:TDA2030Ax1Quiescent current:60MA (AC12V time)Signal to noise ratio:85%Recommended speaker:30-100WInput impedance:2K-3KOutput impedance:4-16ΩOutput power:18W +18 W (4-6 inch,4-8Ω speaker) + 20-70W …
TDA2030A 2.1 Stereo Audio Amplifier 3 Channel Subwoofer Amplifier BoardRead More
STM32F103ZET6 Core Board Minimum System Board STM32 Development Board ARM Learning Board Cortex-M3
$27.26Motherboard & Development BoardAdd to cart>>>Manual:Click here to openOverviewThis is based on STM32F103ZET6 as the main chip, crystal oscillator circuit, reset circuit and program programming circuit to form the ARM system core board. The reasonable circuit design ensures that the MCU can work. The EEPROM peripheral has been extended on this basis. The SPF reserves NandFLash and SRAM peripheral pads, …
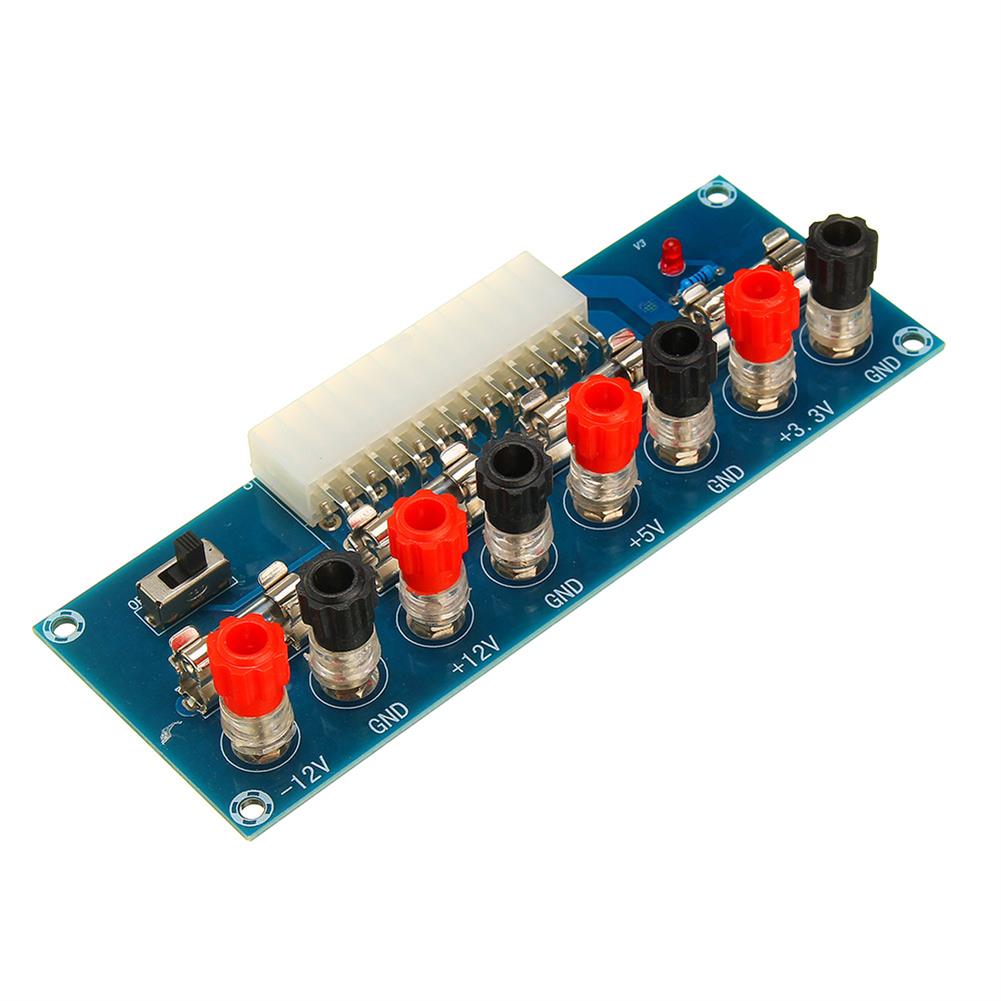
10pcs XH-M229 Desktop Computer Chassis Power Supply Module ATX Transfer Board Power Output Terminal Module
$66.00Power Supply ModuleAdd to cartSpecificationModel:XH – M229Compatible with the port:ATX (compatible with partial BTX type)The PIN number:24 pinSwitch:YesNumber of sets of output:Four sets of different voltageSize:12.8×4.8cm/5.04×1.89inchPackage included10 x XH-M229 24 Pin Desktop Chassis Power Supply ATX Adapter Board Module
2500W 50A ZVS induction Heating Module High Frequency Heating Machine Melted Metal+48V Coil+Water Pipe+Water Pump Kit
$186.33Power Supply ModuleAdd to cartSize ConversionInchesCentimetersPlease according to your own measurements to choose your suitable size. The tags inside the items will show in our Asian (Type) size.IntroductionThis version is a 2500W upgrade of the 1800W ZVS heating module, using an oversized PCB layout design and an oversized heat sink for heat dissipation.Good power, self-contained cooling fan interface, can …
399PCS 3D Creative Electric Drill Toys Set Drilling Screw Puzzle Toy Kid Gift
$54.66PhysicsAdd to cartSpecificationsName:DIY Puzzle ToyMaterial:ABSQuantity:399PCSColor:Multi-colorExpand Size:48x30cm/18.72×11.70inchFold size:24×6.5x30cm/9.36×2.54×11.70inch(1cm=10mm=0.39inch)Measurement Details in the attached picture.Features[Attract Baby Interest]Bright colors and cute model can certainly attract baby’s interest, promoting their visual development, develops baby’s hands-eye coordination and cultivates their imagination and creativity.[DIY Randomly]Contains 399 multi-colored building blocks, your baby can DIY at random, give them endless fun hours of play. Also children …
399PCS 3D Creative Electric Drill Toys Set Drilling Screw Puzzle Toy Kid GiftRead More


Reviews
There are no reviews yet.