


3pcs XH-W1321 0.1 Digital thermostat Mini Embedded Blue Digital Display Switch Temperature Controller with Waterproof NTC Sensor Meter
$30.89
Shipping:Standard Shipping about 10-25 business days
Secure Payment:Paypal,VISA,MasterCard
Specifications
Product Name:Miniature embedded digital display thermostat
Product Model:XH-1321
Material:ABS
Case Color:White
LED Color:Blue
Input Voltage:DC12V
Temperature Measurement Range:-50-110→
Temperature Control Range:-50-110→
Control Accuracy:0.1→
Display Accuracy:0.1→
Measuring Input:NTC10K Waterproof Probe L=1 Meter
Output Type:Relay Output(Output Switch)
Output Capacity:10A
Size (Length x Width x Height):about 56 x 38 x 32mm (2.17 x 1.50 x 1.26 Inch )
Opening hole size:46 x 34mm
Key Function
SET:Press once during normal use, directly enter the stop temperature setting state, use the up and down keys to set the required stop temperature, long press to enter the internal setting menu.
UP:After long press the setting button to enter the internal setting, increase the value setting by the up button.
DOWN:After long press the setting button to enter the internal setting, use the up button to decrease the value setting.
Code:Description:Setting range (method):Factory settings
P0:Operating mode:H/C:C
P1:Backlash setting:0.1-50:2
P2:Temperature correction:-9.9~+9.9°C:0
P3:Delayed start:0-9:0
Detailed Code Descriptions
P0:Working mode:This value must be set when the thermostat is used for the first time. If it is used for heating heating, set to H, if it is used for cooling cooling, set to C.
P1:Hypothesis setting:Press and hold the setting button for 3 seconds to enter the internal menu, select P1, and press the setting button again to enter the hysteresis value setting state. The hysteresis is the difference required when the thermostat reaches the set temperature and stops working again. For example, it is set to the heating mode. When it is heated to 40 degrees, it stops at 35 degrees and starts to return. The difference is 5
P2:Temperature correction:Press and hold the setting button for 3 seconds to enter the internal menu. Press the up and down keys to select P2, press the setting button again, and set the required calibration temperature by the up and down keys. In the setting, if the detected temperature value is 0.5 °C larger than the actual temperature value, the calibration temperature to be set is -0.5 °C. If the detected temperature value is 1 °C smaller than the actual temperature value, the calibration temperature to be set is 1 °C, and the detection temperature +-calibration temperature = actual temperature.
P3:Delay start:Press and hold the setting button for 3 seconds to enter the internal menu, select P3 by the up and down keys, press the setting button again, and set the required delay time (minutes) by the up and down keys. The delay start is generally used for compressor refrigeration. If it is used in the refrigerator freezer, this value needs to be set. According to the compressor back pressure, the set value is usually 3-6 minutes, if it is not used to control the compressor or no delay. Function, skip this item directly.
Instructions
Set the difference back:Why set the backlash setting When you control the device, the temperature will rise or fall back. How many degrees does the temperature change If you want the temperature to change by 10°, the device needs to set the difference back to 10. By setting the difference back, the device can cycle through the temperature range.
Set the stop temperature:press the set button once in the normal display state to stop the temperature value flashing. You can set the desired stop temperature value by using the up and down keys.
How to set factory settings are restored:Press and hold the up and down keys while the power is on, the digital tube display 888 will then automatically jump to the detection temperature.
Heating mode setting method
Setup steps
The first step is to set P0=H
The second step sets the stop temperature
The third step sets the hysteresis value
Setting method
1. Press and hold the setting button to enter the internal menu and set P0 to H.
2. Press the setting button to stop the temperature flashing, and the up and down keys to set the temperature.
3. Press and hold the setting button to enter the internal menu and set the P1 hysteresis setting.
Use Cases
Control the water heater, heat it to 65 ° C to stop, the temperature drops back to 50 ° C and start heating again, how to set
Step 1:Determine the working mode as heating mode and set P0 to H
Step 2:Press the setting button to stop the temperature flashing. Set the starting temperature to 50 °C with the up and down keys.
The third step:stop at 65 °C, start again at 50 °C, so the return difference needs to be set to 65-50=15, enter the internal menu and set P1 to 15, the heating case is set!
Cooling mode setting mode
Setup steps
The first step is to set P0=C
The second step sets the stop temperature
The third step sets the hysteresis value
Setting method
Press and hold the setting button to enter the internal menu and set P0 to C.
Press the setting button to stop the temperature flashing, and the up and down keys to set the temperature.
Long press the setting button to enter the internal menu, set the P1 backlash setting
Use Cases
Control the farm, ventilate to 26 ° C to stop, the temperature rises to 28 ° C to start the refrigeration again, how to set up
The first step:determine the working mode is cooling mode, set P0 to C
Step 2:Press the SET button to stop the temperature flashing. Set the stop temperature to 28 °C with the up and down keys.
The third step:stop at 26 ° C, start again at 28 ° C, so the return difference needs to be set to 28-26 = 2, enter the internal menu to set P1 to 2, the cooling case is set!
Package includes
3 x Miniature embedded digital display thermostat
| Weight | 0.132 kg |
|---|
Related products
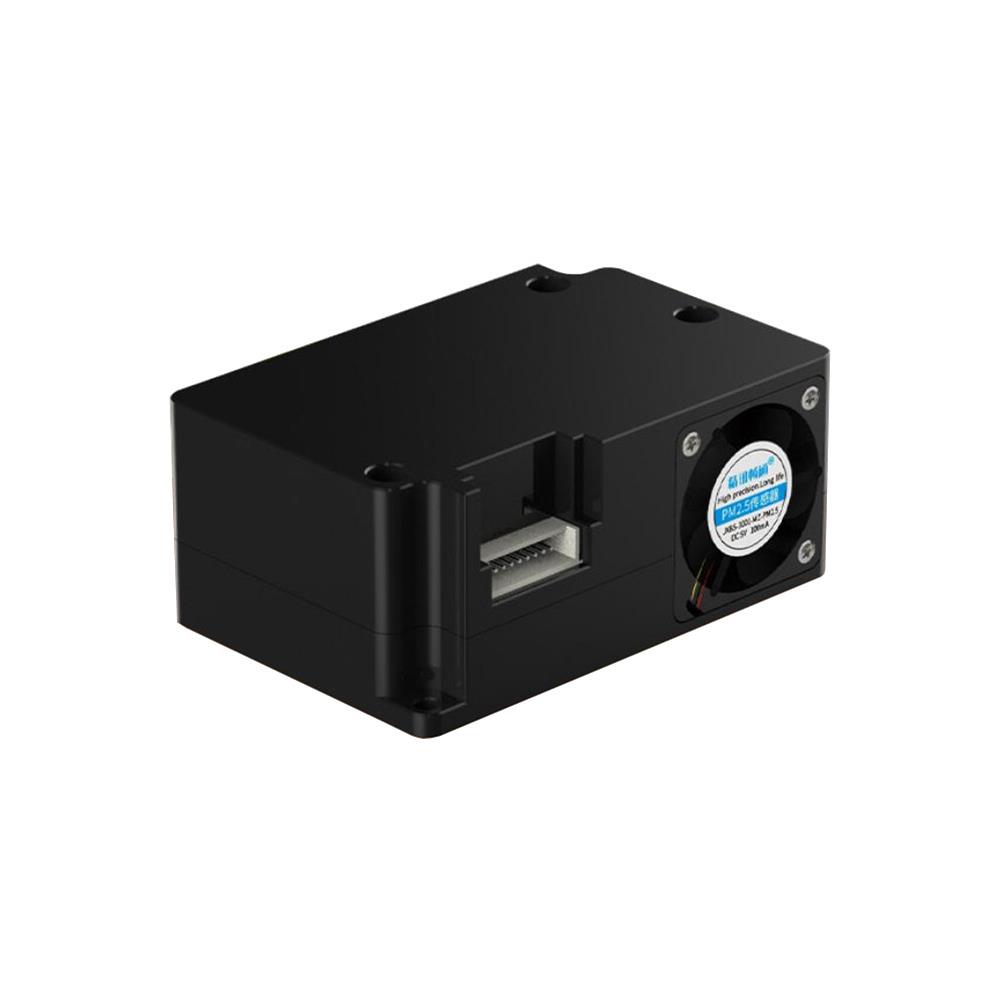
PM2.5 Laser Particulate Matter Sensor PM1.0 PM10 Air Quality Detection Sensor Monitoring Particulate Matter Sensor Module
$39.35Sensor & Detector ModuleAdd to cartTechnical ParametersPM2.5/PM10 measuring range:0-999ug/m3PM2.5/PM10 resolution:lug/m3PM2.5/PM10 accuracyConsistency of particle concentration:0-100ug/m3:÷10%;100-500ug/m3:÷10%Minimum detectable particle diameter:0.3umPower supply voltage:5V÷0.1VMaximum working current:100mAOperating temperature range:-10~60CWorking humidity range:0-95%RHStorage temperature:-30~70CResponse speedProduct appearance size:53x35x23mmApplication areasAir Purifier / Air Quality Detector / Fresh Air Ventilation SystemSupporting air-conditioning / cars with air purification function and consumer electronicsAgricultural greenhouse / environmental monitoring of outdoor breeding placesKitchen and bathroom …
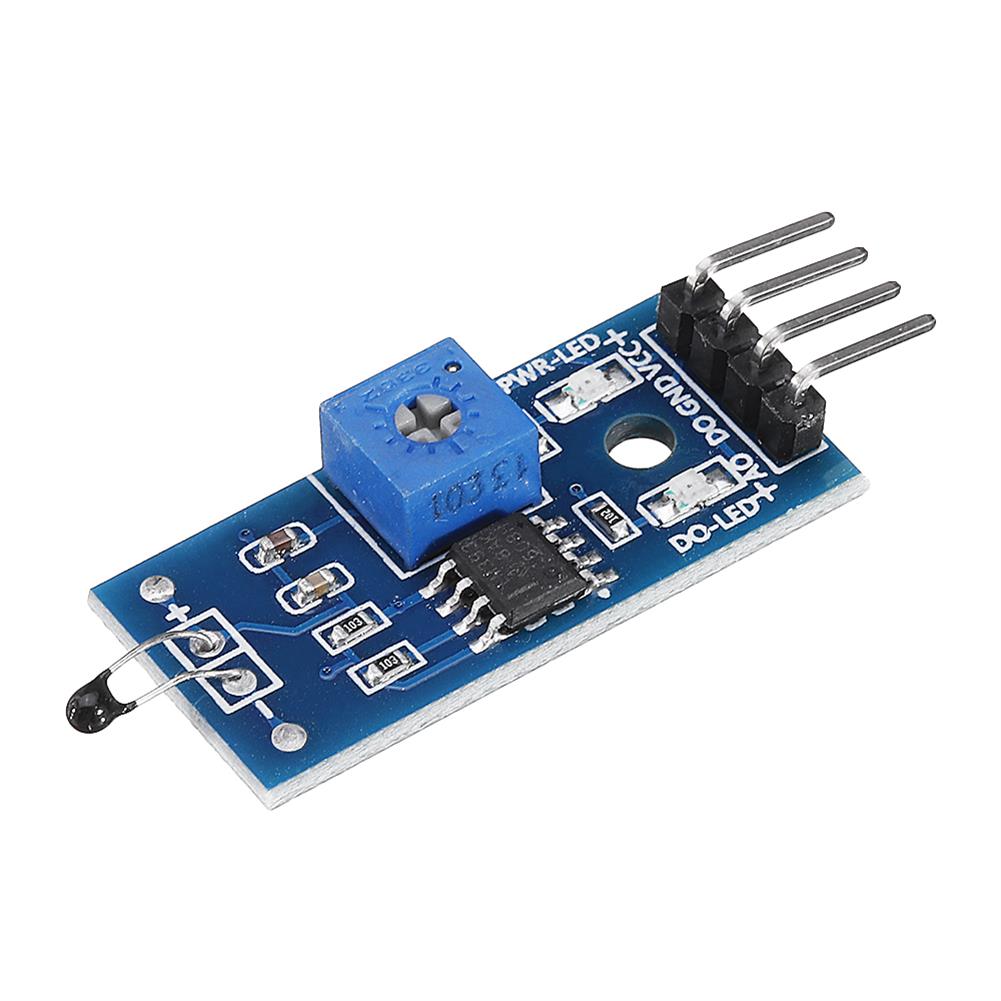
10pcs thermal Sensor Module Temperature Switch thermistor Sensor Board
$10.88Sensor & Detector ModuleAdd to cartUsesTemperature detection, temperature control sensors , ambient temperature detectionFeatures1. Using the NTC thermistor sensor, good sensitivity2. The comparator output signal is clean, good waveform, driving ability, more than 15mA.3. Adjust the temperature distribution position detection threshold4. The working voltage 3.3V-5V5. The output format:digital switching outputs ( 0 and 1 )6. Fixed bolt holes for easy …
10pcs thermal Sensor Module Temperature Switch thermistor Sensor BoardRead More
50pcs thermal Sensor Module Temperature Switch thermistor Sensor Board
$44.79Sensor & Detector ModuleAdd to cartUsesTemperature detection, temperature control sensors , ambient temperature detectionFeatures1. Using the NTC thermistor sensor, good sensitivity2. The comparator output signal is clean, good waveform, driving ability, more than 15mA.3. Adjust the temperature distribution position detection threshold4. The working voltage 3.3V-5V5. The output format:digital switching outputs ( 0 and 1 )6. Fixed bolt holes for easy …
50pcs thermal Sensor Module Temperature Switch thermistor Sensor BoardRead More
Tilt Angle Sensor Module with Cable STM32 AVR
$4.36Sensor & Detector ModuleAdd to cartTilt Angle Sensor Module With Cable For STM32 AVR Raspberry Pi Specification Working Voltage:3.3V ~ 12V Location hole diam:3.1mm PCB board size:16 x 14mm With 2pcs 20cm cable Package included 1 x Tilt angle sensor module 2 x 20cm cable


Customers Also Viewed
100 Pcs Copper Cable Lugs Kit SC6-6 ~SC35-10 Electrical Terminal Block Wire Connectors
$70.86ConnectorsAdd to cartSpecificationModel:SC6-6~SC35-10Material:Tin Plated CopperColor:SilverSize:6mm²/10mm²/16mm²/25mm²/35mm²Mount Hole:6 mm/8 mm/10 mmBox Size(L*W*H):280 x 126 x 14 mmQuantity:100 PcsFeaturesElectro-plated tin exterior.Premium quality copper material, environmentally friendly, safe for using.These tube lugs have a bell shaped end allowing for easy insertion of the cable.Acceptable working temperature is -55℃ to 100℃ and are suitable for applications in the Australian Climate.Copper lugs are …
100 Pcs Copper Cable Lugs Kit SC6-6 ~SC35-10 Electrical Terminal Block Wire ConnectorsRead More
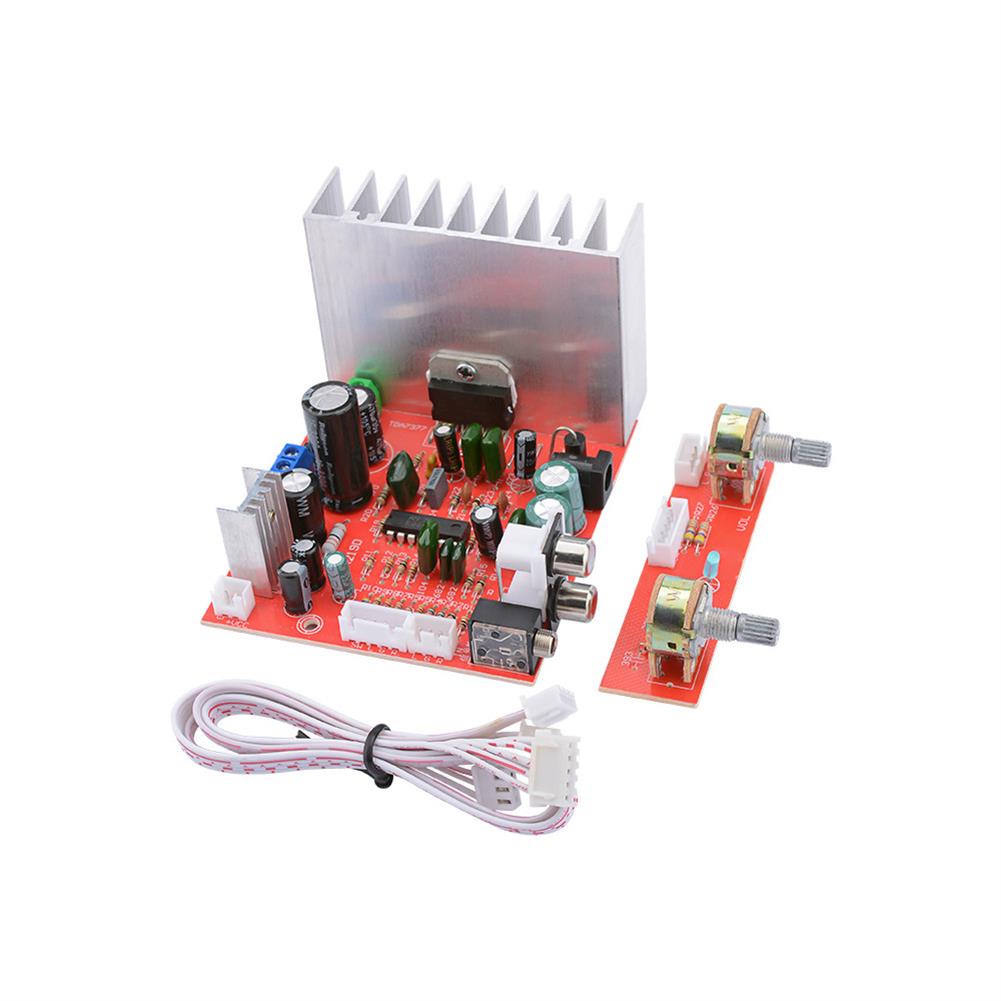
TDA7377 Subwoofer Amplifier Audio Board 38Wx3 Mini Home Amp 2.1 Channel HiFi Stereo Power Amplifier DIY
$21.86Amplifier BoardAdd to cartDescriptionThe power amplifier board uses 7377 amplifier chip, dual circuit design, optional DC12V / AC12V power supply, and uses 2.1 three-channel output. Available for Bluetooth / Wireless Microphone / Fan. Separate design, easy installation, provides volume and subwoofer adjustment. ParametersWorking voltage:DC12V / AC12V Chip:TDA7377 Op amp:LT084 / 324 Working voltage:DC12V / AC12V Output power:38Wx3 Channel …
XH-W1411 220V 10A Smart Electronics LED Digital thermometer Temperature Controller Switch Module
$17.48Test & Measuring ModuleAdd to cartSpecificationsTemperature range:-55- + 120→Temperature measurement accuracy:± 0.3→Resolution:0.1→Temperature range:-19 ~ 99→Control accuracy:1→Temperature probe:NTC10K / B3950 comes standard with 1 meter waterproof probeSupply voltage:220VTemperature:-25 ~ 55→ Humidity 20% -85% (non-condensing)Output Type:10A relay outputsSize:90*60mm/3.54 Inch*2.36 InchHole size:70*50mm/2.76 Inch*1.96 InchFeatures– The board and plastic panels fixed column compartment and lock nut– Connect the power supply according to the drawings …
3Pcs HIFI Amplifier Passive Tone Board Bass Treble Volume Control Preamp Board DIY Kit
$24.99DIY Electronic KitsAdd to cartDescriptionIt is DIY Kit, must be assemble to work. User need technical operation ability.Package included3 x HIFI Amplifier Passive Tone Board Bass Treble Volume Control Preamp Board DIY Kit
100x100cm High Strength Carbon Fiber Cloth for interlayer 3900 mpa
$60.74Carbon FiberAdd to cartSpecificationSize;100 x 100cmWidth; 0.25mmMaterial:Carbon fiberCompressive strength:3900 mpaFeaturesa.Uniform texture, without color. Weaving skills, good gloss.b.Mainly used in aircraft main, tail and body; automotive engine synchronizer, hood, bumpers, decorative pieces; bike frame, wheels, leading; racket, cone; kayaking, snowboarding; various models, helmets , watches, pens, bags.Main purpose1. Aerospace:fuselage, rudder, rocket engine shells, missiles casual flow, such as solar …
100x100cm High Strength Carbon Fiber Cloth for interlayer 3900 mpaRead More
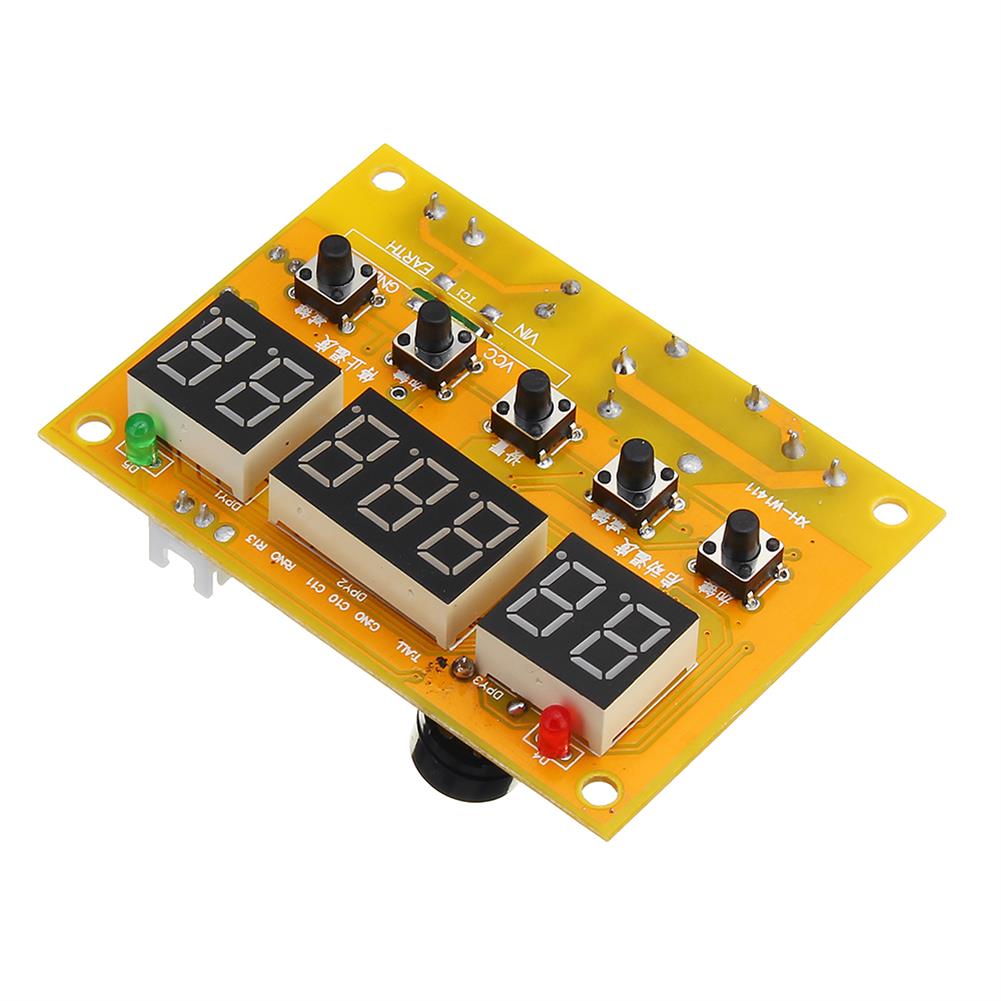
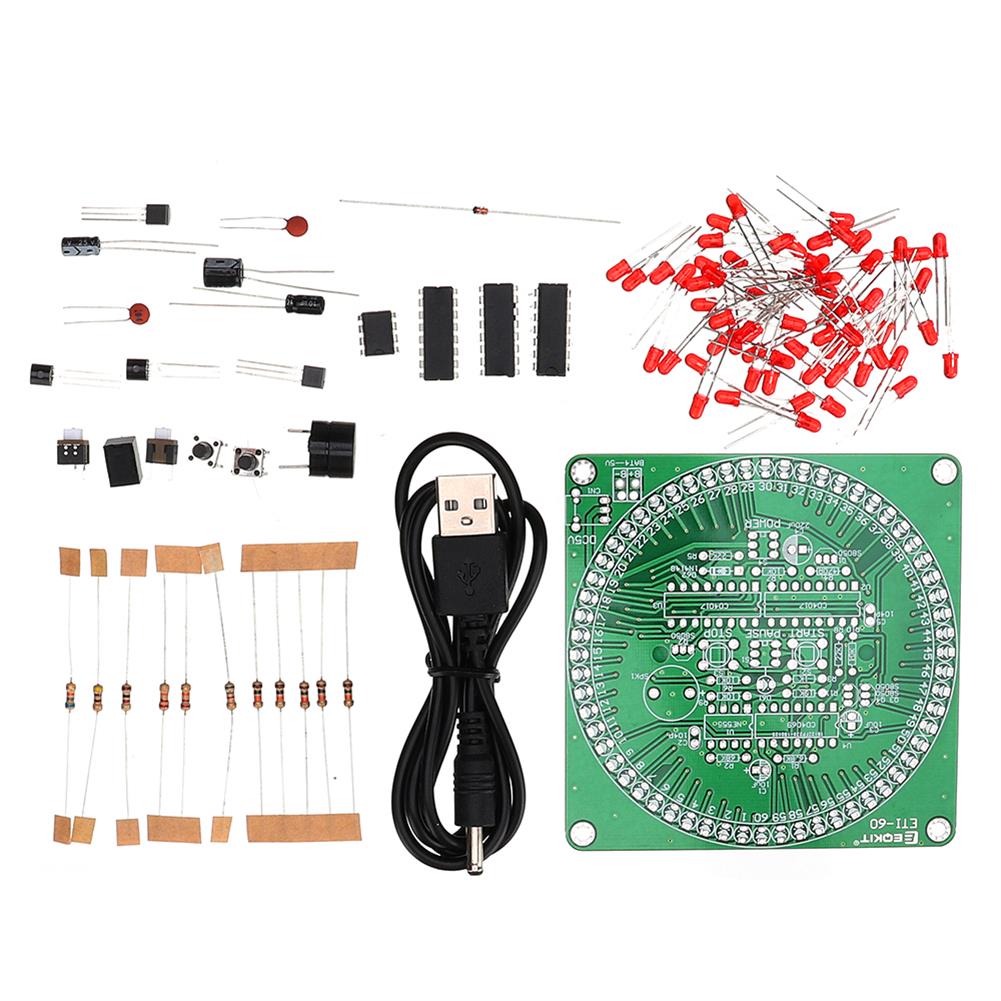
3pcs EQKIT 60 Seconds Electronic Timer Kit DIY Parts Soldering Practice Board
$28.54DIY Electronic KitsAdd to cartInstruction:http://img.staticbg.com/file/products/20180726215941ETI-60-timer-kit.pdfFeatureOperating voltage:DC5VStandby current:≤8mAWorking current:≤10mACountdown:60 secondsCountdown ends prompt:three alarmsSoludering difficulty:GeneralBoard size:84 x 84mmNote:Electronic production kit, require buyer soldering assembly.Package included3 x Electronic Timer K


Recently Viewed Products
-
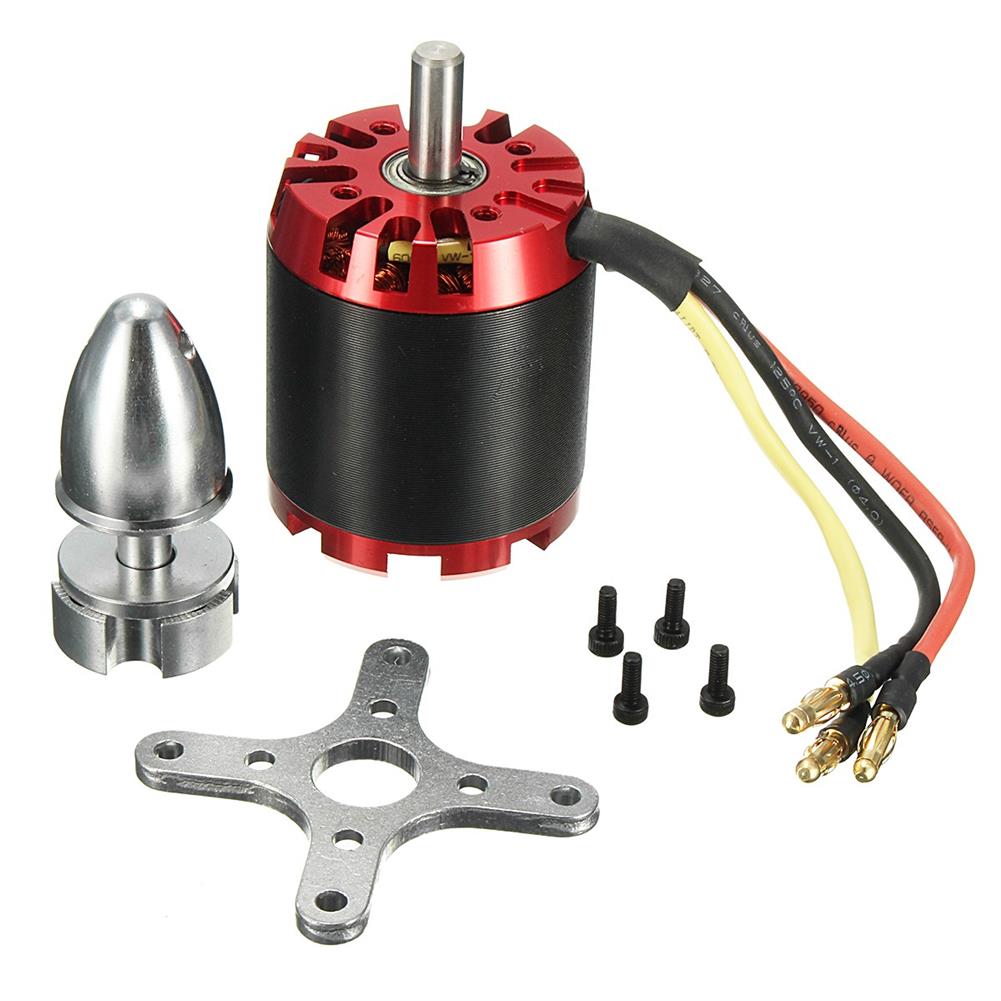 270KV N5065 5065 Brushless Motor for DIY Electric Skateboard Scooter Multicopter $85.28
 -
 12 inch Lockable First Aid Box Kit Family office Medicine Storage Portable Handle Carry Case $125.70
 -
 25Pcs Blank Circle Wood Chips Sheet Hanging Tags Ornament Laser Engraving DIY Art Wedding Decor $6.30
 -
 5pcs 500W Thyristor Electronic Regulator Accessaries Dimming Speed Regulation with Switch Temperature Adjustment Knob Module $19.72
 -
 Portable Mini Electric Vacuum Sealer Air Pump USB Rechargeable Automatic Food Clothes Sealing Packaging Machine with 5 Bags $64.79
 -
 Daul BN96-12941D 8ohm 10W R101206JY LCD TV Speaker $82.07
 -
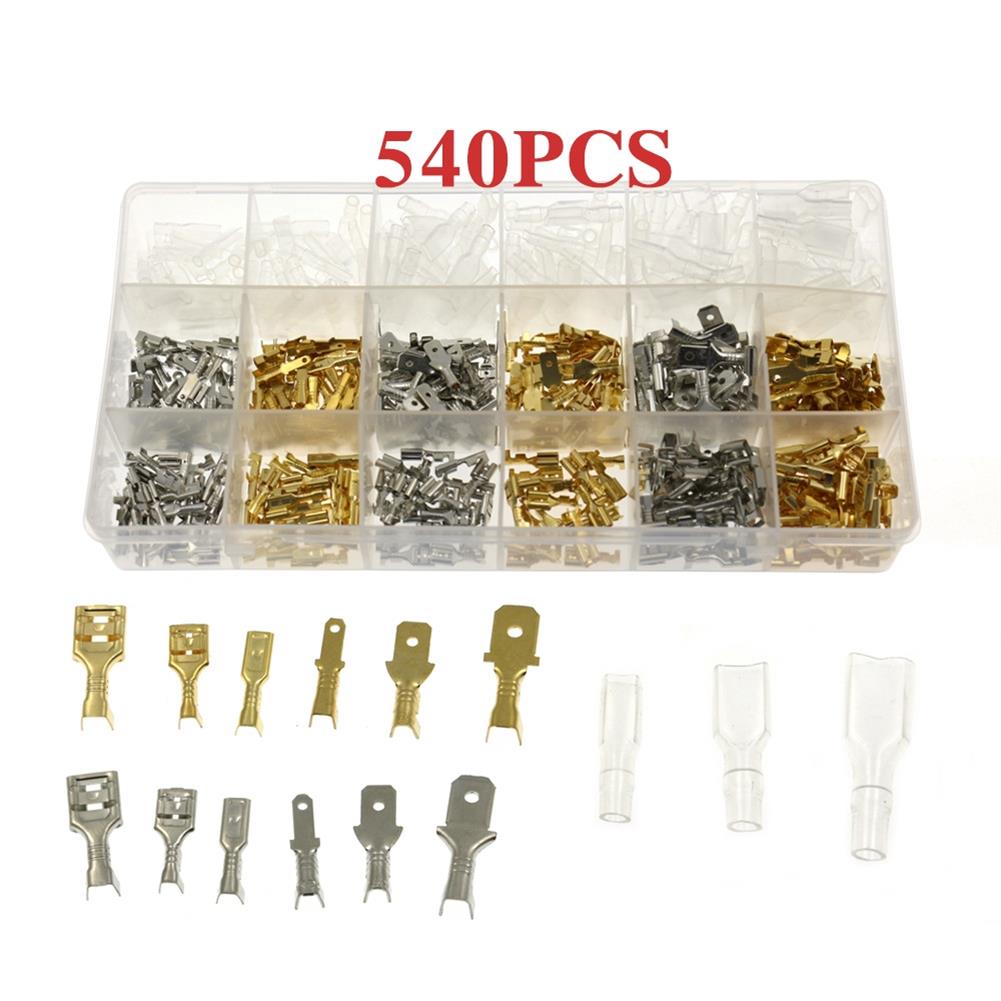 AOQDQDQD 540PCS 2.8mm/4.8mm/6.3mm Gold+Silver Terminal Explosion Box Combination $22.10
 -
 Rhombic Christmas LED Mask LED Colorful Light Mask Stage Bugee USB Charing EL Cold Light Mask $27.69
 -
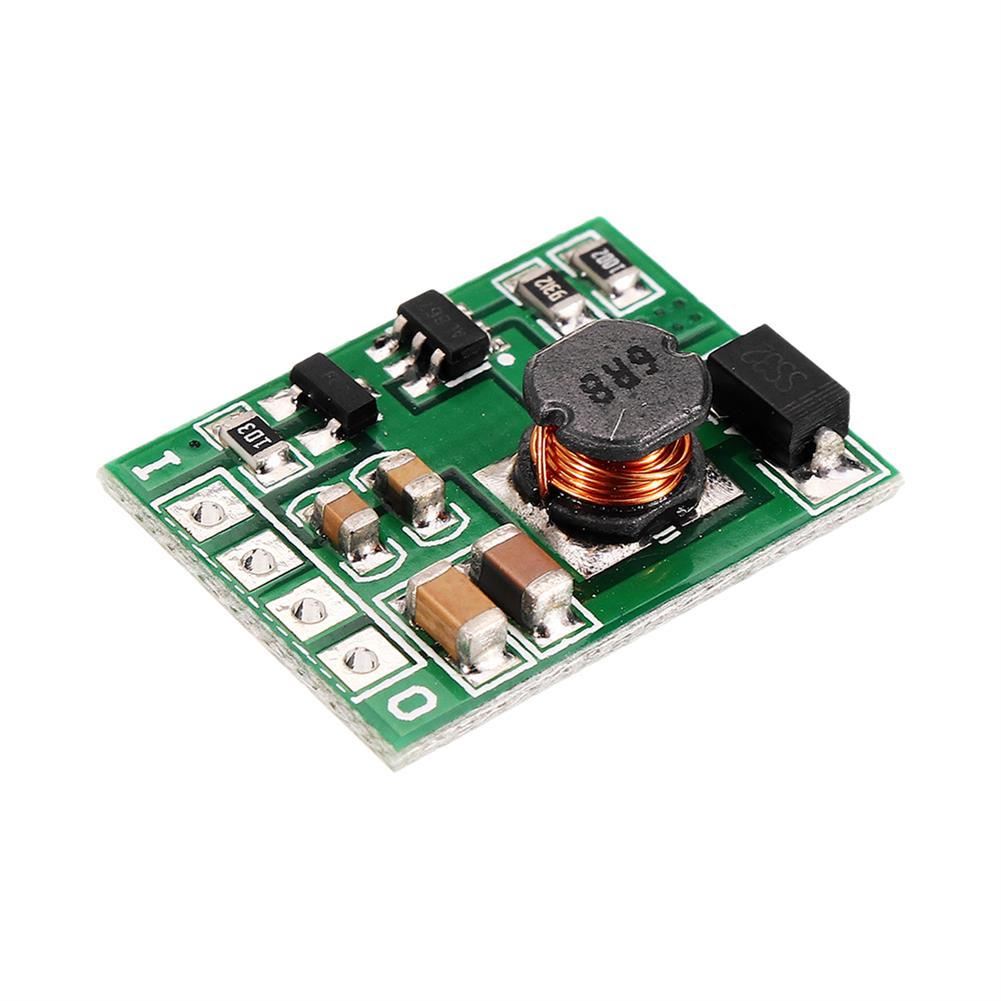 10pcs DC 6V Step Up Boost Converter Voltage Regulate Power Supply Module Board with Enable ON/OFF $38.91
 -
 3Pcs Geekcreit 5V 2004 20X4 204 2004A LCD Display Module Blue Screen $26.47
Reviews
There are no reviews yet.