


3pcs XH-W1321 0.1 Digital thermostat Mini Embedded Blue Digital Display Switch Temperature Controller with Waterproof NTC Sensor Meter
$30.89
Shipping:Standard Shipping about 10-25 business days
Secure Payment:Paypal,VISA,MasterCard
Specifications
Product Name:Miniature embedded digital display thermostat
Product Model:XH-1321
Material:ABS
Case Color:White
LED Color:Blue
Input Voltage:DC12V
Temperature Measurement Range:-50-110→
Temperature Control Range:-50-110→
Control Accuracy:0.1→
Display Accuracy:0.1→
Measuring Input:NTC10K Waterproof Probe L=1 Meter
Output Type:Relay Output(Output Switch)
Output Capacity:10A
Size (Length x Width x Height):about 56 x 38 x 32mm (2.17 x 1.50 x 1.26 Inch )
Opening hole size:46 x 34mm
Key Function
SET:Press once during normal use, directly enter the stop temperature setting state, use the up and down keys to set the required stop temperature, long press to enter the internal setting menu.
UP:After long press the setting button to enter the internal setting, increase the value setting by the up button.
DOWN:After long press the setting button to enter the internal setting, use the up button to decrease the value setting.
Code:Description:Setting range (method):Factory settings
P0:Operating mode:H/C:C
P1:Backlash setting:0.1-50:2
P2:Temperature correction:-9.9~+9.9°C:0
P3:Delayed start:0-9:0
Detailed Code Descriptions
P0:Working mode:This value must be set when the thermostat is used for the first time. If it is used for heating heating, set to H, if it is used for cooling cooling, set to C.
P1:Hypothesis setting:Press and hold the setting button for 3 seconds to enter the internal menu, select P1, and press the setting button again to enter the hysteresis value setting state. The hysteresis is the difference required when the thermostat reaches the set temperature and stops working again. For example, it is set to the heating mode. When it is heated to 40 degrees, it stops at 35 degrees and starts to return. The difference is 5
P2:Temperature correction:Press and hold the setting button for 3 seconds to enter the internal menu. Press the up and down keys to select P2, press the setting button again, and set the required calibration temperature by the up and down keys. In the setting, if the detected temperature value is 0.5 °C larger than the actual temperature value, the calibration temperature to be set is -0.5 °C. If the detected temperature value is 1 °C smaller than the actual temperature value, the calibration temperature to be set is 1 °C, and the detection temperature +-calibration temperature = actual temperature.
P3:Delay start:Press and hold the setting button for 3 seconds to enter the internal menu, select P3 by the up and down keys, press the setting button again, and set the required delay time (minutes) by the up and down keys. The delay start is generally used for compressor refrigeration. If it is used in the refrigerator freezer, this value needs to be set. According to the compressor back pressure, the set value is usually 3-6 minutes, if it is not used to control the compressor or no delay. Function, skip this item directly.
Instructions
Set the difference back:Why set the backlash setting When you control the device, the temperature will rise or fall back. How many degrees does the temperature change If you want the temperature to change by 10°, the device needs to set the difference back to 10. By setting the difference back, the device can cycle through the temperature range.
Set the stop temperature:press the set button once in the normal display state to stop the temperature value flashing. You can set the desired stop temperature value by using the up and down keys.
How to set factory settings are restored:Press and hold the up and down keys while the power is on, the digital tube display 888 will then automatically jump to the detection temperature.
Heating mode setting method
Setup steps
The first step is to set P0=H
The second step sets the stop temperature
The third step sets the hysteresis value
Setting method
1. Press and hold the setting button to enter the internal menu and set P0 to H.
2. Press the setting button to stop the temperature flashing, and the up and down keys to set the temperature.
3. Press and hold the setting button to enter the internal menu and set the P1 hysteresis setting.
Use Cases
Control the water heater, heat it to 65 ° C to stop, the temperature drops back to 50 ° C and start heating again, how to set
Step 1:Determine the working mode as heating mode and set P0 to H
Step 2:Press the setting button to stop the temperature flashing. Set the starting temperature to 50 °C with the up and down keys.
The third step:stop at 65 °C, start again at 50 °C, so the return difference needs to be set to 65-50=15, enter the internal menu and set P1 to 15, the heating case is set!
Cooling mode setting mode
Setup steps
The first step is to set P0=C
The second step sets the stop temperature
The third step sets the hysteresis value
Setting method
Press and hold the setting button to enter the internal menu and set P0 to C.
Press the setting button to stop the temperature flashing, and the up and down keys to set the temperature.
Long press the setting button to enter the internal menu, set the P1 backlash setting
Use Cases
Control the farm, ventilate to 26 ° C to stop, the temperature rises to 28 ° C to start the refrigeration again, how to set up
The first step:determine the working mode is cooling mode, set P0 to C
Step 2:Press the SET button to stop the temperature flashing. Set the stop temperature to 28 °C with the up and down keys.
The third step:stop at 26 ° C, start again at 28 ° C, so the return difference needs to be set to 28-26 = 2, enter the internal menu to set P1 to 2, the cooling case is set!
Package includes
3 x Miniature embedded digital display thermostat
| Weight | 0.132 kg |
|---|
Related products
3pcs 6mA 3-100CM Adjustable infrared Digital Obstacle Avoidance Sensor Module
$20.45Sensor & Detector ModuleAdd to cartSpecificationsWorking voltage:DC 3.8V-5.5VWorking current (5V):typical current 6mAInput and output signals (3 lines):GND, VCC is power, and VCC is 3.8V-5.5VObstacle detection time (range from obstacle-free to obstacle-free or obstacle-free to obstacle-free)Working Principle:Sensors actively emit infrared light, according to reflected light detection, if detected obstacles, OUT foot output 0, otherwise 1.Detection distance (test environment, indoor, maximum power, …
3pcs 6mA 3-100CM Adjustable infrared Digital Obstacle Avoidance Sensor ModuleRead More
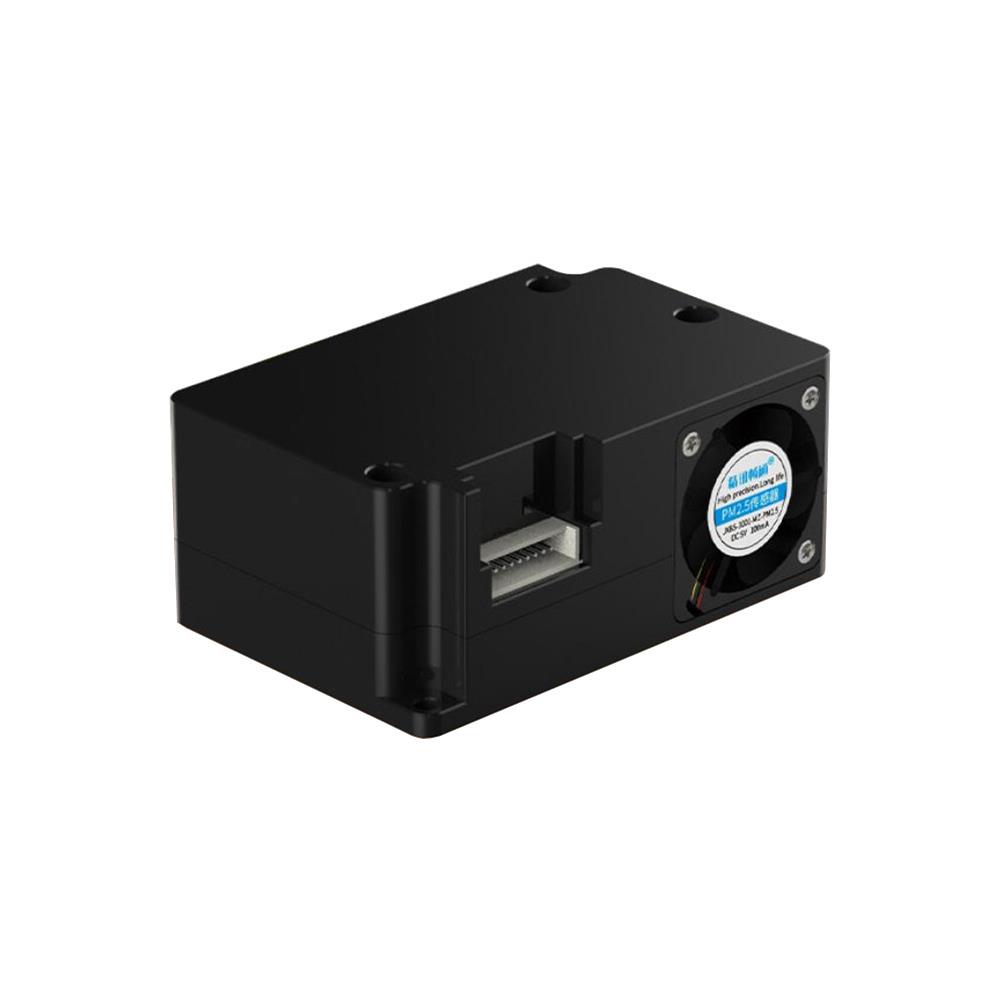
PM2.5 Laser Particulate Matter Sensor PM1.0 PM10 Air Quality Detection Sensor Monitoring Particulate Matter Sensor Module
$39.35Sensor & Detector ModuleAdd to cartTechnical ParametersPM2.5/PM10 measuring range:0-999ug/m3PM2.5/PM10 resolution:lug/m3PM2.5/PM10 accuracyConsistency of particle concentration:0-100ug/m3:÷10%;100-500ug/m3:÷10%Minimum detectable particle diameter:0.3umPower supply voltage:5V÷0.1VMaximum working current:100mAOperating temperature range:-10~60CWorking humidity range:0-95%RHStorage temperature:-30~70CResponse speedProduct appearance size:53x35x23mmApplication areasAir Purifier / Air Quality Detector / Fresh Air Ventilation SystemSupporting air-conditioning / cars with air purification function and consumer electronicsAgricultural greenhouse / environmental monitoring of outdoor breeding placesKitchen and bathroom …


Customers Also Viewed
5pcs ESP-32S Matching Adapter Board WIFI bluetooth Module ESP-WROOM-32 Module for DIP
$9.84Smart ModuleAdd to cartFeaturesESP-32S supporting adapter board, 2.54mm pitch, lead RESET and IO 0 port, can be inserted into the breadboard, use DuPont wire leads, etc., to facilitate development and debugging.Package Included5 x ESP-32S Matching Adapter Board
5 Channel Flame Sensor Module Analog Dgital Dual Output Fire Extinguishing Robot Flame Alarm System Module
$13.11Sensor & Detector ModuleAdd to cartFeatures1.Using a five-way flame sensor design, the detection range is wide (the detection range of a common single flame sensor is about 30°, and the range is gradually reduced as the distance increases, the detection range of this product is greater than 120°)2.Can output digital signals (high and low level), easy to use3. can output …
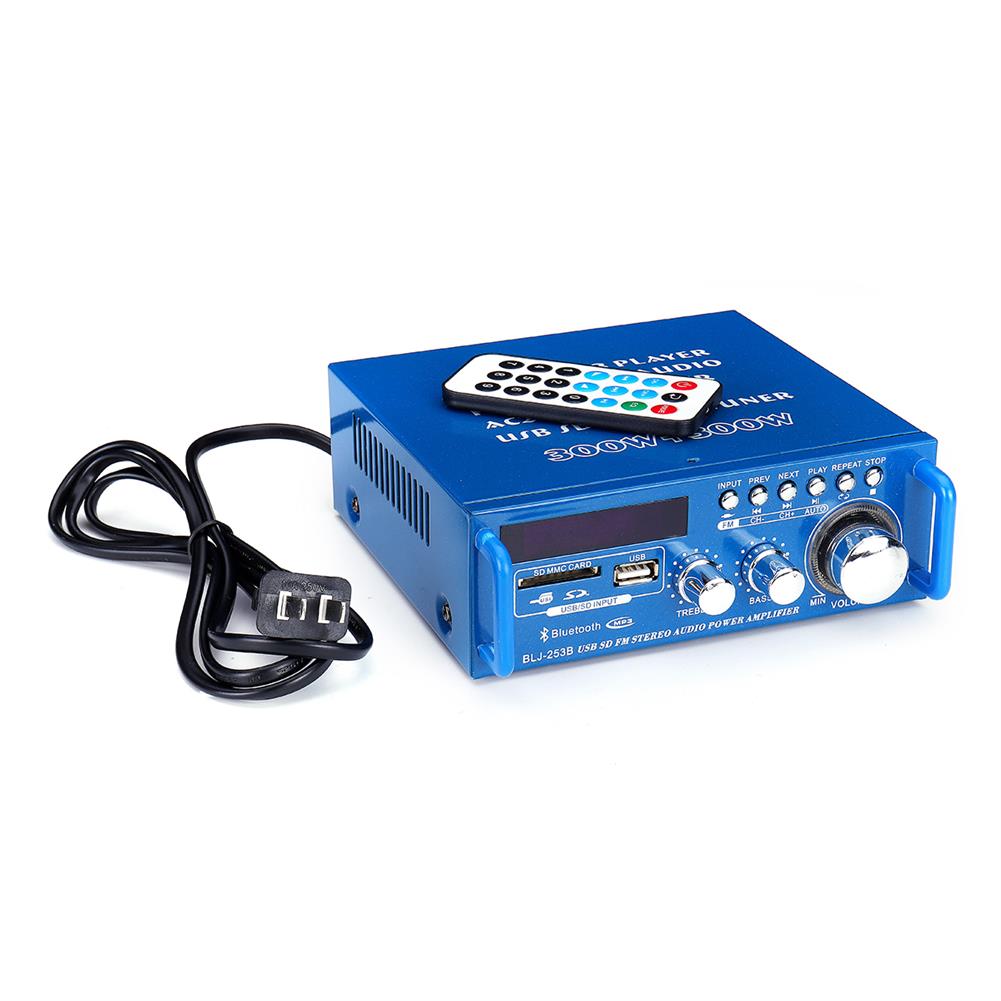
600W Mini 2CH HiFi Digital Audio Stereo Amplifier Bass bluetooth FM Radio Amplifiering Equipment
$109.34Switch AccessoriesAdd to cartSpecificationsColor:BlueType:Support bluetoothInput voltage:220V-240V 50/60Hz 12V(in car)Plug:US plugRated power:80W+80WPeak power:300W+300WChannel:2 CHLoad impedance:4-16ΩSNR:>90 dbFM frequency:88-108MHzDistoration rate:0.05%Frequency:20Hz-20KHz(±3dB)Total harmonic distortion:less than 0.5% (normal operating conditions)Signal input sensitivity:200MV (±30MV)MIC input sensitivity:9mV (±2mV)Record level output:1VAuxiliary output level:1VSensitivity:0.25mV-220mVRC power supply:CR2052 battery(built-in)Features-Mini HIFI digital bluetooth audio power amplifier.-SD Card, U disk, MP3 format play, support bluetooth wireless connection.-Supports FM stereo radio.-Two microphone input …


Recently Viewed Products
-
 125pcs SN74HC595N 74HC595 74HC595N HC595 DIP-16 8 Bit Shift Register IC $25.27
 -
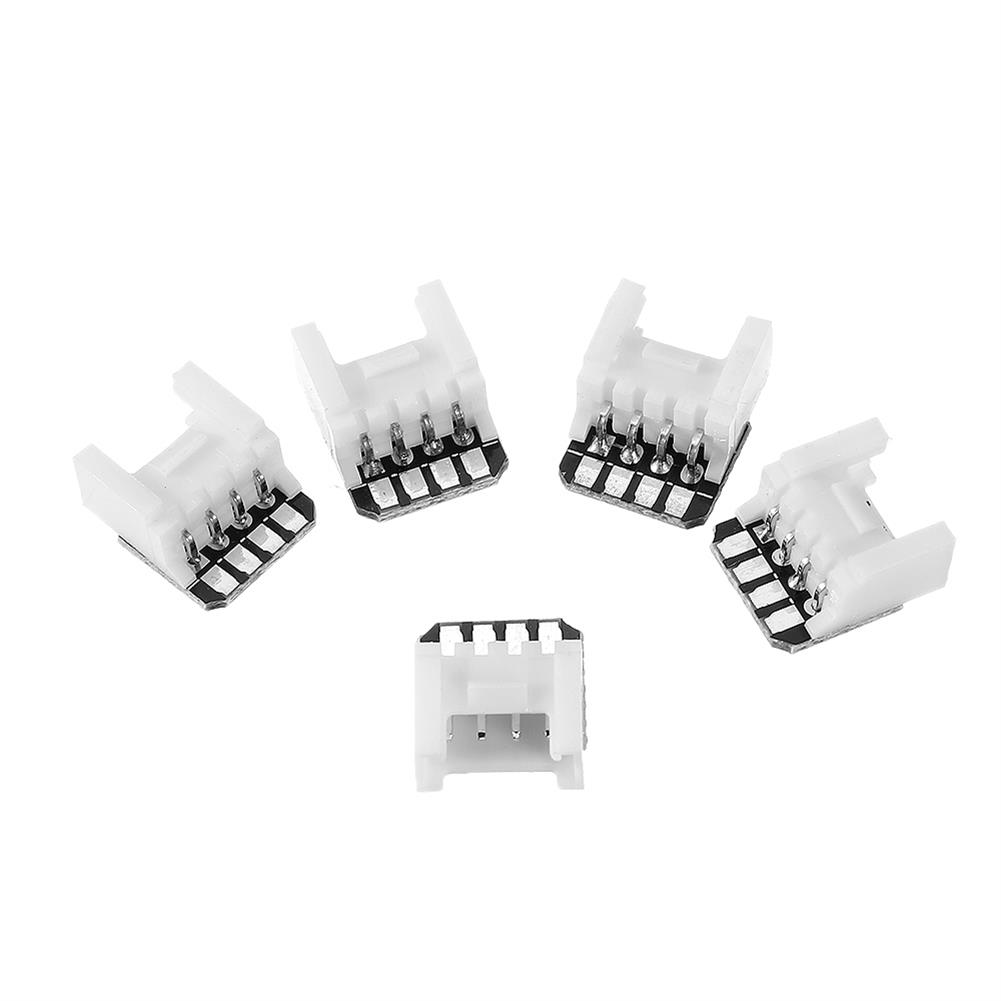
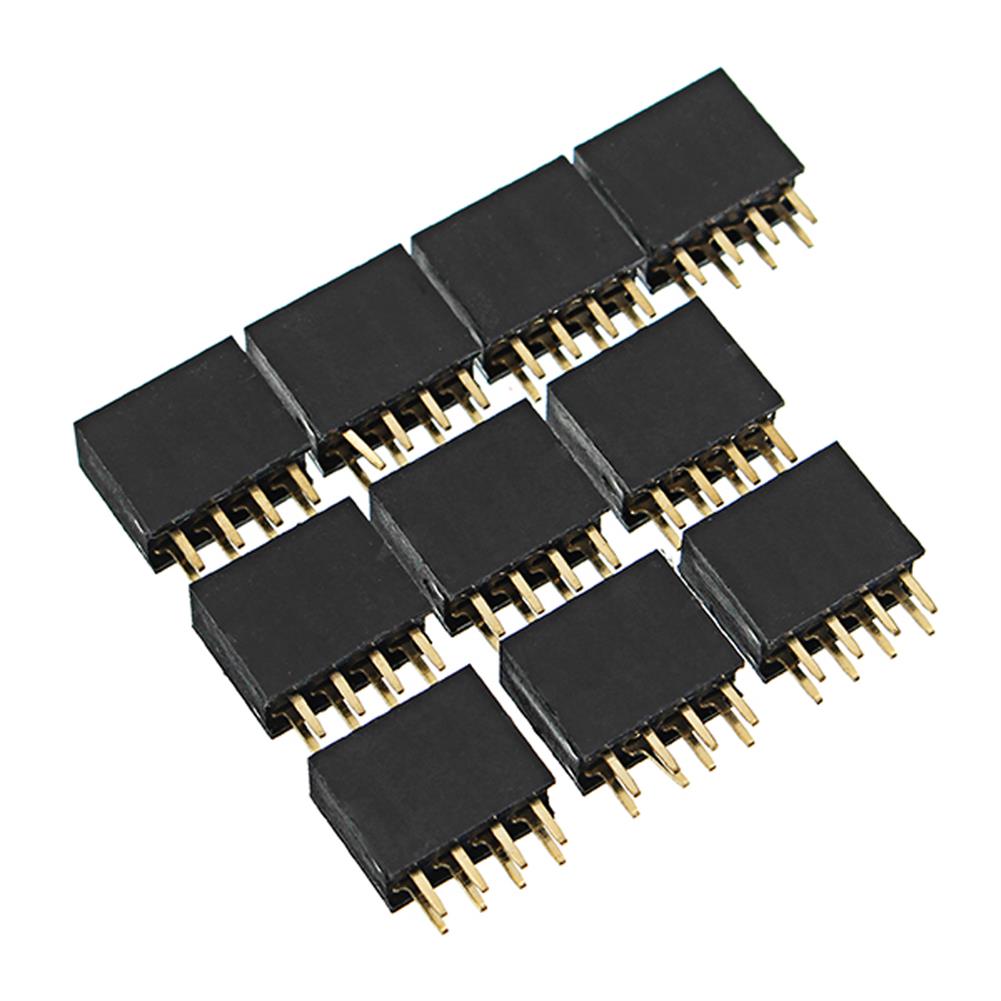 30pcs 2.54mm 2x4P 8P Double Row Female Straight Pin Header Needle Socket Pin Strip $5.94
 -
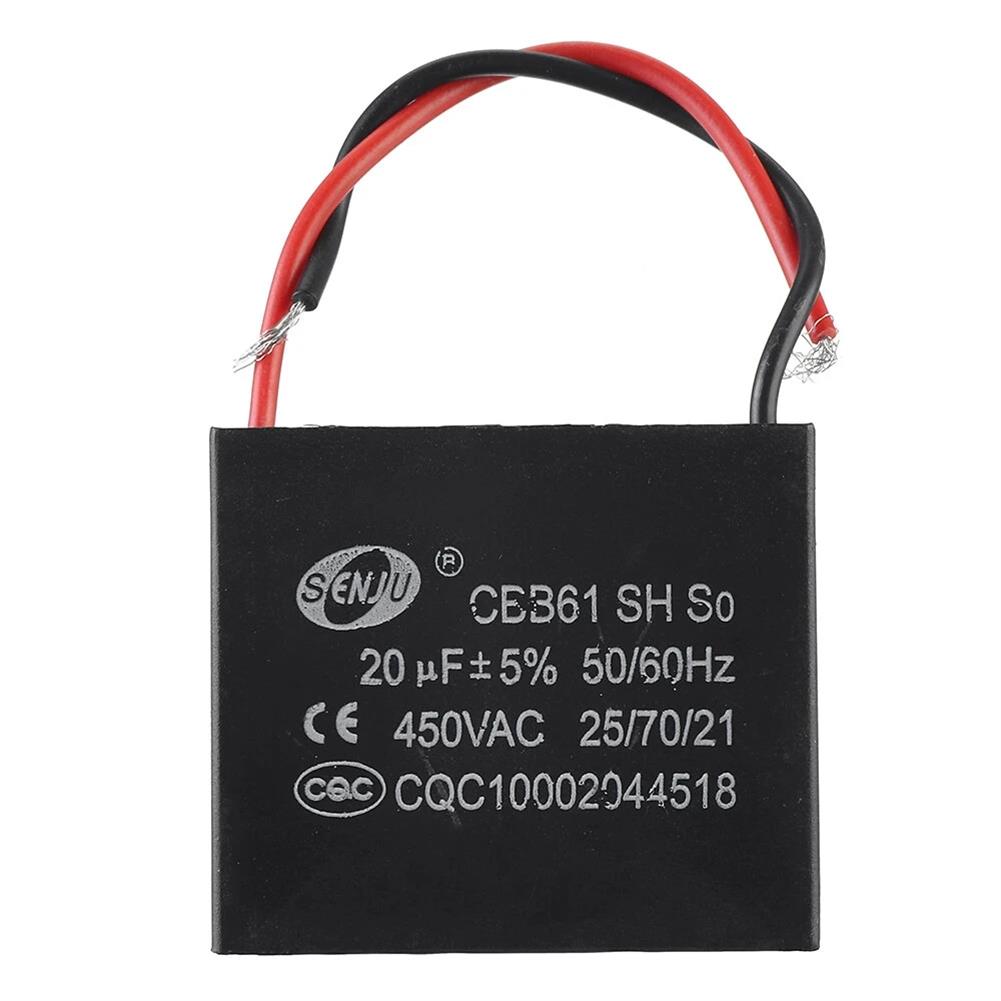 CBB61 5Pcs 20UF Starting Capacitance 450V AC Fan Capacitor CBB Motor Run Capacitor $32.04
 -
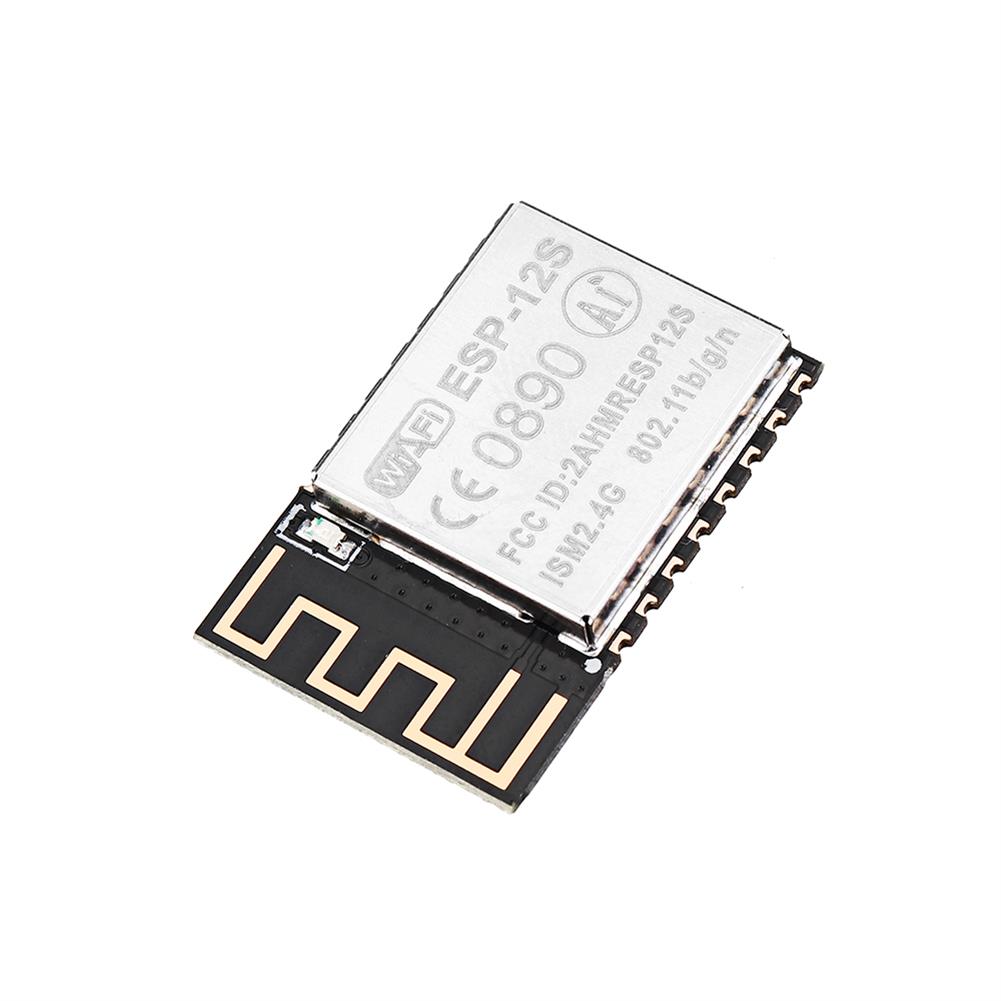 5pcs ESP8266 ESP-12S Serial WIFI Wireless Module Transceiver ESP8266 4M Flash $29.36
 -
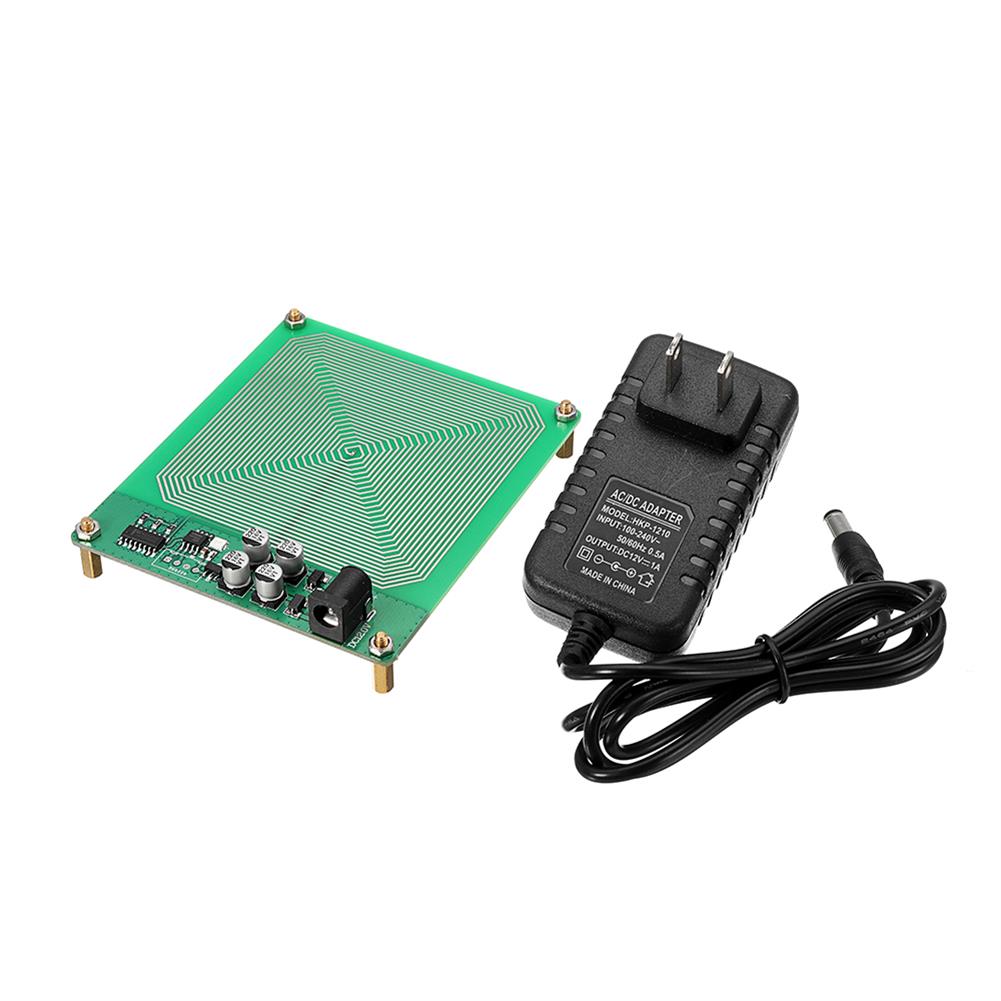 FM783 Schumann Wave Module Extremely Low Frequency Pulse Generator $50.29
 -
 AC 110-220V 100A Digital Backlight Watt Power Meter 80-300V $37.69
 -
 WangDaTao HU-016 DIY Mini Amplifier Audio Upgrade Version Small Amplifier Speaker Kit 3W Speaker Audio Student Soldering Experiment Training Diy Circuit Board Kit $41.54
 -
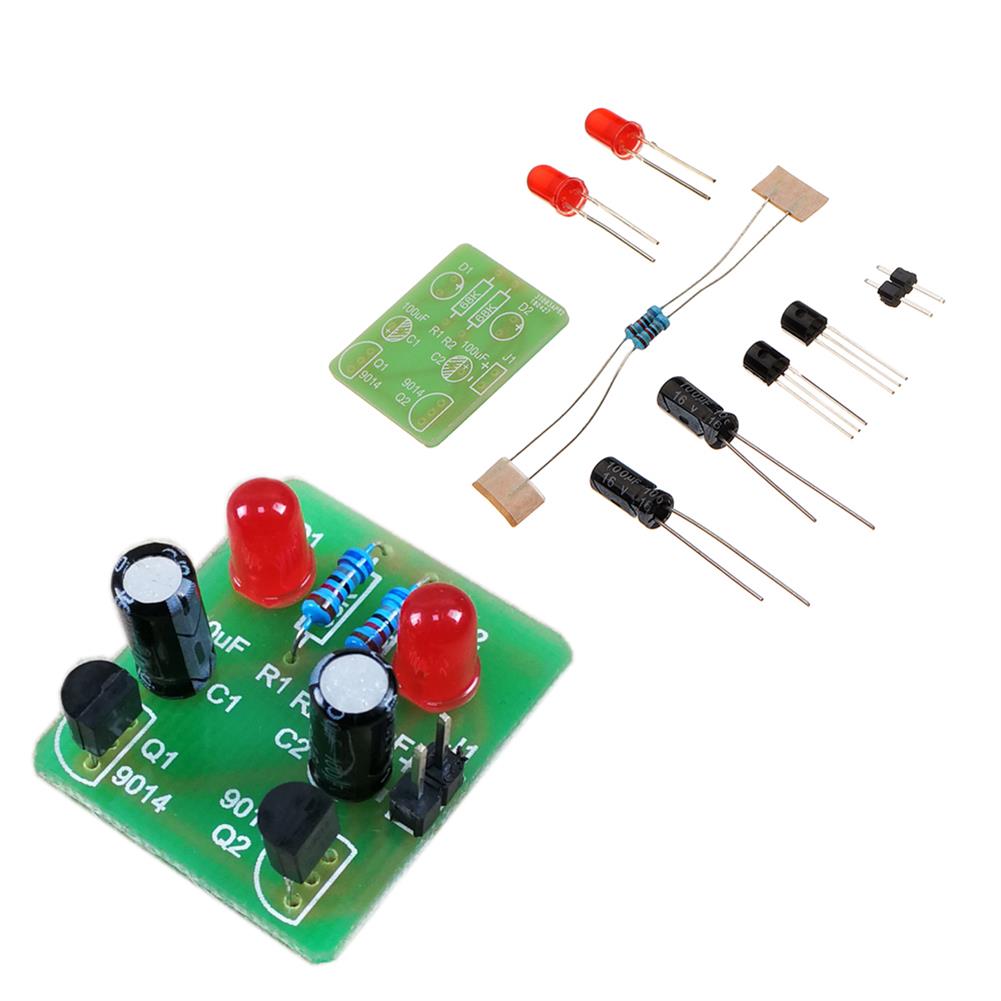 10pcs DIY Multi Harmonic Oscillator Scintillator Module DIY Electronic Bistable Starter Kits $16.77
 -
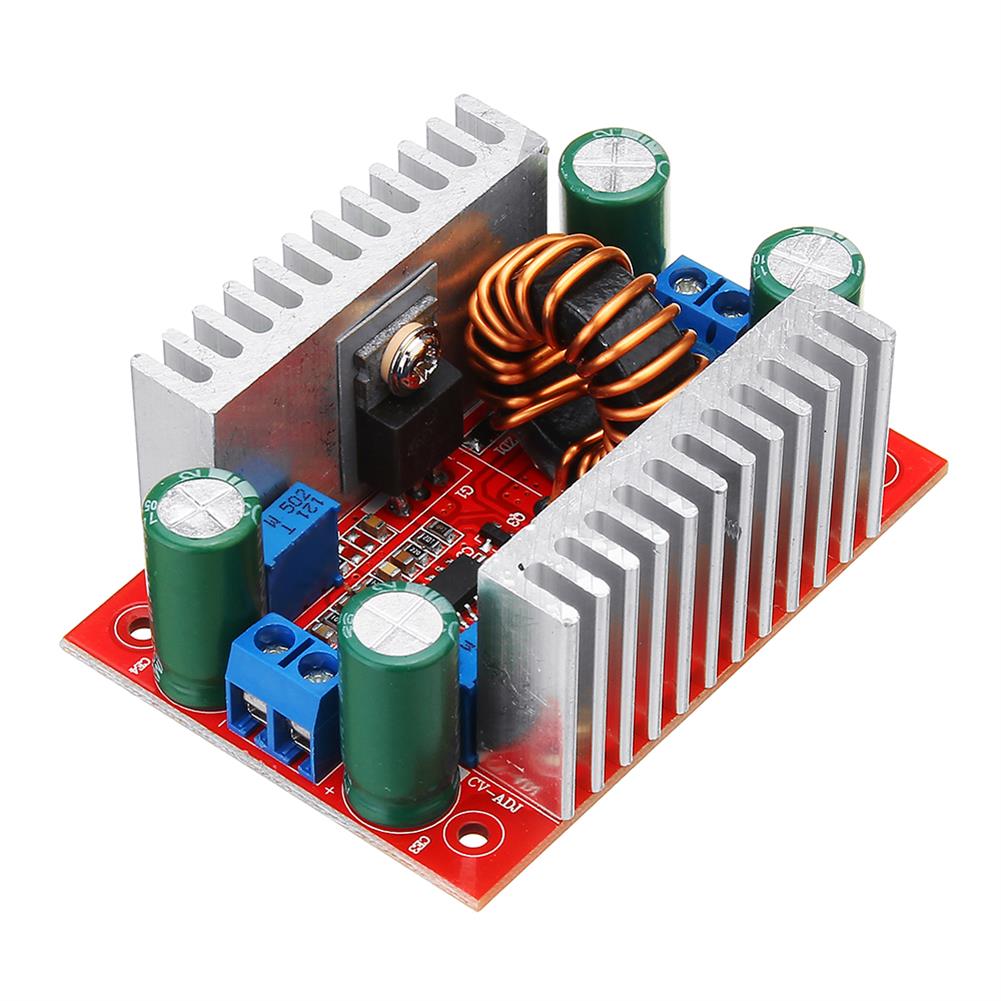 3pcs 400W DC-DC High Power Constant Voltage Current Boost Power Supply Module $44.21
 -
 3Pcs Microwave Doppler X-Band Radar Sensor Wireless Module Motion Speed $27.28
Reviews
There are no reviews yet.