


3pcs XH-W1321 0.1 Digital thermostat Mini Embedded Blue Digital Display Switch Temperature Controller with Waterproof NTC Sensor Meter
$30.89
Shipping:Standard Shipping about 10-25 business days
Secure Payment:Paypal,VISA,MasterCard
Specifications
Product Name:Miniature embedded digital display thermostat
Product Model:XH-1321
Material:ABS
Case Color:White
LED Color:Blue
Input Voltage:DC12V
Temperature Measurement Range:-50-110→
Temperature Control Range:-50-110→
Control Accuracy:0.1→
Display Accuracy:0.1→
Measuring Input:NTC10K Waterproof Probe L=1 Meter
Output Type:Relay Output(Output Switch)
Output Capacity:10A
Size (Length x Width x Height):about 56 x 38 x 32mm (2.17 x 1.50 x 1.26 Inch )
Opening hole size:46 x 34mm
Key Function
SET:Press once during normal use, directly enter the stop temperature setting state, use the up and down keys to set the required stop temperature, long press to enter the internal setting menu.
UP:After long press the setting button to enter the internal setting, increase the value setting by the up button.
DOWN:After long press the setting button to enter the internal setting, use the up button to decrease the value setting.
Code:Description:Setting range (method):Factory settings
P0:Operating mode:H/C:C
P1:Backlash setting:0.1-50:2
P2:Temperature correction:-9.9~+9.9°C:0
P3:Delayed start:0-9:0
Detailed Code Descriptions
P0:Working mode:This value must be set when the thermostat is used for the first time. If it is used for heating heating, set to H, if it is used for cooling cooling, set to C.
P1:Hypothesis setting:Press and hold the setting button for 3 seconds to enter the internal menu, select P1, and press the setting button again to enter the hysteresis value setting state. The hysteresis is the difference required when the thermostat reaches the set temperature and stops working again. For example, it is set to the heating mode. When it is heated to 40 degrees, it stops at 35 degrees and starts to return. The difference is 5
P2:Temperature correction:Press and hold the setting button for 3 seconds to enter the internal menu. Press the up and down keys to select P2, press the setting button again, and set the required calibration temperature by the up and down keys. In the setting, if the detected temperature value is 0.5 °C larger than the actual temperature value, the calibration temperature to be set is -0.5 °C. If the detected temperature value is 1 °C smaller than the actual temperature value, the calibration temperature to be set is 1 °C, and the detection temperature +-calibration temperature = actual temperature.
P3:Delay start:Press and hold the setting button for 3 seconds to enter the internal menu, select P3 by the up and down keys, press the setting button again, and set the required delay time (minutes) by the up and down keys. The delay start is generally used for compressor refrigeration. If it is used in the refrigerator freezer, this value needs to be set. According to the compressor back pressure, the set value is usually 3-6 minutes, if it is not used to control the compressor or no delay. Function, skip this item directly.
Instructions
Set the difference back:Why set the backlash setting When you control the device, the temperature will rise or fall back. How many degrees does the temperature change If you want the temperature to change by 10°, the device needs to set the difference back to 10. By setting the difference back, the device can cycle through the temperature range.
Set the stop temperature:press the set button once in the normal display state to stop the temperature value flashing. You can set the desired stop temperature value by using the up and down keys.
How to set factory settings are restored:Press and hold the up and down keys while the power is on, the digital tube display 888 will then automatically jump to the detection temperature.
Heating mode setting method
Setup steps
The first step is to set P0=H
The second step sets the stop temperature
The third step sets the hysteresis value
Setting method
1. Press and hold the setting button to enter the internal menu and set P0 to H.
2. Press the setting button to stop the temperature flashing, and the up and down keys to set the temperature.
3. Press and hold the setting button to enter the internal menu and set the P1 hysteresis setting.
Use Cases
Control the water heater, heat it to 65 ° C to stop, the temperature drops back to 50 ° C and start heating again, how to set
Step 1:Determine the working mode as heating mode and set P0 to H
Step 2:Press the setting button to stop the temperature flashing. Set the starting temperature to 50 °C with the up and down keys.
The third step:stop at 65 °C, start again at 50 °C, so the return difference needs to be set to 65-50=15, enter the internal menu and set P1 to 15, the heating case is set!
Cooling mode setting mode
Setup steps
The first step is to set P0=C
The second step sets the stop temperature
The third step sets the hysteresis value
Setting method
Press and hold the setting button to enter the internal menu and set P0 to C.
Press the setting button to stop the temperature flashing, and the up and down keys to set the temperature.
Long press the setting button to enter the internal menu, set the P1 backlash setting
Use Cases
Control the farm, ventilate to 26 ° C to stop, the temperature rises to 28 ° C to start the refrigeration again, how to set up
The first step:determine the working mode is cooling mode, set P0 to C
Step 2:Press the SET button to stop the temperature flashing. Set the stop temperature to 28 °C with the up and down keys.
The third step:stop at 26 ° C, start again at 28 ° C, so the return difference needs to be set to 28-26 = 2, enter the internal menu to set P1 to 2, the cooling case is set!
Package includes
3 x Miniature embedded digital display thermostat
| Weight | 0.132 kg |
|---|
Related products
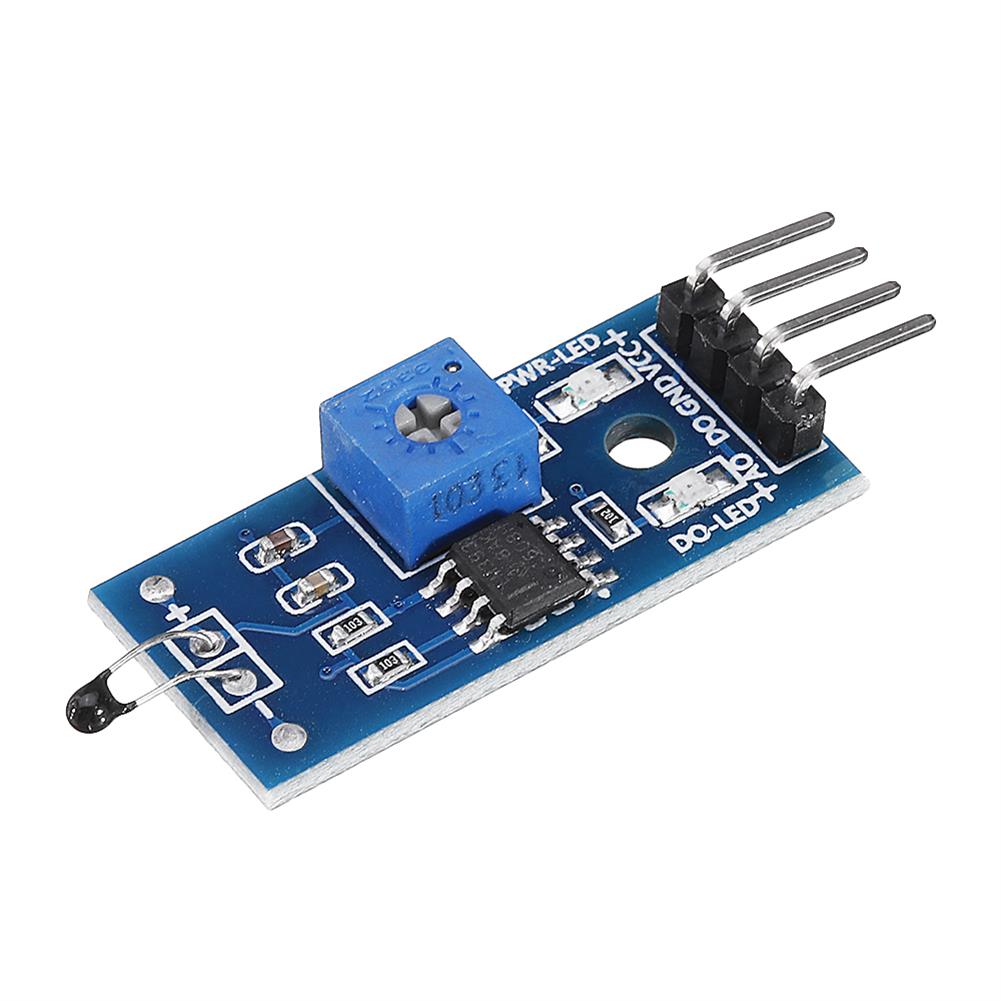
3pcs thermal Sensor Module Temperature Switch thermistor Sensor Board
$5.49Sensor & Detector ModuleAdd to cartUsesTemperature detection, temperature control sensors , ambient temperature detectionFeatures1. Using the NTC thermistor sensor, good sensitivity2. The comparator output signal is clean, good waveform, driving ability, more than 15mA.3. Adjust the temperature distribution position detection threshold4. The working voltage 3.3V-5V5. The output format:digital switching outputs ( 0 and 1 )6. Fixed bolt holes for easy …
3pcs thermal Sensor Module Temperature Switch thermistor Sensor BoardRead More
20pcs thermal Sensor Module Temperature Switch thermistor Sensor Board
$20.28Sensor & Detector ModuleAdd to cartUsesTemperature detection, temperature control sensors , ambient temperature detectionFeatures1. Using the NTC thermistor sensor, good sensitivity2. The comparator output signal is clean, good waveform, driving ability, more than 15mA.3. Adjust the temperature distribution position detection threshold4. The working voltage 3.3V-5V5. The output format:digital switching outputs ( 0 and 1 )6. Fixed bolt holes for easy …
20pcs thermal Sensor Module Temperature Switch thermistor Sensor BoardRead More
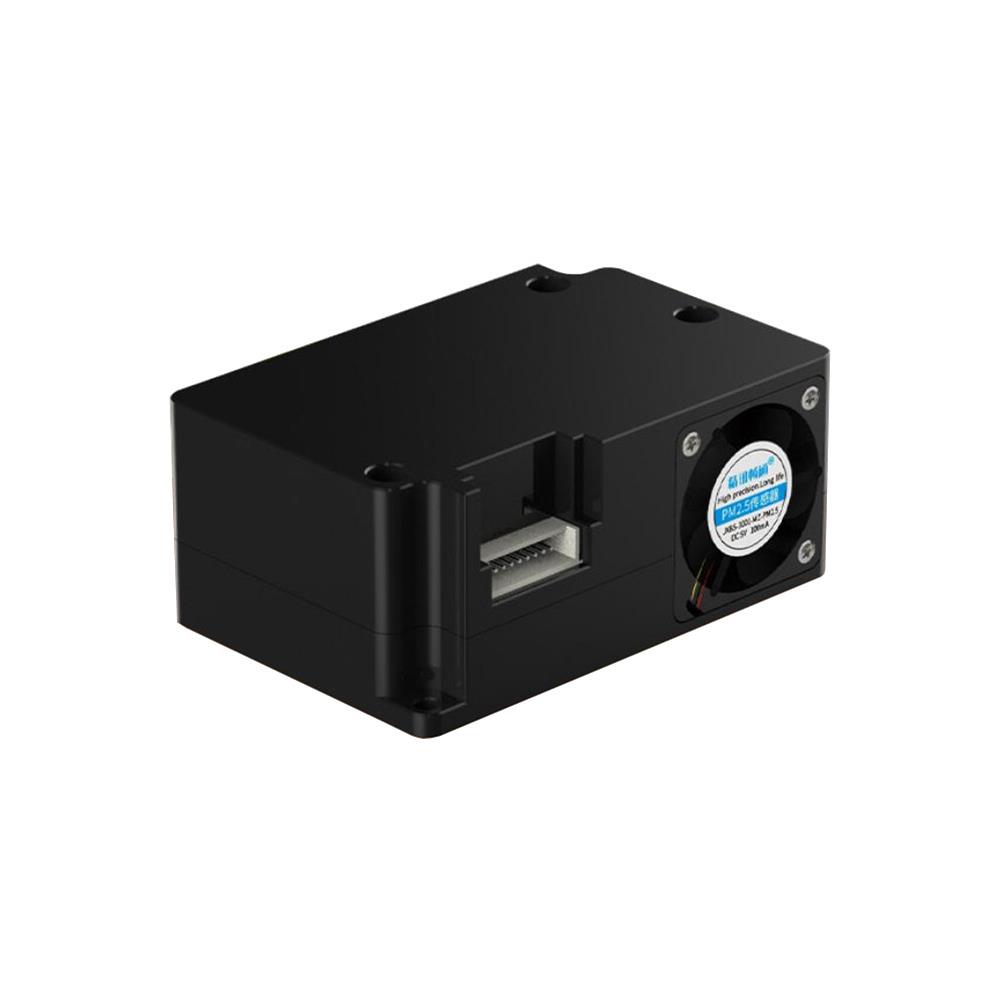
PM2.5 Laser Particulate Matter Sensor PM1.0 PM10 Air Quality Detection Sensor Monitoring Particulate Matter Sensor Module
$39.35Sensor & Detector ModuleAdd to cartTechnical ParametersPM2.5/PM10 measuring range:0-999ug/m3PM2.5/PM10 resolution:lug/m3PM2.5/PM10 accuracyConsistency of particle concentration:0-100ug/m3:÷10%;100-500ug/m3:÷10%Minimum detectable particle diameter:0.3umPower supply voltage:5V÷0.1VMaximum working current:100mAOperating temperature range:-10~60CWorking humidity range:0-95%RHStorage temperature:-30~70CResponse speedProduct appearance size:53x35x23mmApplication areasAir Purifier / Air Quality Detector / Fresh Air Ventilation SystemSupporting air-conditioning / cars with air purification function and consumer electronicsAgricultural greenhouse / environmental monitoring of outdoor breeding placesKitchen and bathroom …
3pcs 6mA 3-100CM Adjustable infrared Digital Obstacle Avoidance Sensor Module
$20.45Sensor & Detector ModuleAdd to cartSpecificationsWorking voltage:DC 3.8V-5.5VWorking current (5V):typical current 6mAInput and output signals (3 lines):GND, VCC is power, and VCC is 3.8V-5.5VObstacle detection time (range from obstacle-free to obstacle-free or obstacle-free to obstacle-free)Working Principle:Sensors actively emit infrared light, according to reflected light detection, if detected obstacles, OUT foot output 0, otherwise 1.Detection distance (test environment, indoor, maximum power, …
3pcs 6mA 3-100CM Adjustable infrared Digital Obstacle Avoidance Sensor ModuleRead More


Customers Also Viewed
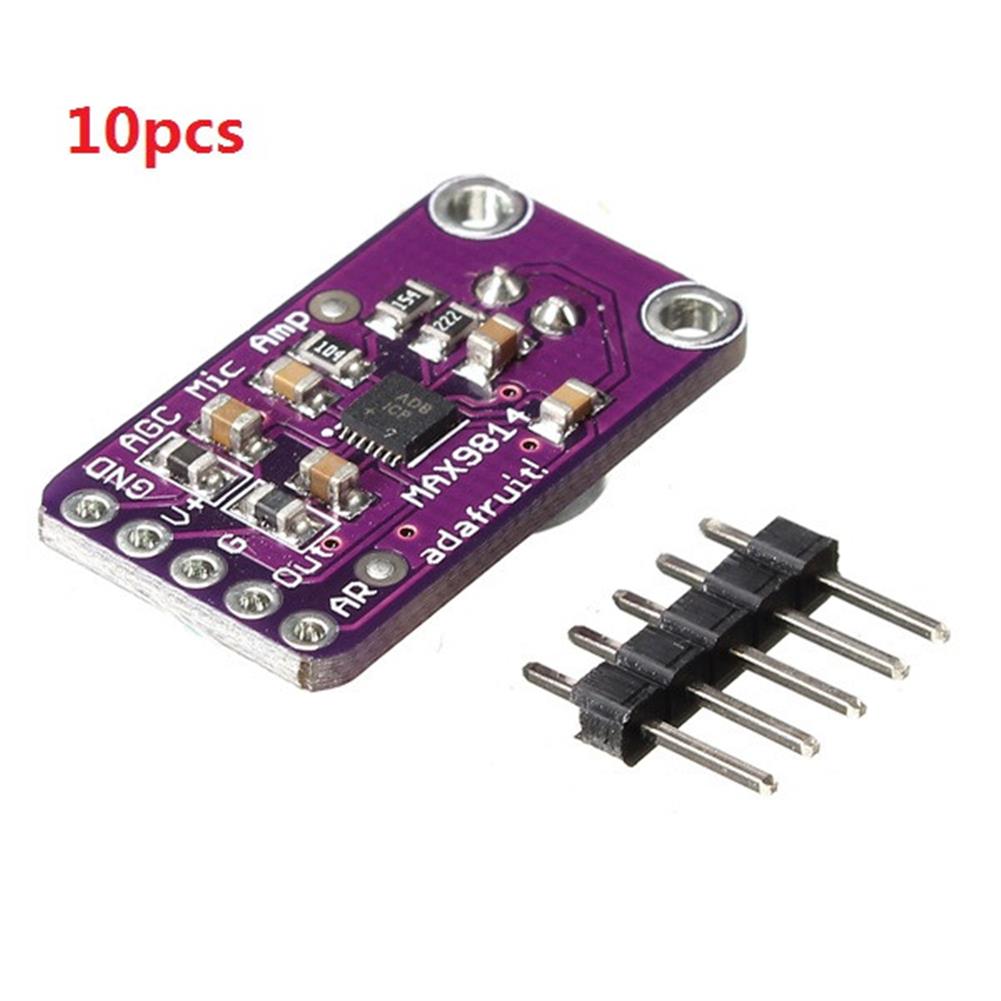
10pcs MAX9814 High Performance Microphone AGC Amplifier Module CMA-4544PF-W
$90.79Amplifier BoardAdd to cartSpecifications– Supply Voltage:2.7v-5.5v @ 3mA current– Output:2Vpp on 1.25V bias– Frequency Response:20Hz – 20KHz– Programmable Attack and Release Ratio– Automatic gain, selectable max from 40dB, 50dB or 60dB– Low Input-Referred Noise Density of 30nV/– Low THD:0.04% (typ)– Low Power Shutdown Mode– Built-in 2V low-noise microphone bias– -40°C ~ +85°C extended temperature rangePackage included10 x Microphone …
10pcs MAX9814 High Performance Microphone AGC Amplifier Module CMA-4544PF-WRead More
T-AMP 2 x 15W TA2024 Digital Audio Amplifier Board Mini AMP
$19.04Amplifier BoardAdd to cartFeature1. The power to more than 12V current 3A2. The speaker is best to use an impedance of 4 ohms, some of the high sensitivity3. For some signal level is relatively low tone, to add the preamplifier to play the effect4. Note the positive and negative can not be reversed, use the power supplyElectrical CharacteristicsIts …
T-AMP 2 x 15W TA2024 Digital Audio Amplifier Board Mini AMPRead More
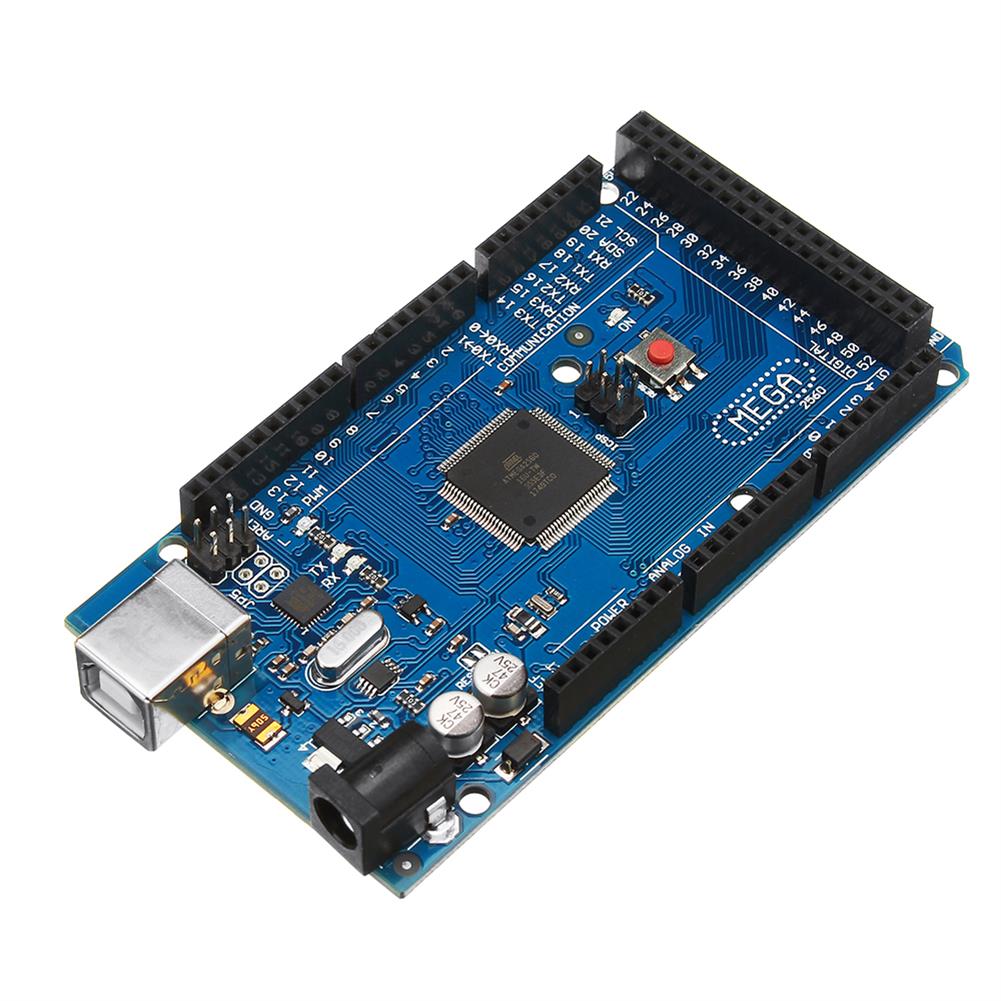
Mega 2560 R3 ATmega2560-16AU Control Module without USB Cable
$44.54Motherboard & Development BoardAdd to cartDescriptionThis is compatible R3 Mega2560 ATmega2560-16AU control board without USB cableMega is an ATmega2560 as core microcontroller development board itself has 54 groups digital I / O input / output terminal (14 groups do PWM outputs), 16 sets of simulation than the input side, group 4 UARTs (hardware serial ports), using the 16 MHz crystal …
Mega 2560 R3 ATmega2560-16AU Control Module without USB CableRead More
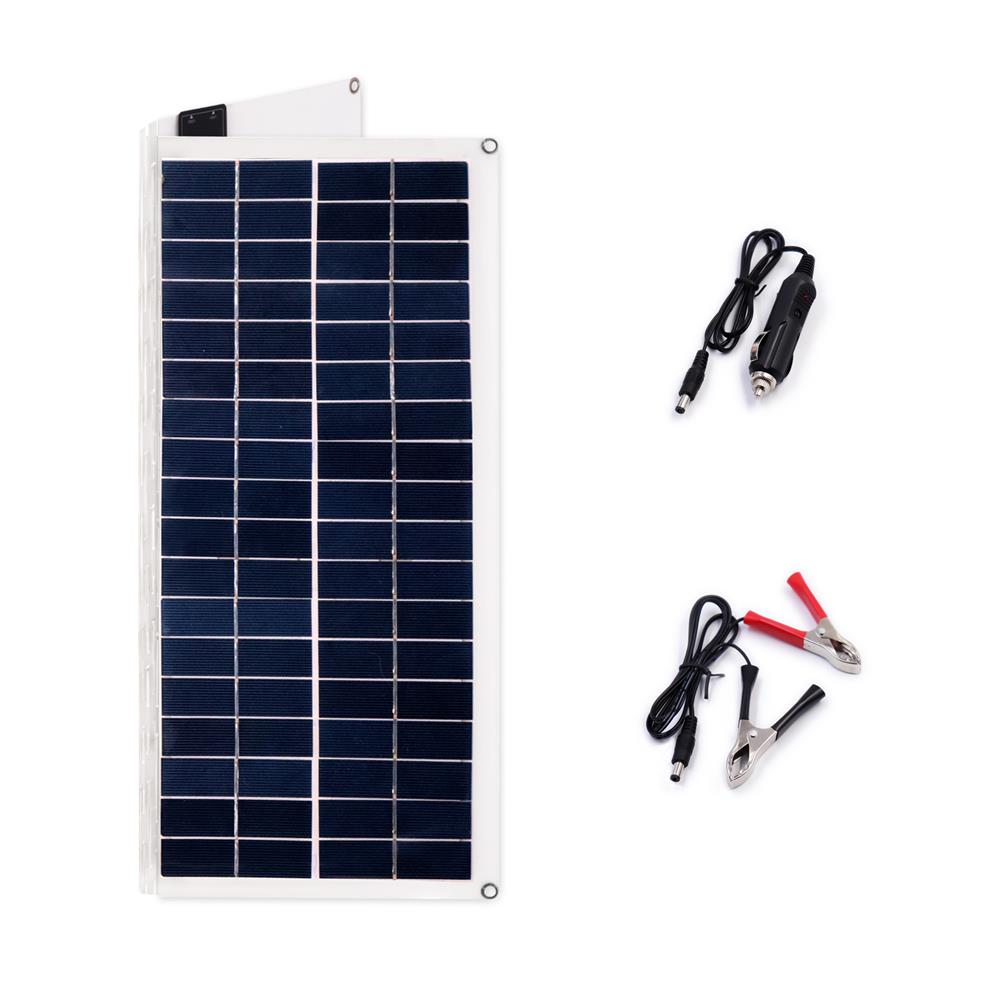
20W 420*380*3mm Folding PET Monocrystalline Silicon Solar Panel with Cable Dual USB
$93.62Smart Robot & Solar PanelAdd to cartSpecificationsMaximum Power(Pmax):20WOpen Circuit Voltage(Voc):18VMaximum Power Voltage(Vmp):12vMaximum Power Current(Imp):1.1AMaximum System Voltage(Imp):1000vOutput:USB 5V & DC 18VQuantity of cell:36Cell Effcience %:20%Output Tolerance:±10%Size:425*380*3mmStandard Test Conditions:Irradiance 1000w/m2Temoerature 25.C,AM=1.5Package Included1 x Solar panel with cable
5pcs 8Channel DC 5V RS485 Modbus RTU Control Module UART Relay Switch Board PLC
$45.10Relay ModuleAdd to cartDescriptions– Operating Voltage:DC 5V(5V Version)– Operating Current:10-15MA– inchopeninch inchcloseinch inchMomentaryinch inchSelf-lockinginch inchInterlockinch inchDelayinch 6 Commands– Two instruction-control mode:AT command and MODBUS command– Under the AT command ,the maximum delay is 9999 seconds– Under the MODBUS command ,the maximum delay is 255 seconds– AT commands can be made serial HyperTerminal (serial assistant) Enter;– MODBUS commands can …
5pcs 8Channel DC 5V RS485 Modbus RTU Control Module UART Relay Switch Board PLCRead More
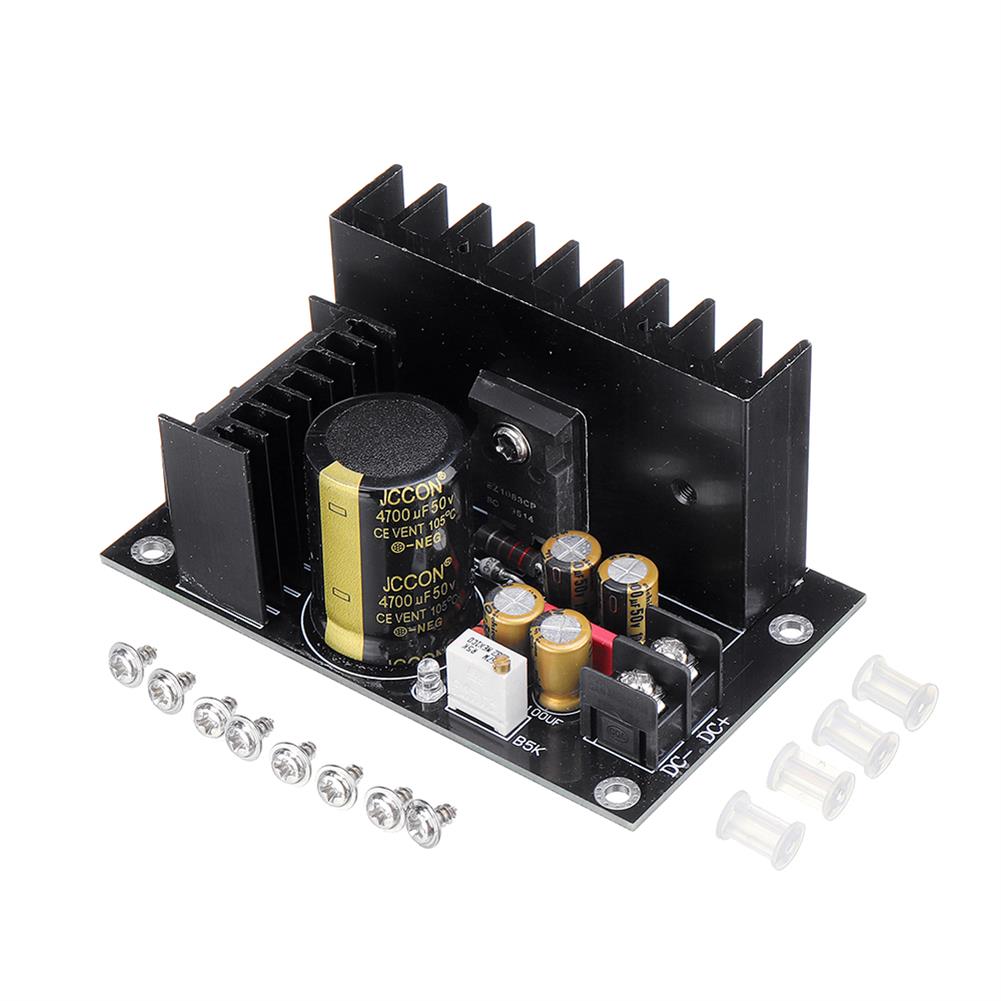
LT1083cp 7A AC 35V Rectifier Filter Power Supply Board DIY Home theater Sound Amplifier Voltage Regulator
$24.04Power Supply ModuleAdd to cartDescriptionLT1083CP feature description (emphasis):It is a linear step-down block. Although the voltage adjustment can be adjusted from 2.5V to 37V, it is recommended that the working differential pressure is within 10V, because the power consumption is proportional to the differential pressure, the greater the differential pressure, the more heat The larger the output current, the …


Reviews
There are no reviews yet.