


XH-M453 Dual Digital Display Temperature Humidity Controller thermostat Humidity Smart thermostat incubator Control AC 220V / DC12-24V
$32.79
Voltage 12-24V / Voltage AC220V /
Shipping:Standard Shipping about 10-25 business days
Secure Payment:Paypal,VISA,MasterCard
Specifications
Product model:XH-M453
Product specifications:DC12~24V/AC220V
Temperature range:-20~60C
Humidity range:0~100%RH
Control accuracy:÷0.1 C / 0.2%
Detection probe:integrated sensor
Output type:relay output
Output capacity:up to 10A
Product weight:about 150g
Appearance size:105*75*38mm
Embedded hole:81*57mm
Package Included
1 x XH-M453 Dual Digital Display Temperature Humidity Controller
1 x Sensor Cable
User Manal
1. Connect the power supply and temperature control humidity equipment correctly according to the wiring diagram. Pay attention to the temperature control and humidity control equipment. Do not connect the wrong ones. When connecting the DC12~24V power supply, distinguish the positive and negative poles. AC220V does not divide the zero fire line.
2. Stop the temperature setting
Press the SET button. When the red screen number starts to flash, press the up and down buttons to adjust the desired stop temperature. After setting, wait for 10 seconds without waiting for the system to automatically save the data.
3. Heating or cooling mode setting
Press and hold the up key, when the red screen displays C-0, press the setting button to enter the C-0 mode setting.
The down button switches between blue screens L and H, where L stands for heating and H stands for cooling. (Note:L when you pick up
The temperature-controlled load must be a heating device. When H, the load you connect must be a cooling device. ) set well
Wait 10 seconds, the system automatically saves the data.
4. Temperature difference setting
Press and hold the up key, when the red screen displays C-0, press the up and down keys to switch to the C-1 temperature difference setting, and then press
Set the temperature to the temperature difference setting, then press the up and down keys to adjust the temperature difference you want; set
Wait 10 seconds, the system automatically saves the data. (If the stop temperature is set to 35 C, the mode is set to L plus
In the hot mode, the temperature difference is set to 5, and the starting temperature is 35-5=30C, and the temperature control range is between 30~35C.
On the contrary, if the mode is set to H cooling mode, the starting temperature is 35+5=40C, and the temperature control range is
Between 35~40C)
5. Temperature calibration
Press and hold the up key, when the red screen displays C-0, press the up and down keys to switch to the C-2 temperature correction mode, press the set key to enter the calibration mode, and then press the up and down keys to adjust the difference you want. Value; if the actual temperature is 28 C, the probe detection temperature is 28.2 C, then the correction difference is set to -0.2; if the detection temperature is low, the correction difference can be increased. Wait 10 seconds after setting, the system automatically saves the data.
Temperature parameter code table
Code Name Setting range Default parameters
C-0 mode setting L heating H cooling L heating mode
C-1 temperature difference 0.1~50 C 2.0C
C-2 temperature calibration -10 and 10 C 0.0 C
6. Stop the temperature setting
Press the SET button, the red screen number starts to flash, and then press the SET button to switch to the blue screen number.
Blink, press the up and down keys to adjust the desired stop humidity value; do not wait after setting 10
In seconds, the system automatically saves the data.
7. Humidification or dehumidification mode setting
Press and hold the key, when the red screen displays H-0, press the setting button to enter the H-0 mode setting.
The down button performs switching between blue screens L and H, L for humidification and H for dehumidification. (Note:L when you pick up
The humidity control load must be a humidification device. When H is used, the load you are connected to must be a dehumidification device. ) set well
Wait 10 seconds, the system automatically saves the data.
8. Humidity difference setting
Press and hold the key, when the red screen displays H-0, press the up and down keys to switch to the H-1 humidity difference setting, press
Press the setting button to enter the humidity difference setting, press the up and down keys to adjust the setting you want, and set it.
Wait 10 seconds, the system automatically saves the data. (If the stop humidity is set to 50% RH, the mode is set to L plus
In wet mode, the humidity difference is set to 5% RH, the starting humidity is 50-5=45%RH, and the humidity control range is between 45~50%RH. On the contrary, if the mode is set to H dehumidification mode, the starting humidity is 50+. 5=55% RH, the humidity control range is between 50~55% RH)
9. Temperature calibration
Press and hold the key, when the red screen displays H-0, press the up and down keys to switch to the H-2 humidity correction mode.
Press the setting button to enter the calibration mode, press the up and down keys to adjust the setting difference; if the actual humidity is 56% RH,
The probe detects a humidity of 56.2% RH, and the correction difference is set to -0.2;
Low, just adjust the correction difference. Wait 10 seconds after setting, the system automatically saves the data.
Humidity parameter code table
Code Name Setting range Default parameters
H-0 mode setting L humidification H dehumidification L humidification mode
H-1 Humidity difference 0.1~50%RH 10%RH
H-2 Humidity Calibration -10 and 10%RH 0.0%RH
10. Restore factory settings
Press and hold the up and down keys for 5 seconds at the same time. When the screen displays 888, the factory will be restored.
| Weight | 0.154 kg |
|---|
Related products
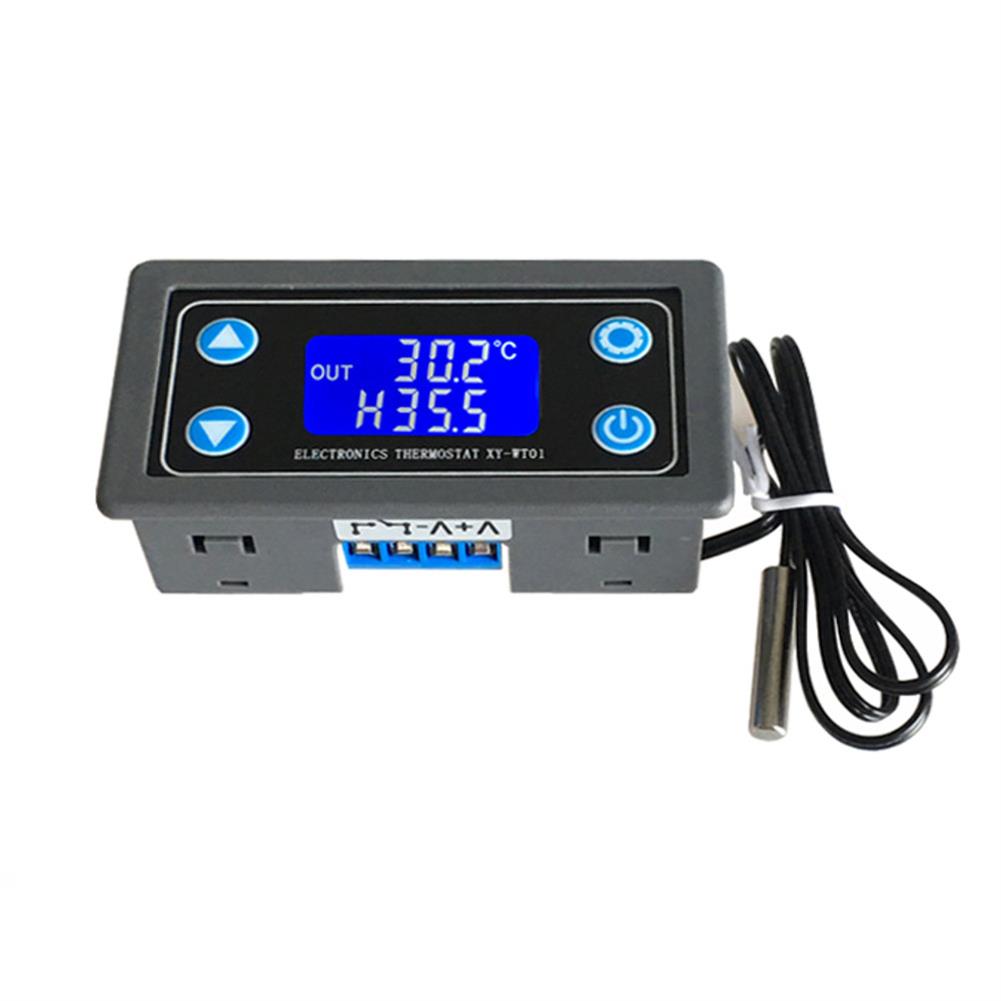
XY-WT01 Digital thermostat Switch Display Temperature Controller Module Cooling Heating 6V12V24V Adjustable
$21.86Test & Measuring ModuleAdd to cartFeatureModel:XY-WT01Working principle:Electronic thermostatPower:250V10AThermostat temperature range:110 CFeatures1. Heating mode H2. Cooling mode C3. Temperature real-time reporting4. Parameter remote read / set5. One-button emergency stop6. High temperature alarm function ACA:sound and light alarm7. Delayed start OPH:0~9999 minutes8. Temperature correction function OPE:-10~10C9. Reply to factory settingsPackage includes1 x Electronic thermostat
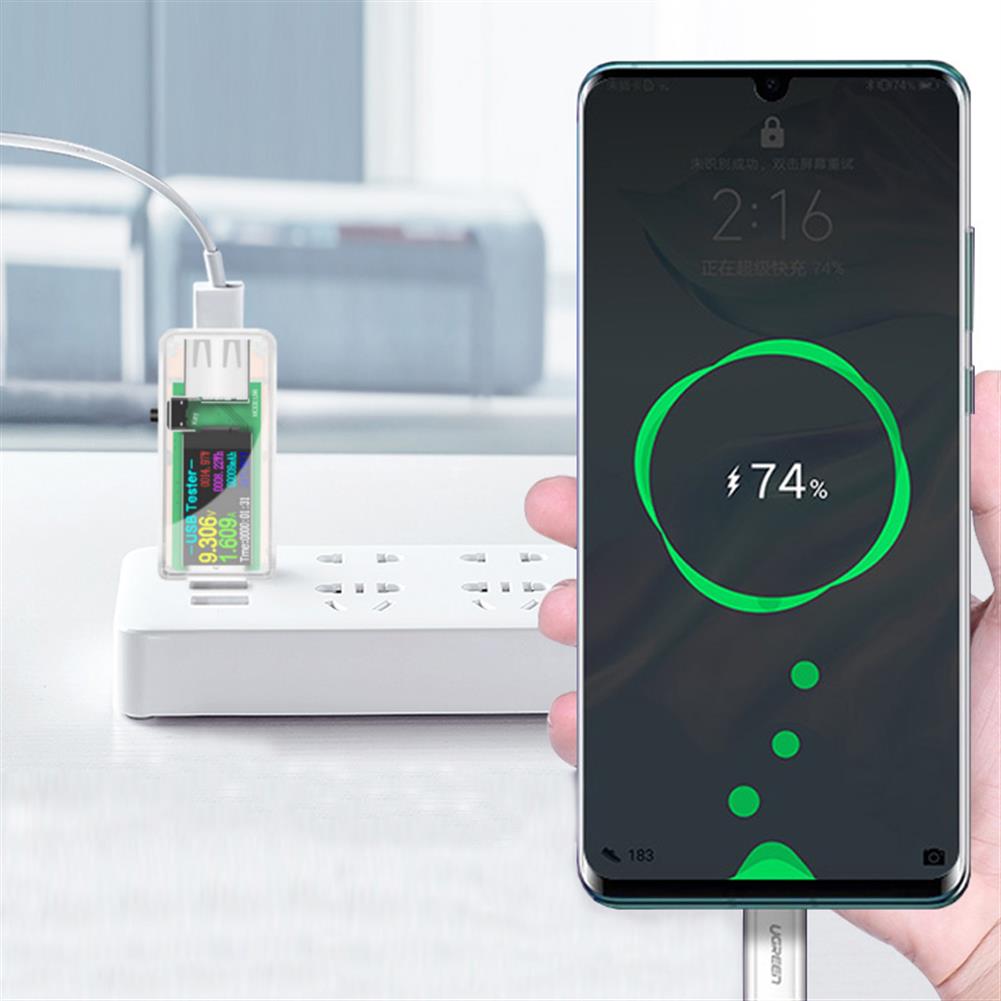
U96 USB Tester DC Digital Voltmeter Power Bank Charger indicator Voltage Current Meter Detector Clear
$18.58Test & Measuring ModuleAdd to cartU96 13 IN 1 Technical parametersVoltage measuring range:3.60V ~ 32.5 V Resolution precision:0.01 V Current measuring range:0.00A ~ 5.00 A Resolution precision:0.01 APower cumulative range:0 ~ 999999 WH Resolution precision:0.001 WhCapacity range:0 ~ 999999 mAH Resolution precision:0.001 AhTemperature:0 → ~ + 80 → Resolution precision:1 →D+ Voltage:0.000V ~ 2.999 V Resolution precision:0.001 VD- Voltage:0.000V ~ …
5pcs 12 in 1 Transparent USB Tester DC Digital Voltmeter Amperemeter Voltagecurrent Meter Ammeter Detector Power Bank Charger indicator
$48.11Test & Measuring ModuleAdd to cartTechnical parametersVoltage measuring range:3.60V ~ 32.5 V Resolution precision:0.01 V Current measuring range:0.00A ~ 5.00 A Resolution precision:0.01 APower cumulative range:0 ~ 999999 WH Resolution precision:0.001 WhCapacity range:0 ~ 999999 mAH Resolution precision:0.001 AhTemperature:0 → ~ + 80 → Resolution precision:1 →D+ Voltage:0.000V ~ 2.999 V Resolution precision:0.001 VD- Voltage:0.000V ~ 2.999 V Resolution precision:0.001 …
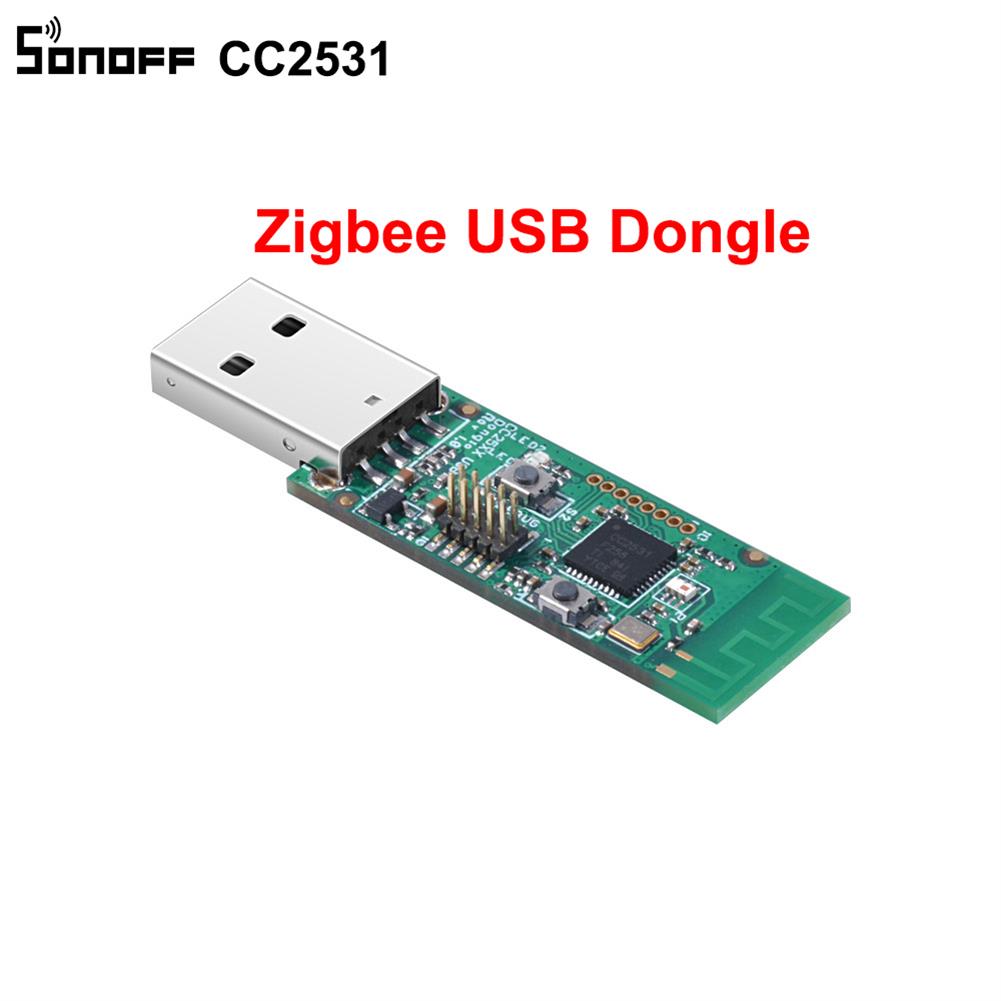
Sonoff ZB CC2531 USB Dongle Module Bare Board Packet Protocol Analyzer USB interface Dongle Supports BASICZBR3 S31 Lite zb
$14.16Test & Measuring ModuleAdd to cartTo run ZB 2mqtt for the control of SONOFF ZB products like BASICZBR3, S31 Lite Zb in your home automation system, a CC2531 USB dongle integration is recommended. Features* The CC2531 USB dongle is a fully operational USB device which provides a PC interface to IEEE802.15.4 / ZB applications.* Comes with a CC2531ZNP-Prod firmware, it …

Customers Also Viewed
KW-AR-Mini Kit with 17 Classes UNO R3 DC Motor Breadboard LED Components Set Geekcreit for Arduino – products that work with official Arduino boards
$39.35Module KitsAdd to cartFeatureFree TutorialGood kit for Arduino Starter17 ClassesClass 1 Hello Arduino!Class 2 LED Running LightsClass 3 Key ExperimentClass 4 AD Analog-to-Digital conversationClass 5 PWM ExperimentClass 6 Buzzer ExperimentClass 7 The Temperature Sensor ExperimentClass 8 Photosensitive Light ExperimentClass 9 Fire Alarm ExperimentClass 10 Infrared Remote ControlClass 11 UltrasonicClass 12 8-Bit Digital Display ExperimentClass 13 4 x 8 …
2Pcs Mini Football Soccer Goals for Training Junior Kids Children
$136.93Carbon FiberAdd to cartSpecificationsMaterial:Nylon & G-carbonSize:1200*810*810mmColor:Red&GreenWeight:820gFeatures1. This item is great for junior soccer players to practice their shooting accuracy, or just to have fun and play some shooting games.2. Easy to Set Up–The pop up soccer goals are super easy to set up, your kids maybe can do that all on his own, or call some friends to …
2Pcs Mini Football Soccer Goals for Training Junior Kids ChildrenRead More
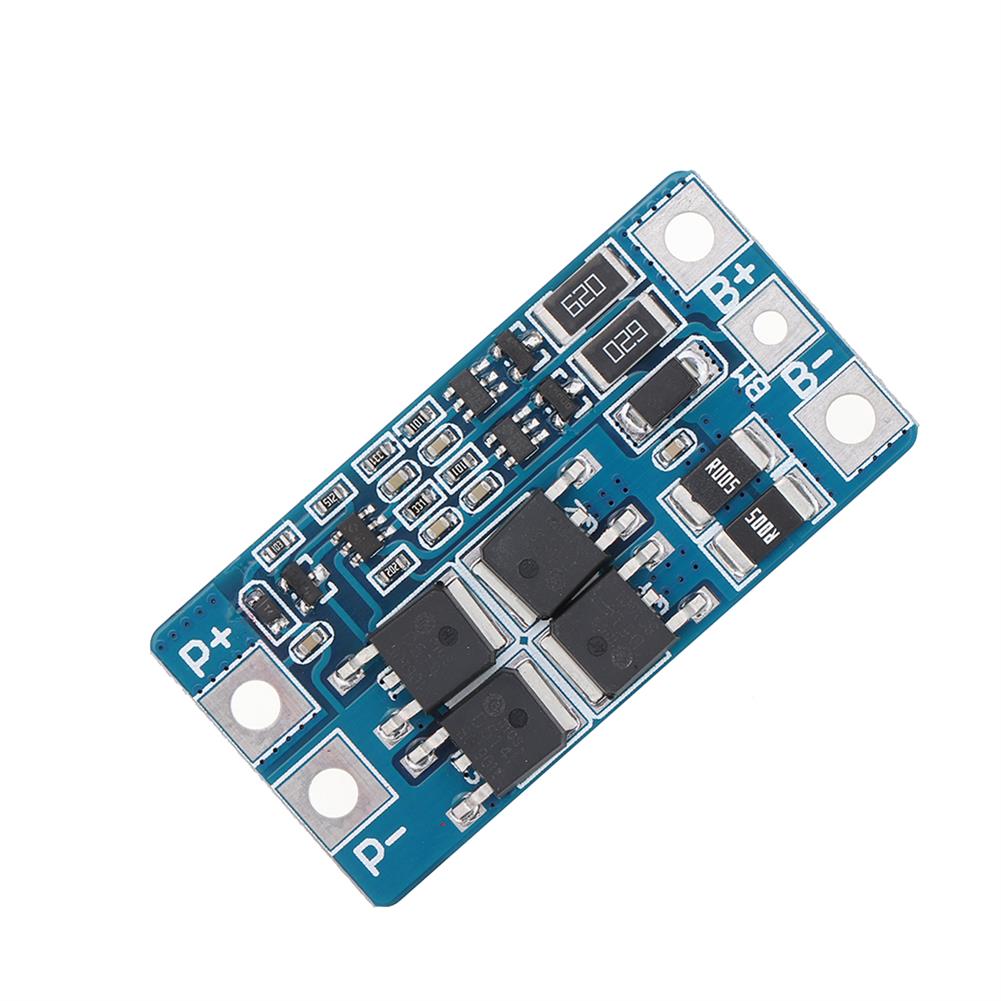
5pcs 2S 10A 7.4V 18650 Lithium Battery Protection Board 8.4V Balanced Function Overcharged Protection
$19.20Battery Protection ModuleAdd to cartSpecificationsModel:HX-2S-JH20 Overcharge voltage range:4.25±0.05vSize:46.7*23*3.15mm Over-discharge voltage range:2.9v±0.05vUpper limit working current:10A Working temperature:-40—+50°CUpper limit instantaneous current:20A Storage condition:-40– +80°CQuiescent current:less than 10uA Internal resistance:less than 300mΩ Short circuit protection:protection, charge recoveryCharging voltage:8.4V-9VWelding Point Description· B+ is connected to the battery positive pole;· B- is connected to the negative pole of the battery;· MB is connected to …
55Pcs/Set Silicone Casting Molds and Tools Jewelry Pendant Resin Mould DIY
$38.46Painting Teaching ToolsAdd to cartFeatures-This set of making tool is especially designed for DIY expoxy resin crafts, including silicone mold,spoon,sequin,drill,nails and so on.-Different silicone molds have different shapes for you to choose,which may accurately match your various needs.-It is easy control with the reliable quanlity as well as the efficence. -The superior DIY tools for your craft works.SpecificationMaterials:Silicone,MetalType:Making ToolsQuantity:55pcs,one …
55Pcs/Set Silicone Casting Molds and Tools Jewelry Pendant Resin Mould DIYRead More
DIY thermoelectric Peltier Semiconductor Refrigeration Cooling System + Fan Kit
$27.54Electronic Accessories & SuppliesAdd to cartFeaturesSimple operation, strong practicabilityFast cooling, outstanding effectPower supply:12V 15AFan power rate:about 5WFan size:40*40mm Cooling profiles:40*40mm for inlet tube:8mm Screws:3mmNoteMust fititng radiator heartsink when power on, or it will burn the kitThis kit does not comes with PeltierPackage included1 x DIY Thermoelectric Peltier Refrigeration Cooling Kit
5pcs I2C 8-bit I/O Expander Module PCA8574AD Expansion Board RobotDyn for Arduino – products that work with official for Arduino boards
$45.20Expansion Board & ShieldAdd to cartFeatureIf you just don’t have enough digital I/O pins on your for Arduino to interface with all your sensors and controls, you might want to look at using the I2C bus to connect a few port expander chip PCA8574AD have 8 digital I/O bits and can be set to addresses 0x38-0x3F respectively.The I2C bus on …
Ebyte E70-DTU-433NW30-GPRS GPRS Modem 6.5km Wireless Networking Equipment 433MHz 30dbm Networking LoRa RF Module lOT Gateway
$260.04Smart ModuleAdd to cartSpecification Model:E70-DTU-433NW30-GPRSProduct name:iot gatewayProduct advantages:Star self-organizing networkTransmission type:GPRSInterface Type:RS232/RS485Frequency band:433MHzTransmission Range:6.5kmSupply voltage:8 ~ 28V DCSize:108*75*37mmInterface:RS232 RS485Application:Industry Network TransmissionPackage included1 x LoRa RF Module


Recently Viewed Products
-
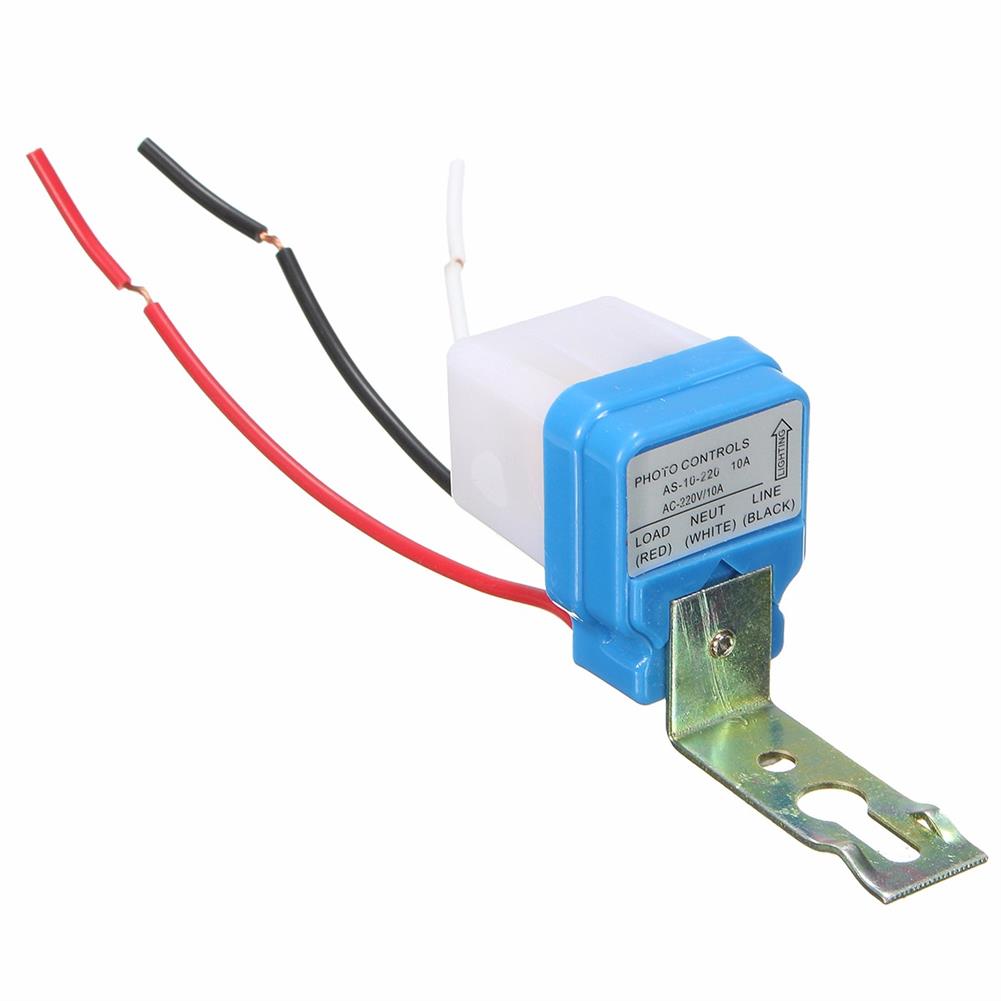 10pcs AC 220V 10A Automatic Auto on off Street Light Switch Photo Control Sensor $52.00
 -
 400W 12V/24V Automatic Wind Turbine Generator Lantern 5 Blade Vertical $540.66
 -
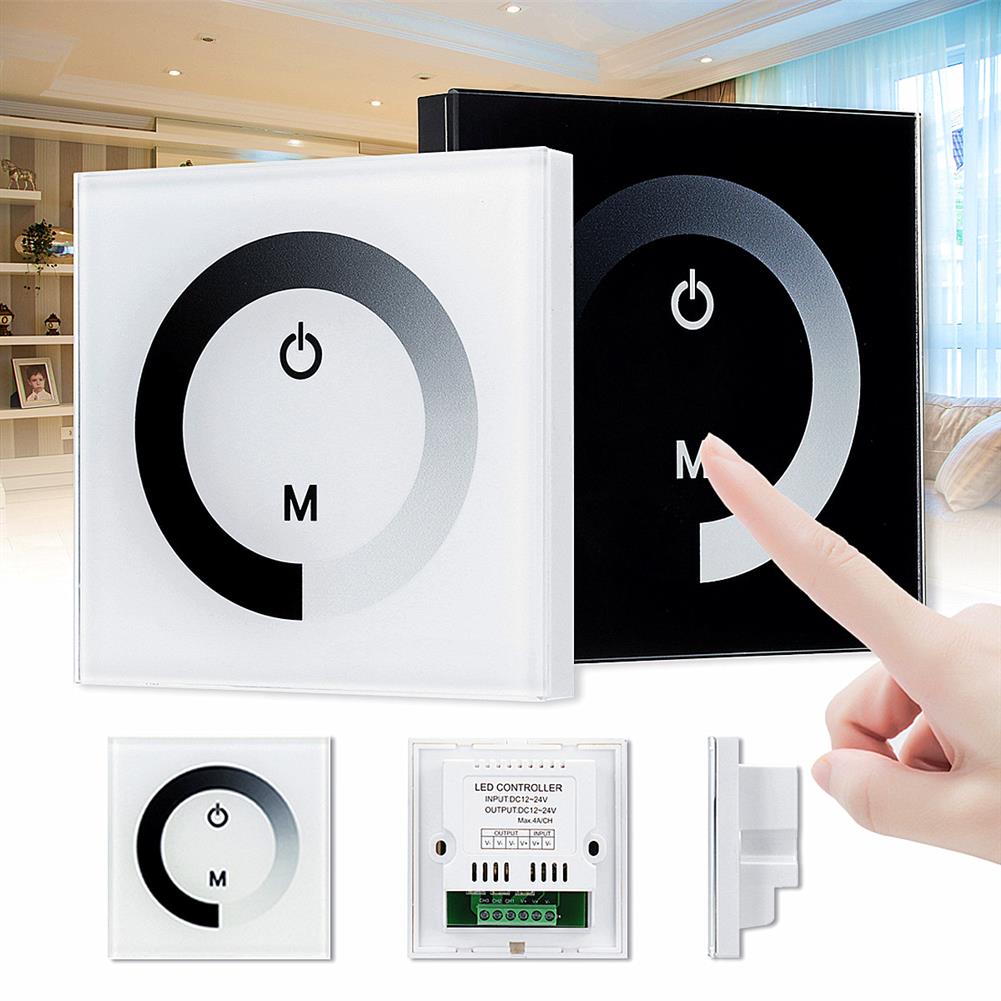 DC 12V/24V Sensitive Touch Switch Panel LED Light Dimmer Controller Wall Mounted Switch $42.51
 -
 AHT20 I2C Temperature and Humidity Sensor Module High-precision Humidity Sensor Probe DHT11 AHT10 Upgraded Version for Arduino $8.49
 -
 HIFI 2.0 TPA3116D2 2 x 50W Digital Audio Amplifier 2 Channel Stereo Amplifier Board $15.30
 -
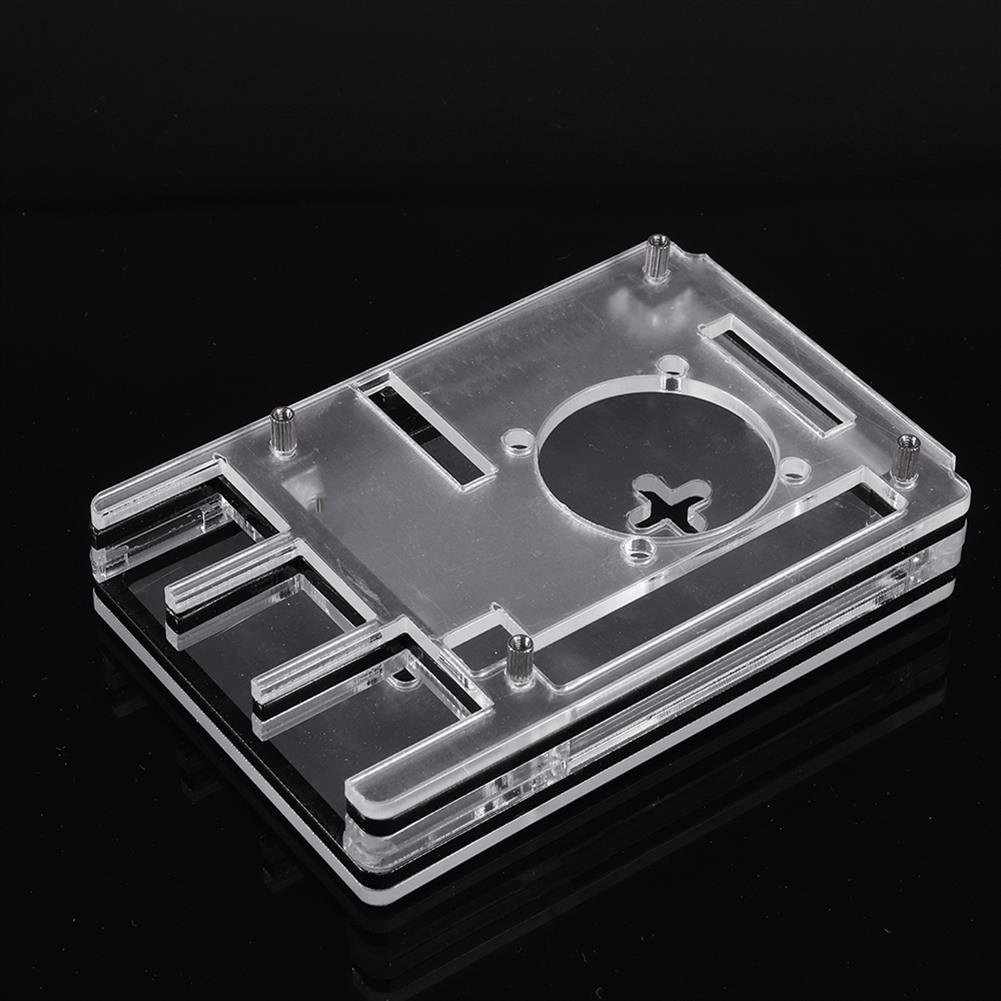 6-Layer Acrylic Transparent Protective Case for Raspberry Pi 4B Support Touch Screen instal $11.14
 -
 1800W 220V Handheld Air Blower Vacuum 6-Speed Adjustable Car Garden Dust Leaf Vacuum Cleaner $153.89
 -
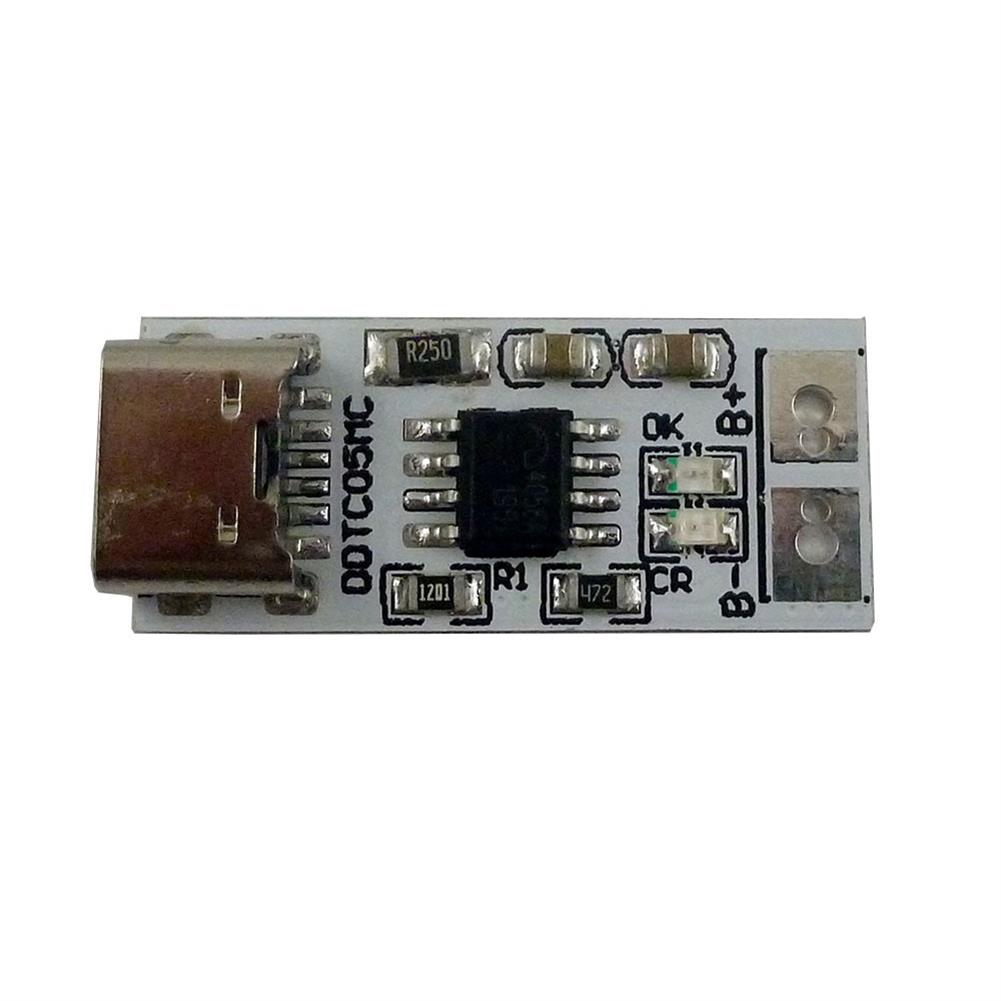 DDTC05MC Type-C USB 5V to 4.35V Li-ion Li-Po Lithium Battery Charger Module for 3.8V 18650 Cell Phone Battery $7.60
 -
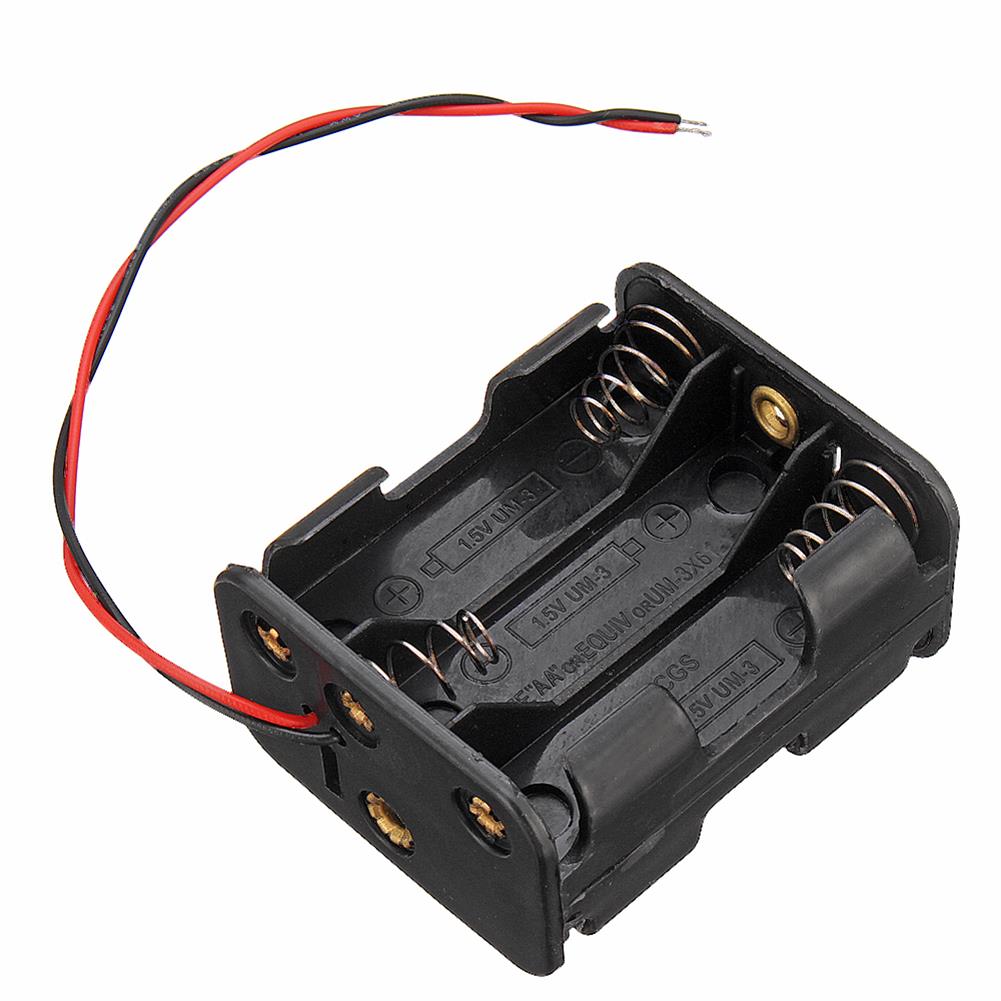 5pcs 6 Slots AA Battery Holder Plastic Case Storage Box for 6xAA Battery $11.85
 -
 95mm/65mm Aluminum Alloy Frame Wheel + 12v DC Motor with Cable DIY Kit for Smart Chasssis Car Part $34.51
Reviews
There are no reviews yet.