


XH-M453 Dual Digital Display Temperature Humidity Controller thermostat Humidity Smart thermostat incubator Control AC 220V / DC12-24V
$32.79
Voltage 12-24V / Voltage AC220V /
Shipping:Standard Shipping about 10-25 business days
Secure Payment:Paypal,VISA,MasterCard
Specifications
Product model:XH-M453
Product specifications:DC12~24V/AC220V
Temperature range:-20~60C
Humidity range:0~100%RH
Control accuracy:÷0.1 C / 0.2%
Detection probe:integrated sensor
Output type:relay output
Output capacity:up to 10A
Product weight:about 150g
Appearance size:105*75*38mm
Embedded hole:81*57mm
Package Included
1 x XH-M453 Dual Digital Display Temperature Humidity Controller
1 x Sensor Cable
User Manal
1. Connect the power supply and temperature control humidity equipment correctly according to the wiring diagram. Pay attention to the temperature control and humidity control equipment. Do not connect the wrong ones. When connecting the DC12~24V power supply, distinguish the positive and negative poles. AC220V does not divide the zero fire line.
2. Stop the temperature setting
Press the SET button. When the red screen number starts to flash, press the up and down buttons to adjust the desired stop temperature. After setting, wait for 10 seconds without waiting for the system to automatically save the data.
3. Heating or cooling mode setting
Press and hold the up key, when the red screen displays C-0, press the setting button to enter the C-0 mode setting.
The down button switches between blue screens L and H, where L stands for heating and H stands for cooling. (Note:L when you pick up
The temperature-controlled load must be a heating device. When H, the load you connect must be a cooling device. ) set well
Wait 10 seconds, the system automatically saves the data.
4. Temperature difference setting
Press and hold the up key, when the red screen displays C-0, press the up and down keys to switch to the C-1 temperature difference setting, and then press
Set the temperature to the temperature difference setting, then press the up and down keys to adjust the temperature difference you want; set
Wait 10 seconds, the system automatically saves the data. (If the stop temperature is set to 35 C, the mode is set to L plus
In the hot mode, the temperature difference is set to 5, and the starting temperature is 35-5=30C, and the temperature control range is between 30~35C.
On the contrary, if the mode is set to H cooling mode, the starting temperature is 35+5=40C, and the temperature control range is
Between 35~40C)
5. Temperature calibration
Press and hold the up key, when the red screen displays C-0, press the up and down keys to switch to the C-2 temperature correction mode, press the set key to enter the calibration mode, and then press the up and down keys to adjust the difference you want. Value; if the actual temperature is 28 C, the probe detection temperature is 28.2 C, then the correction difference is set to -0.2; if the detection temperature is low, the correction difference can be increased. Wait 10 seconds after setting, the system automatically saves the data.
Temperature parameter code table
Code Name Setting range Default parameters
C-0 mode setting L heating H cooling L heating mode
C-1 temperature difference 0.1~50 C 2.0C
C-2 temperature calibration -10 and 10 C 0.0 C
6. Stop the temperature setting
Press the SET button, the red screen number starts to flash, and then press the SET button to switch to the blue screen number.
Blink, press the up and down keys to adjust the desired stop humidity value; do not wait after setting 10
In seconds, the system automatically saves the data.
7. Humidification or dehumidification mode setting
Press and hold the key, when the red screen displays H-0, press the setting button to enter the H-0 mode setting.
The down button performs switching between blue screens L and H, L for humidification and H for dehumidification. (Note:L when you pick up
The humidity control load must be a humidification device. When H is used, the load you are connected to must be a dehumidification device. ) set well
Wait 10 seconds, the system automatically saves the data.
8. Humidity difference setting
Press and hold the key, when the red screen displays H-0, press the up and down keys to switch to the H-1 humidity difference setting, press
Press the setting button to enter the humidity difference setting, press the up and down keys to adjust the setting you want, and set it.
Wait 10 seconds, the system automatically saves the data. (If the stop humidity is set to 50% RH, the mode is set to L plus
In wet mode, the humidity difference is set to 5% RH, the starting humidity is 50-5=45%RH, and the humidity control range is between 45~50%RH. On the contrary, if the mode is set to H dehumidification mode, the starting humidity is 50+. 5=55% RH, the humidity control range is between 50~55% RH)
9. Temperature calibration
Press and hold the key, when the red screen displays H-0, press the up and down keys to switch to the H-2 humidity correction mode.
Press the setting button to enter the calibration mode, press the up and down keys to adjust the setting difference; if the actual humidity is 56% RH,
The probe detects a humidity of 56.2% RH, and the correction difference is set to -0.2;
Low, just adjust the correction difference. Wait 10 seconds after setting, the system automatically saves the data.
Humidity parameter code table
Code Name Setting range Default parameters
H-0 mode setting L humidification H dehumidification L humidification mode
H-1 Humidity difference 0.1~50%RH 10%RH
H-2 Humidity Calibration -10 and 10%RH 0.0%RH
10. Restore factory settings
Press and hold the up and down keys for 5 seconds at the same time. When the screen displays 888, the factory will be restored.
| Weight | 0.154 kg |
|---|
Related products
Transistor Tester ESR Capacitance Meter Resistance inductance Measuring
$49.09Test & Measuring ModuleAdd to cartTransistor Tester ESR Capacitance Meter Resistance Inductance MeasuringSpecificationsVoltage:DC 9VCurrent:20mASize:80 x 53 x 20mmWire length:140mmDisplay size:57 x 37mmFunction introduction1. One key measure operation, time delay automatic power off. Turn off the current only 20mA, to support the operation of the battery.2. Automatic detection of PNP and NPN bipolar transistor, N, P channel JFET, MOSFET field effect …
Transistor Tester ESR Capacitance Meter Resistance inductance MeasuringRead More
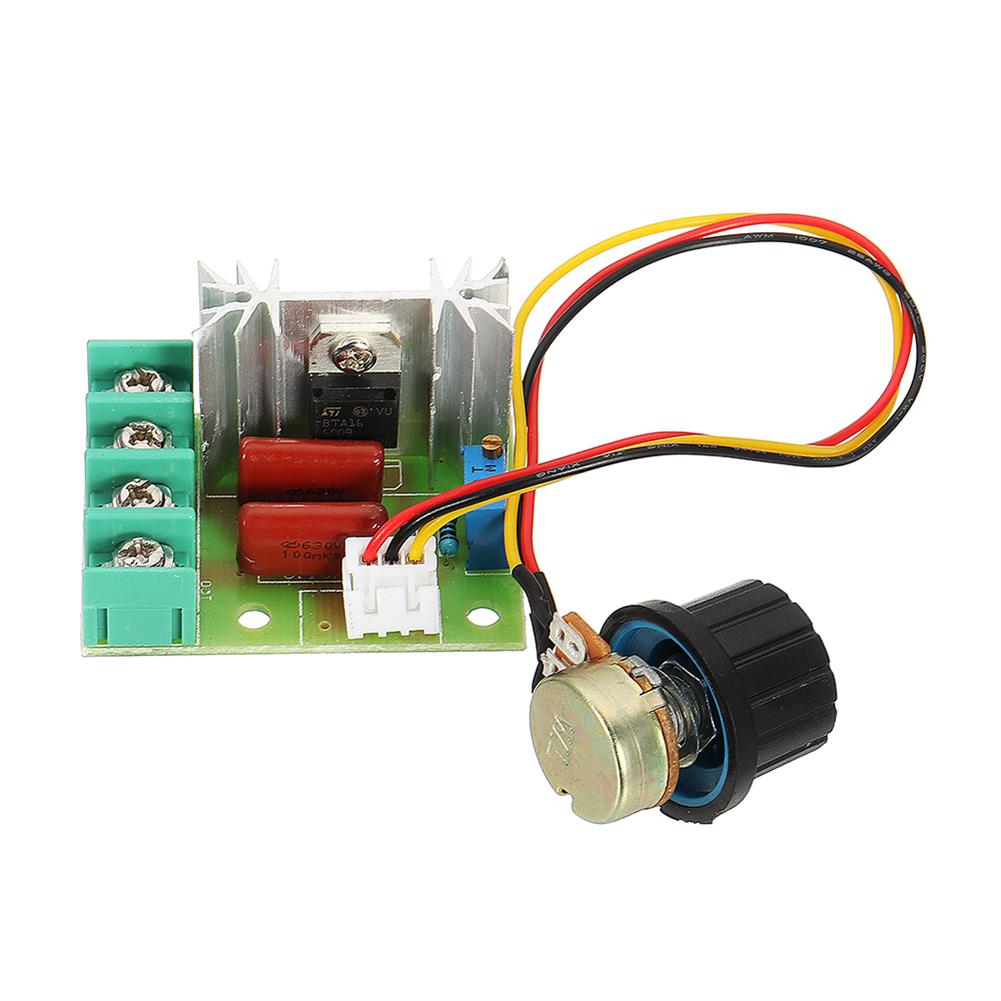
3pcs 2000W Thyristor Governor Motor 220V Regulating Dimming thermostat Module External Potentiometer Voltage Adjustable
$12.58Test & Measuring ModuleAdd to cartTips:This product needs to be connected to the load to adjust voltage, such as old-fashioned incandescent lamps or fans!FeatureUse voltage:AC 220VMaximum power:2000WVoltage regulation:AC 50-220VSpecification size:High temperature resistant FR-4 circuit board Circuit board size:about 36 x 48mmOuter size:48 x 60mm (knob direction) x 28mm (high)Control silicon withstand voltage up to 1200 volts / current 25A1.6mm thick …
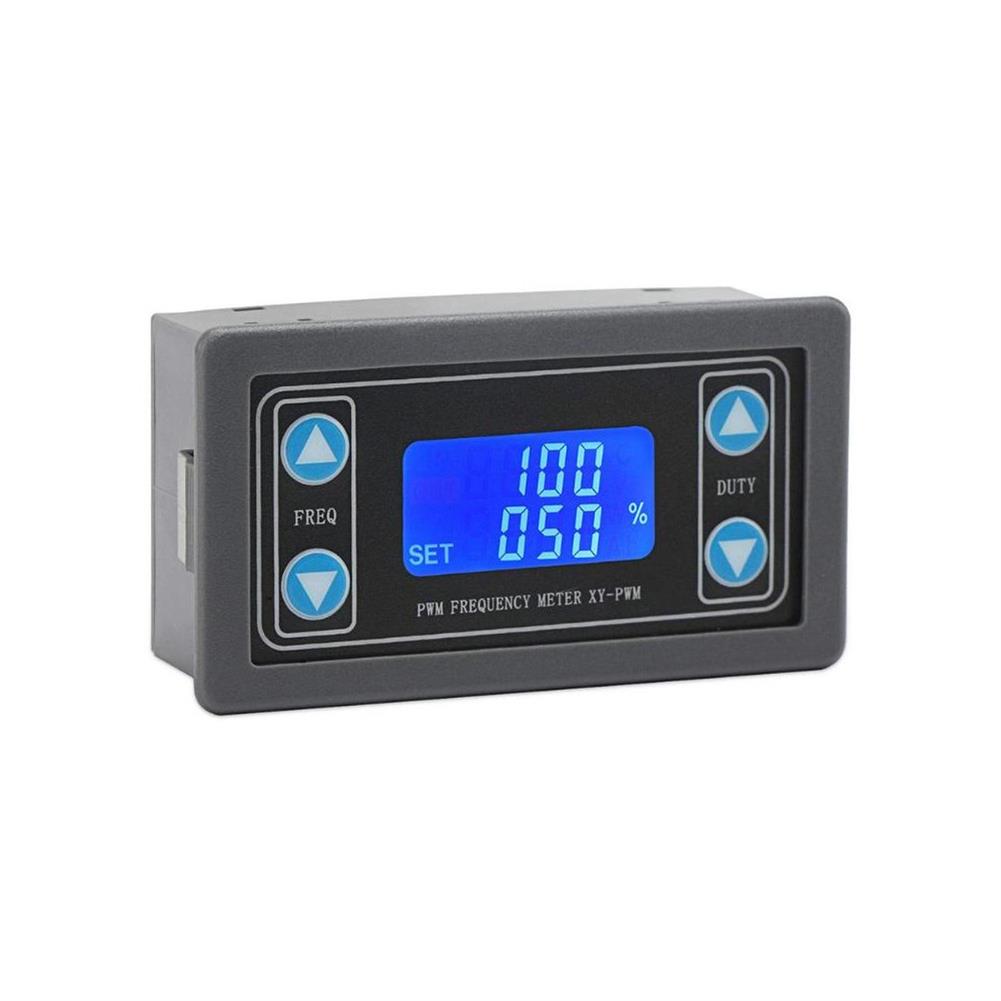
3pcs XY-PWM DC3.3-30V 1Hz~150KHz Digital Display Square Wave Rectangular Wave Pulse Signal Generator
$39.11Test & Measuring ModuleAdd to cartFunction1. Protective Shell2. LCD High Definition Display3. Support UART4. Supporting frequency adjustment5. Support duty cycle adjustment6. High accuracy detection7. Supporting POW ER-OFF memory function8. 0.1 Channel PWM Output9. Purpose:Device used as a signal source or excitation source in production practiceFeatureWorking voltage:3.3-30VFrequency ran ge:1Hz~150KHzFrequency accuracy:the accuracy in each range is about 2%Signal load capacity:output current can …
20pcs 2000W Thyristor Governor Motor 220V Regulating Dimming thermostat Module External Potentiometer Voltage Adjustable
$67.46Test & Measuring ModuleAdd to cartTips:This product needs to be connected to the load to adjust voltage, such as old-fashioned incandescent lamps or fans!FeatureUse voltage:AC 220VMaximum power:2000WVoltage regulation:AC 50-220VSpecification size:High temperature resistant FR-4 circuit board Circuit board size:about 36 x 48mmOuter size:48 x 60mm (knob direction) x 28mm (high)Control silicon withstand voltage up to 1200 volts / current 25A1.6mm thick …


Customers Also Viewed
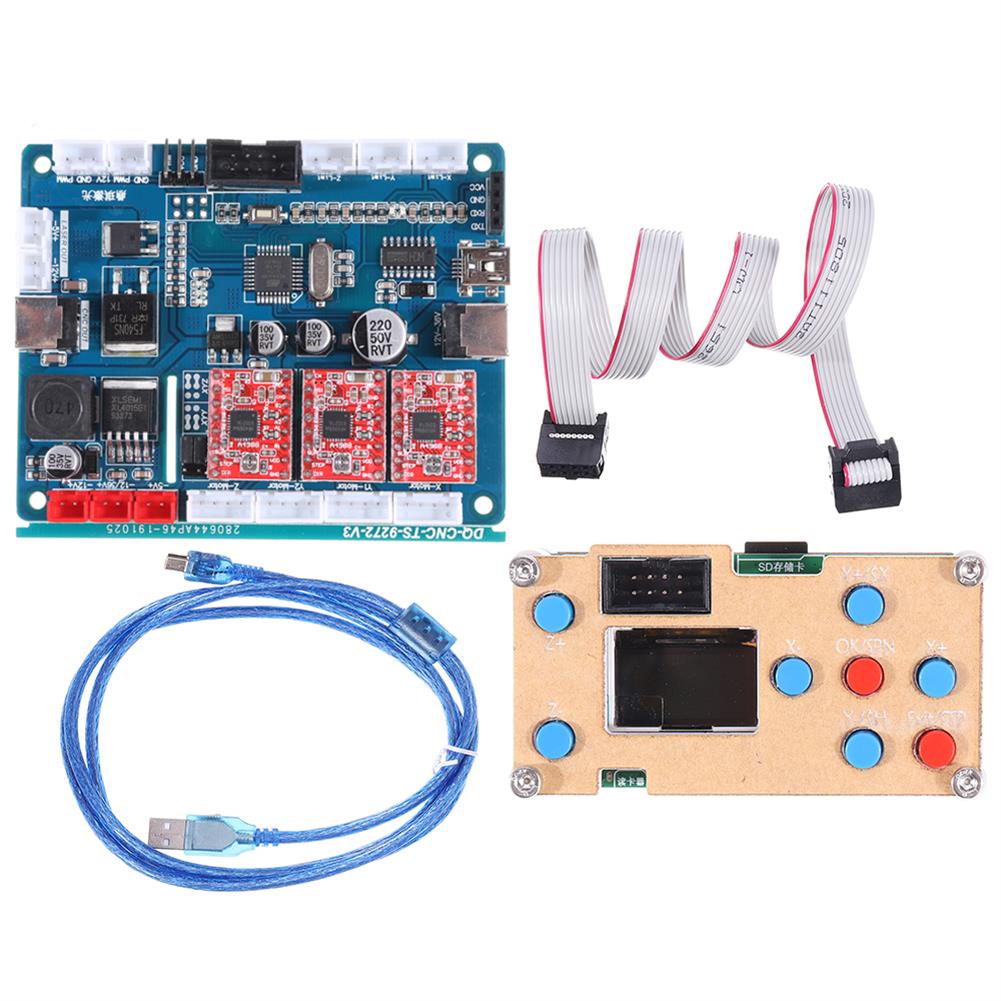
3 Axis GRBL USB Driver offline Controller Control Module LCD Screen w/ Controller Board SD Card for CNC 1610 2418 3018 Wood Router Laser Engraving Machine
$93.14Control BoardAdd to cartDescriptionThis offline controller w/ controller board is designed for the use of Mini CNC router 1610/2418/3018 and even with more advanced function of tool set, limit switch supportive, Laser supportive; Offline and Bluetooth supportive.SpecificationUSB Cable Length:20cmFirmware:GRBL 08, 09, 1.1 and so on Input Voltage:DC 7V- 36VApplicable CNC Router:3 Axis CNC router 1610; 2418; 3018Features1. Support …
20Pcs PS2 Game Joystick Switch Sensor Module
$34.87Other Module BoardAdd to cart20Pcs PS2 Game Joystick Module For Description This is PS2 game joystick module for Lots of robot projects need joystick. This module provides a affordable solution to that. Simply connect to two analog inputs, the robot is at your commands with X,Y control. It also has a switch that is connected to a digital pin. …
Ebyte E07-M1101D-TH 10dBm Spring Antenna 433MHz CC1101 Wireless Transceiver SPI 433mhz RF Module
$9.18Smart ModuleAdd to cartSpecificationsInterface:SPIPower:10dBmDistance:520mSupply voltage:1.9 ~ 3.6V DCFrequency:433MHz(387 ~ 464MHz)RF Parameter:Value:RemarkWorking frequency:387~464 MHz:Default:433MHz (26MHz oscillator)Transmitting power:10 dBm:Max. Power (10mW)Receiving sensitivity:-108 dBm:Air data rate:0.6kbpsAir data rate:0.6k~500kbps:Default:0.6kbpsTest distance:600m:In open and clear air, with maximum power, 5dBi antenna gain, height of 2m, air data rate:0.6kbpsHardware Parameter:Value:RemarkSize15 * 30 mm Without Spring antennaAntenna typeSpring antenna Communication interfaceSPI PackageDIP Electronic parameter:Min.:Typ.:Max.:Unit:ConditionPower supply:1.8:3.3:3.6:VCommunication level:1.8:3.3:3.6:VTransmitting …
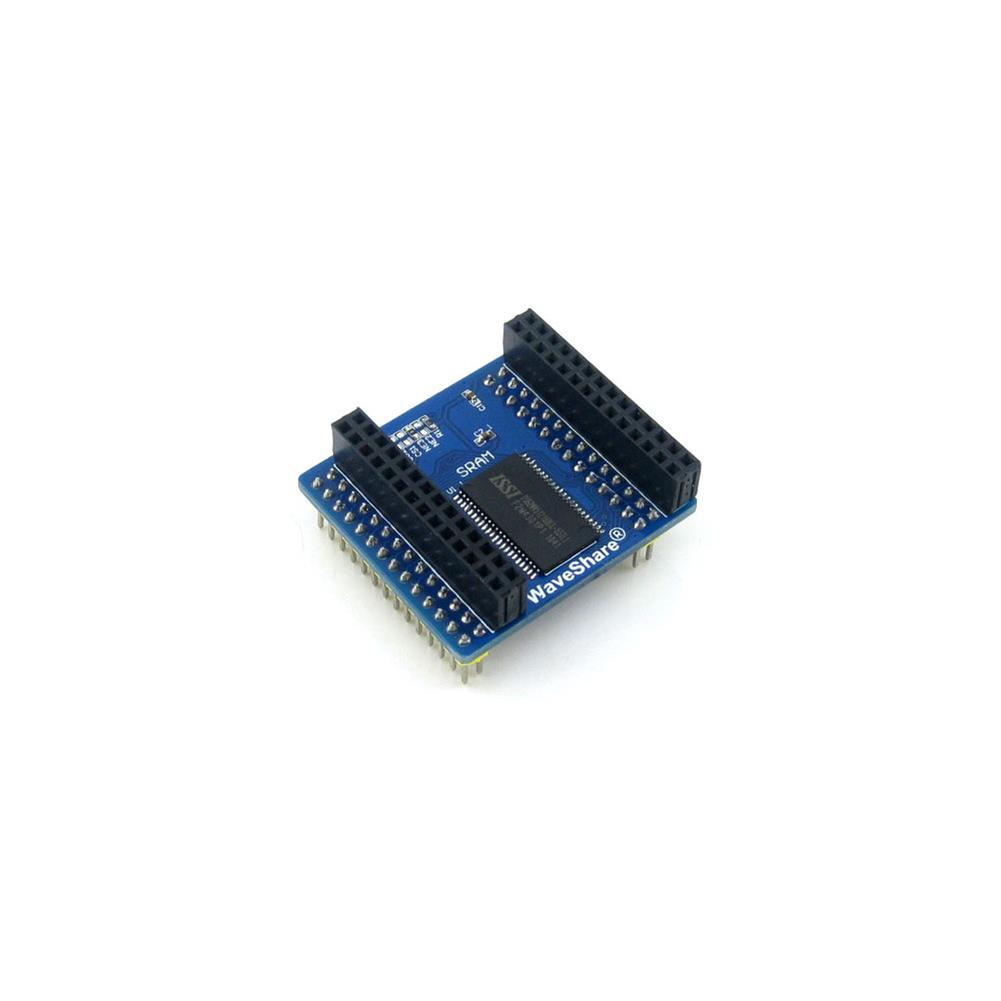
Waveshare IS62WV51216BLL SRAM RAM Module Storage Memory Board
$28.42Expansion Board & ShieldAdd to cartFeatureFunction:SRAM IS62WV51216BLL (8M Bit), can be directly connected to the corresponding FSMC interface of the Open series development board, and the external expansion interface supports external expansion of SRAM, LAN, USB HOST, etc.Typical application:SRAM external expansion storageMain resources:IS62WV51216BLL (8M Bit), control interfacePackage includes1 x IS62WV51216BLL SRAM Board
3 Megapixel Optical Zoom Cam Module Fixed Focus 3MP OV3660 Camera Module FOV 79
$15.30Other Module BoardAdd to cart>>>Manual:Click here to openSpecificationsModel No.:HBVCAM-3M1917Model Size:30mm ≠ 25mm ≠ 5.0mm÷0.2MMTemperature (Operation):-30C to 70CTemperature (Stable Image):0C to 50CAssembly technique:SMT (ROSH)Focus:FixedObject distance:30CM-infinityResolution:800LW/PH (Center)PCB printing ink:Blackinterface:USB 2.0Power supply:USB bus powersupply voltage:DC 5V÷5%Maximum Power consumption:600WOperating system request:Win XP/win 7,8 / vista /android 4.0/ mac /Linuxwith uvc Sensor:OV3660 (1/5” )Seneor Package:CSP,Bare DieMaximum resolution:2048*1536Sensitivity:670mV /(lux-sec)Pixel Size:1.4┢m x 1.4┢m Maximum Image Transfer …
3 Megapixel Optical Zoom Cam Module Fixed Focus 3MP OV3660 Camera Module FOV 79Read More
Hall Effect Magnetic Sensor Module DC 5V
$4.36Sensor & Detector ModuleAdd to cartDescription This is Hall Effect magnetic sensor module DC 5V for Brand:KEYES Model:KY-003 Magnetic, speed, gap induction Suitable for DIY project Working voltage:DC 5V Material:PCB Feature Small size and high sensitivity. response temperature and good performance. Precision and high reliability 3144 Series Hall principle of Hall effect switch IC, using technology to produce magnetic semiconductor …
Geekcreit Portable Mini Automatic Spot Welding Machine Control Board 12V/5.6V Portable Lithium Battery Spot Welding Circuit Board Accessories
$40.49Driver ModuleAdd to cartInstructions for use of automatic spot welding control board1. Power requirements:In 12V mode, voltage input is 7-15V (12V recommended), in 5.6V capacitor mode, voltage supports 3.7-6V (recommended 5.6V), current requirements:can output actual current 120-360A2. Button function:switch between 1 power level-2 power level-3 power level-4 power level after long press for 3 seconds3. The red light …


Reviews
There are no reviews yet.