


HW-M543 DC12V~24V/AC220V intelligent Digital Display Temperature and Humidity Controller
$46.56
Shipping:Standard Shipping about 10-25 business days
Secure Payment:Paypal,VISA,MasterCard
Specification
Name:Digital Display Temperature and Humidity Controller
Brand:HW
Model:HW-M543
Control type:temperature and humidity
Working Voltage:DC 12V~24V/AC 220V
Output capacity:maximum 10A
Measurement object:air, water
Temperature range:-20~60 →
Temperature measurement error:÷0.1 →
Humidity range:0-100 %RH
Humidity measurement error:0.2 %
Installation type:Embedded
Dimensions:105*70*38 mm
Hole size:81*57 mm
Weight:About 154g
Package included
1 x Temperature and Humidity Controller
Setting instructions
1. Correctly connect the power supply and the temperature and humidity control equipment according to the wiring diagram, pay attention not to connect the temperature and humidity control equipment wrongly. When connecting the DC12~24V power supply, you must distinguish the positive and negative poles. AC220V does not divide the zero live wire.
2. Stop temperature setting
Press the set button (SET), when the red screen number starts to flash, press the up and down buttons to adjust and set the stop temperature you want; after setting, wait for 10 seconds without operation, the system automatically saves the data.
3. Heating or cooling mode setting
Long press the up button, when the red screen displays C-0, press the set button to enter the C-0 mode setting, press the up and down buttons to switch between the blue screen L and H, L stands for heating, H stands for cooling. (Note:The temperature control load you connect to at L must be a heating device, and at H, the load you connect must be a refrigerating device.) After setting, wait 10 seconds, the system automatically saves the data.
4. Temperature difference setting
Long press the up key, when the red screen shows C-0, press the up and down keys to switch to the C-1 temperature difference setting, press the setting key again to enter the temperature difference setting, and then press the up and down keys to adjust the setting you want Temperature difference value; wait 10 seconds after setting, the system automatically saves the data. (If the stop temperature is set to 35C, the mode is set to L heating mode, and the temperature difference is set to 5, then the start temperature is 35-5=30C and the temperature control range is between 30~35C. On the contrary, if the mode is set to H cooling mode , Then the starting temperature is 35 + 5=40C, and the temperature control range is between 35~40→)
5. Temperature calibration
Long press the up button, when the red screen displays C-0, press the up and down buttons to switch to the C-2 temperature correction mode, press the setting button once to enter the correction mode, and then press the up and down buttons to adjust and set the difference you want If the actual temperature is 28C and the probe detection temperature is 28.2C, then the correction difference can be set to -0.2; if the detection temperature is low, the correction difference can be adjusted higher. After setting, wait 10 seconds, the system will automatically save the data.
6. Stop humidity setting
Press the set button (SET), the red screen numbers start to flash, press the set button again to switch to the blue screen numbers flashing, and then press the up and down keys to adjust and set the stop humidity value you want; after setting, wait for 10 without operation Seconds, the system automatically saves the data.
7. Humidification or dehumidification mode setting
Long press the adjustment key, when the red screen displays H-0, press the set key to enter the H-0 mode setting, press the up and down keys to switch between the blue screen L and H, L stands for humidification, H stands for dehumidification. (Note:The humidity control load you connect to at L must be a humidifying device, and at H, the load you connect to must be a dehumidifying device.) After setting, wait 10 seconds, and the system automatically saves the data.
8. Humidity difference setting
Long press the adjustment key, when the red screen displays H-0, press the up and down keys to switch to the H-1 humidity difference setting, press the setting key to enter the humidity difference setting, press the up and down keys to adjust the setting you want After setting the difference, wait 10 seconds, the system automatically saves the data. (If the stop humidity is set to 50%RH, the mode is set to L humidification mode, the humidity difference is set to 5%RH, then the start humidity is 50-5=45%RH, and the humidity control range is between 45-50%RH, on the contrary If the mode is set to H dehumidification mode, then the starting humidity is 50 + 5 = 55%RH, and the humidity control range is between 50~55%RH)
9. Humidity calibration
Long press the adjustment key, when the red screen displays H-0, press the up and down keys to switch to the H-2 humidity correction mode, press the set key once to enter the correction mode, press the up and down keys to adjust the set difference; such as actual humidity It is 56%RH, the humidity detected by the probe is 56.2%RH, then the correction difference can be set to -0.2; if the detection temperature is low, the correction difference can be adjusted higher. After setting, wait 10 seconds, the system automatically saves the data.
CodeNamePredetermined areaDefault parameters
H-0Mode settingL:Humidify H:DehumidificationL:Heating mode
H-1 Humidity difference0.1-50%RH10%RH
H-2Humidity calibration-10 and 10%RH0.0%RH
10. Restore factory settings
Press the up and down keys at the same time for 5 seconds, when the screen displays 888, the factory restoration is complete.
| Weight | 0.132 kg |
|---|
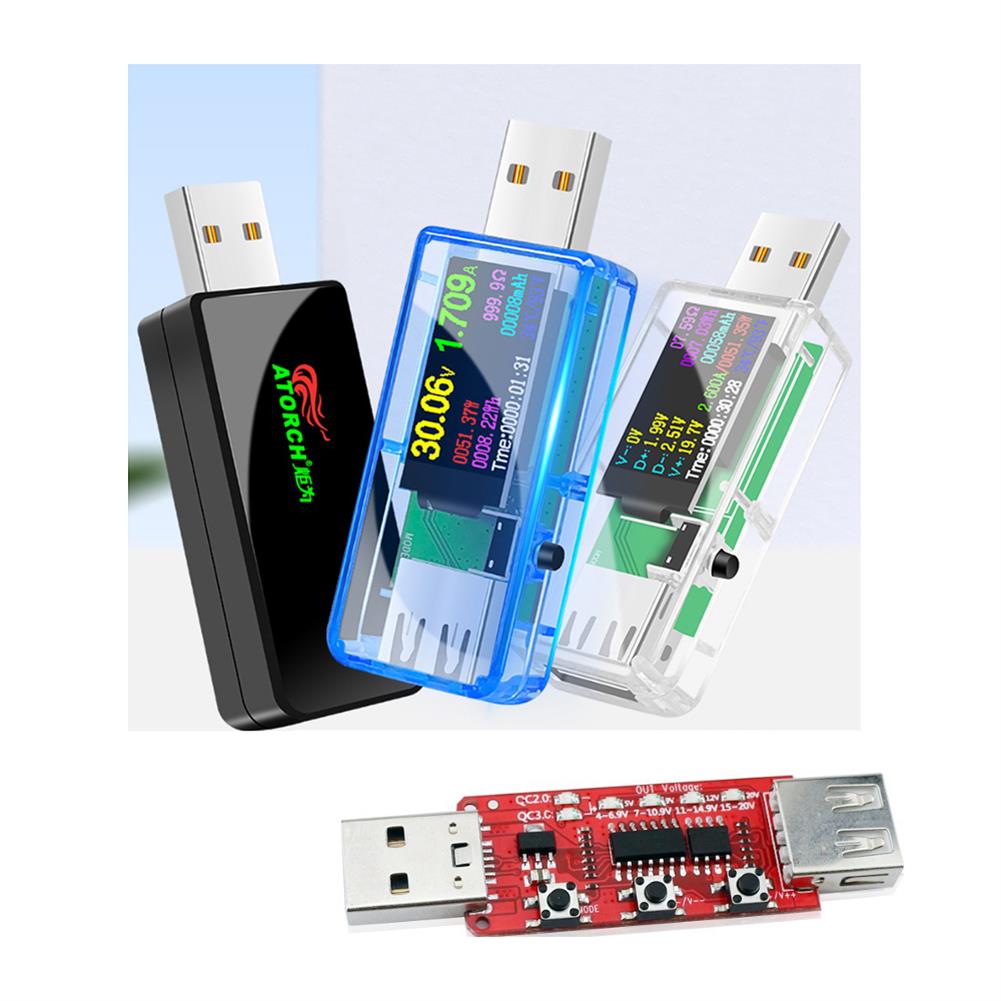
Related products
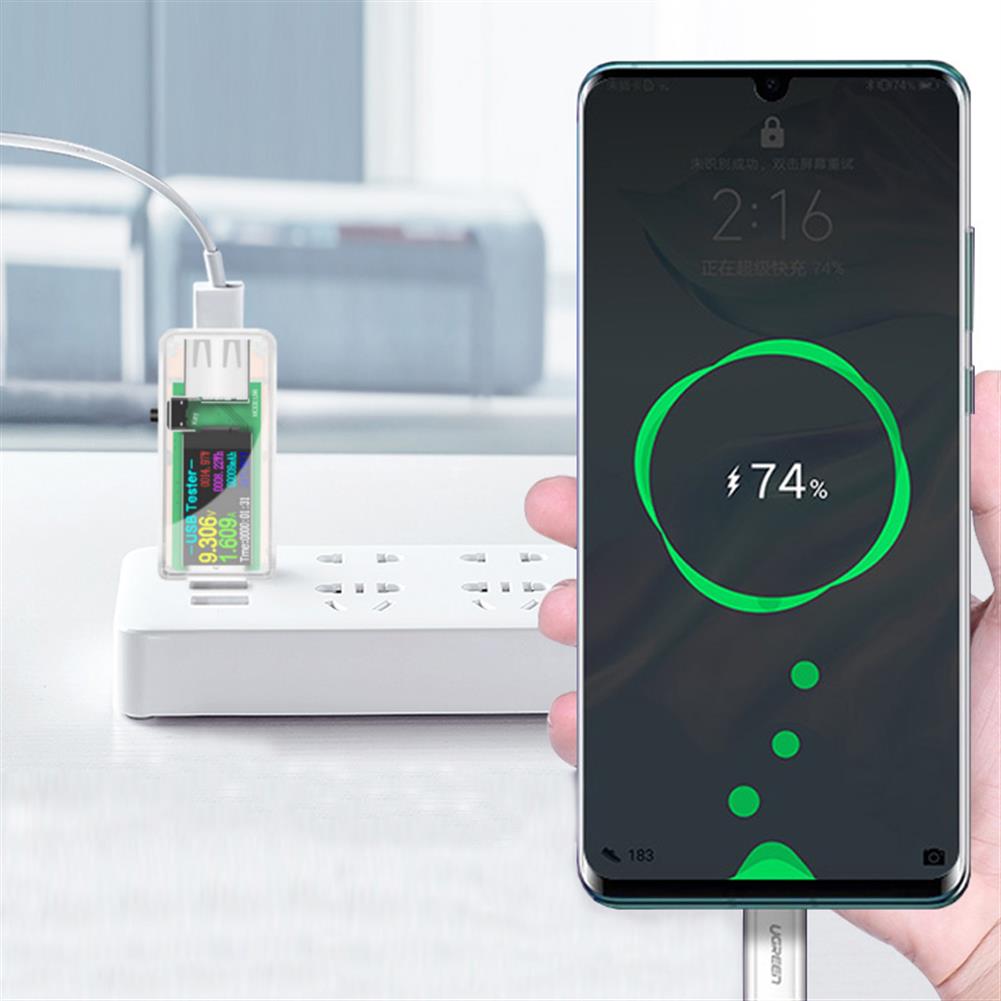
U96 USB Tester DC Digital Voltmeter Power Bank Charger indicator Voltage Current Meter Detector Clear
$18.58Test & Measuring ModuleAdd to cartU96 13 IN 1 Technical parametersVoltage measuring range:3.60V ~ 32.5 V Resolution precision:0.01 V Current measuring range:0.00A ~ 5.00 A Resolution precision:0.01 APower cumulative range:0 ~ 999999 WH Resolution precision:0.001 WhCapacity range:0 ~ 999999 mAH Resolution precision:0.001 AhTemperature:0 → ~ + 80 → Resolution precision:1 →D+ Voltage:0.000V ~ 2.999 V Resolution precision:0.001 VD- Voltage:0.000V ~ …
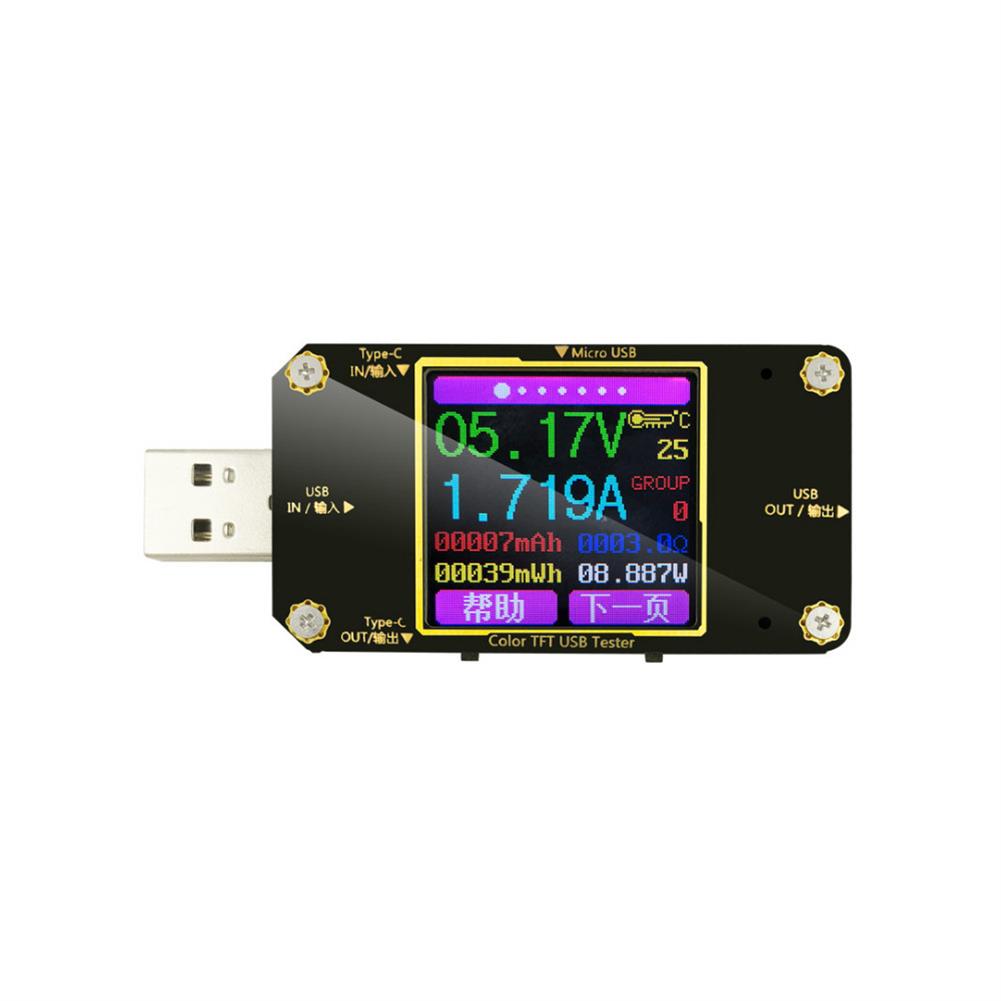
USB Current Voltage Meter Digital Display Color Tester with bluetooth Voltmeter
$47.05Test & Measuring ModuleAdd to cartUser manual:http://files.hobbyant.com/2018/05/A3&A3-B.pdfFeatureModel:A3-Bbluetooth:SupportProduct weight:18gInput voltage:4.5-24VInput current:0-3ACapacity measurement range:0-99999mAhEnergy measurement range:0-99999mWhLoad impedance measurement range:1.5Ω-9999.9ΩTemperature Measurement Range:-10°C to 100°C/0°F to 200°FScreen brightness setting:0-5Voltage curve range:4.5V-24VVoltage measurement resolution:0.01VCurrent measurement resolution:0.001AVoltage measurement accuracy:±0.2%Current measurement accuracy:±0.8%Time measurement range:0-99 hours 59 minutes 59 secondsTemperature measurement error:±3°C/±6°FDelay off screen time:0-9 minutesCurrent curve range:0-3AFast charge recognition mode:QC2.0, QC3.0Refresh rate:2HzProduct Size:71.2 x 31.8 x 12.4mmDisplay …
USB Current Voltage Meter Digital Display Color Tester with bluetooth VoltmeterRead More
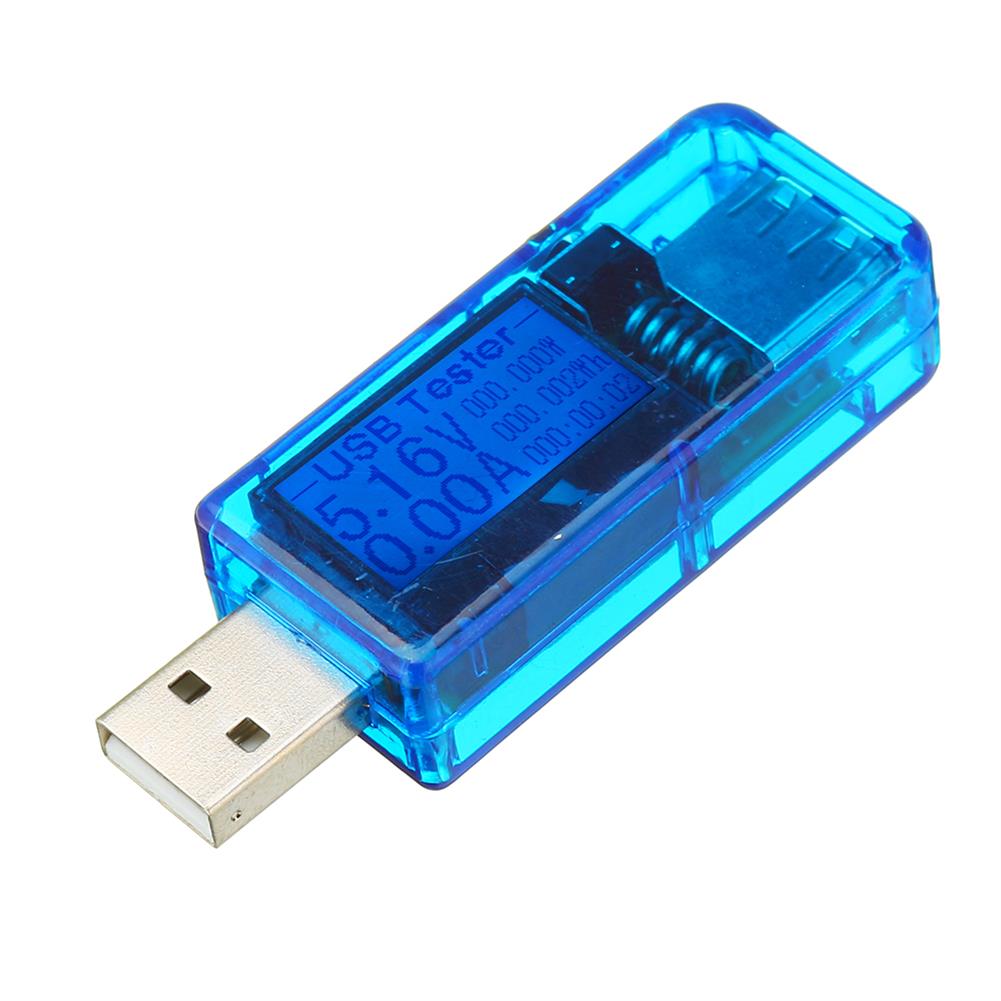
3pcs 12 in 1 Blue USB Tester DC Digital Voltmeter Amperemeter Voltagecurrent Meter Ammeter Detector Power Bank Charger indicator
$31.83Test & Measuring ModuleAdd to cartTechnical parametersVoltage measuring range:3.60V ~ 32.5 V Resolution precision:0.01 V Current measuring range:0.00A ~ 5.00 A Resolution precision:0.01 APower cumulative range:0 ~ 999999 WH Resolution precision:0.001 WhCapacity range:0 ~ 999999 mAH Resolution precision:0.001 AhTemperature:0 → ~ + 80 → Resolution precision:1 →D+ Voltage:0.000V ~ 2.999 V Resolution precision:0.001 VD- Voltage:0.000V ~ 2.999 V Resolution precision:0.001 …
Customers Also Viewed
Magic Ball Classic 8 fortune Teller Toy Party Answer Decision Game Decorations Gift
$32.39PhysicsAdd to cartSpecificationMaterial:PlasticColor:BlackMagic Ball Diameter:10cm /3.94 Inch(appr.)Features1. Made of plastic material, durable and easy to play.2. Think of a problem in your mind and hold the ball for advice.3. There are many answers advice for you to solve the question.4. It can also be used to create an active party.5. Best gift for your friends.Package Included1X Magic …
Magic Ball Classic 8 fortune Teller Toy Party Answer Decision Game Decorations GiftRead More
500mL Pyriform Borosilicate Glass Separatory Funnel Pear Shape Glass Stopcock Laboratory
$52.64Laboratory BottleAdd to cartSpecificationMaterial:Borosilicate GlassCapacity:500mLShape:Pear ShapeType:Glass StopcockGround Joints:24/26Features– Separatory funnel for separating liquids with different densities.– High transparency, ungraduated.– Borosilicate glass material ensure its clarity, strength, heat and chemical resistance.– Glass top stopper and glass key stopcock.– Glass stopcock requires greasing for sealing.– Conical shape ensures highest density liquid is dispensed.– Widely used in school teaching, laboratory experiment.Package …
500mL Pyriform Borosilicate Glass Separatory Funnel Pear Shape Glass Stopcock LaboratoryRead More
HEPA Replacement Filter for Dyson TP00 TP02 TP03 AM11 Pure Air Cleaner Purifier
$68.84Solar CollectorsAdd to cartReplacement HEPA Filter For Dy-son TP00 TP02 TP03 AM11 Pure Air Purifier CleanerFeaturePretty nice replacement for Dy-son air purifier.Effectively remove allergens and pollu-tants and captures ultra-fine particles from the air including pollen, bacteria and pet dander, etc.Easy to install.Help capture odors and potentially harmful toxins like paint fumes Year-round purification and circulation smooth oscillation.SpecificationSize:18.8*19cmSuitable for:DY-SON …
HEPA Replacement Filter for Dyson TP00 TP02 TP03 AM11 Pure Air Cleaner PurifierRead More
10pcs USB Mini Adjustable Speed Fan Module Wind Speed Governor Computer Cooling Mute
$26.60Power Supply ModuleAdd to cartSize ConversionInchesCentimetersPlease according to your own measurements to choose your suitable size. The tags inside the items will show in our Asian (Type) size.FeatureInput voltage:DC4V-12VOutput voltage:DC2.5V-7.5VRated power:5W (Do not overload use)Product features:USB fan speed adjustment, stepless speed adjustment.You can use it by plugging in a 5V USB interface.Package includes10 x Wind Speed Governor↘. 5V USB …
10pcs USB Mini Adjustable Speed Fan Module Wind Speed Governor Computer Cooling MuteRead More
50pcs 40Pin 2.54mm Female Header Connector Socket for DIY
$23.96Electronic Accessories & SuppliesAdd to cartFeaturePitch:2.54mmGender of connector:femalePin material:copperType of row:single rowNumber of pins:1 x 40 PinQuantity:50pcsPackage included50 x 2.54mm 40 pin female header connector socket
Step Down Module Constant Current Drive Power TTL Suitable for 200mW-2W 405/445/450/520nm Red/Green/Blue Lasers
$22.44Power Supply ModuleAdd to cartSize ConversionInchesCentimetersPlease according to your own measurements to choose your suitable size. The tags inside the items will show in our Asian (Type) size.SpecificationCircuit control:12V step-down circuit, constant current output (current and voltage are adjustable)Output specifications:Max 2AScope of application:200mW-2W 405/445/450 / 520nm red, green and blue laser drive powerDimensions:29 * 49mm (width * length), component …
5PCS FR4 180x120mm Single Side Copper Clad Laminate PCB Circuit Board CCL
$16.39Electronic Accessories & SuppliesAdd to cartSpecificationPanel Size:Approx.180mm x 120mm or 7.09′ x 4.73′ (inch)Thickness:0.06′ ÷0.005 (1.5mm ÷ 0.15)Weight:Approx.58gLayers:Single SidePanel:FR4Operating temperature:Up to 140 C or 285FDescriptionThis Single PCB Copper Clad Laminate Board is made of copper foil by the hot-pressing technology.steel-wool, Restore4, Tarn-X, roscherite, Zap or similar before using.After that be sure to rinse and dry so without any water spots.Combined …
5PCS FR4 180x120mm Single Side Copper Clad Laminate PCB Circuit Board CCLRead More
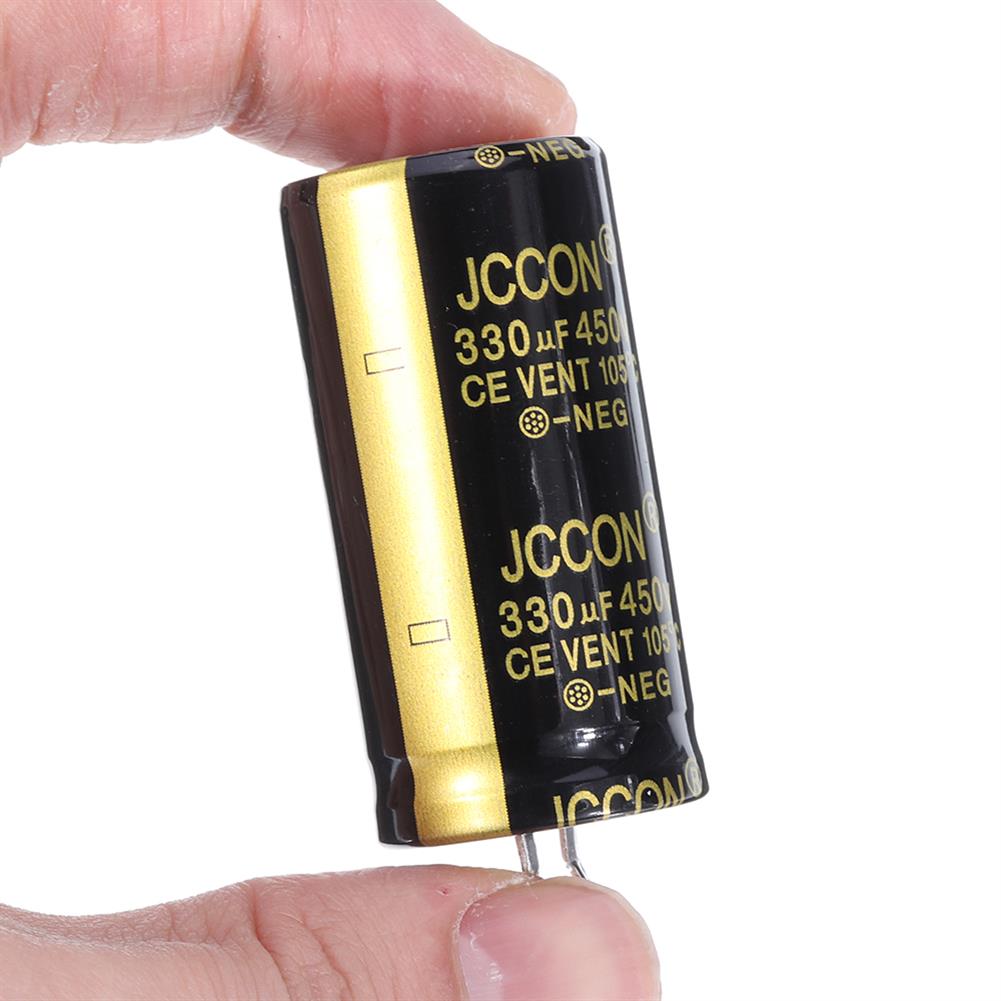
3Pcs 330UF 450V 25x50mm Radial Aluminium Electrolytic Capacitor High Frequency 105C
$23.81Electronic Accessories & SuppliesAdd to cartFeatureHigh precision and stability, Low impedance, Long lifeSpecificationCapacitance:330 uFVoltage:450 VMax Temperature:105°CColor:Black GoldDiameter:25 mmHeight:50 mmType:Through HoleSafe & ReliableCoupling capacitors isolate strong and weak current, provide high frequency signal path, prevent power frequency current from entering weak current system, and ensure personal safetyApplicationWidely used in blocking, coupling, bypass, filtering, tuning circuit, energy conversion, control circuit and other …
3Pcs 330UF 450V 25x50mm Radial Aluminium Electrolytic Capacitor High Frequency 105CRead More


Reviews
There are no reviews yet.