


HW-M543 DC12V~24V/AC220V intelligent Digital Display Temperature and Humidity Controller
$46.56
Shipping:Standard Shipping about 10-25 business days
Secure Payment:Paypal,VISA,MasterCard
Specification
Name:Digital Display Temperature and Humidity Controller
Brand:HW
Model:HW-M543
Control type:temperature and humidity
Working Voltage:DC 12V~24V/AC 220V
Output capacity:maximum 10A
Measurement object:air, water
Temperature range:-20~60 →
Temperature measurement error:÷0.1 →
Humidity range:0-100 %RH
Humidity measurement error:0.2 %
Installation type:Embedded
Dimensions:105*70*38 mm
Hole size:81*57 mm
Weight:About 154g
Package included
1 x Temperature and Humidity Controller
Setting instructions
1. Correctly connect the power supply and the temperature and humidity control equipment according to the wiring diagram, pay attention not to connect the temperature and humidity control equipment wrongly. When connecting the DC12~24V power supply, you must distinguish the positive and negative poles. AC220V does not divide the zero live wire.
2. Stop temperature setting
Press the set button (SET), when the red screen number starts to flash, press the up and down buttons to adjust and set the stop temperature you want; after setting, wait for 10 seconds without operation, the system automatically saves the data.
3. Heating or cooling mode setting
Long press the up button, when the red screen displays C-0, press the set button to enter the C-0 mode setting, press the up and down buttons to switch between the blue screen L and H, L stands for heating, H stands for cooling. (Note:The temperature control load you connect to at L must be a heating device, and at H, the load you connect must be a refrigerating device.) After setting, wait 10 seconds, the system automatically saves the data.
4. Temperature difference setting
Long press the up key, when the red screen shows C-0, press the up and down keys to switch to the C-1 temperature difference setting, press the setting key again to enter the temperature difference setting, and then press the up and down keys to adjust the setting you want Temperature difference value; wait 10 seconds after setting, the system automatically saves the data. (If the stop temperature is set to 35C, the mode is set to L heating mode, and the temperature difference is set to 5, then the start temperature is 35-5=30C and the temperature control range is between 30~35C. On the contrary, if the mode is set to H cooling mode , Then the starting temperature is 35 + 5=40C, and the temperature control range is between 35~40→)
5. Temperature calibration
Long press the up button, when the red screen displays C-0, press the up and down buttons to switch to the C-2 temperature correction mode, press the setting button once to enter the correction mode, and then press the up and down buttons to adjust and set the difference you want If the actual temperature is 28C and the probe detection temperature is 28.2C, then the correction difference can be set to -0.2; if the detection temperature is low, the correction difference can be adjusted higher. After setting, wait 10 seconds, the system will automatically save the data.
6. Stop humidity setting
Press the set button (SET), the red screen numbers start to flash, press the set button again to switch to the blue screen numbers flashing, and then press the up and down keys to adjust and set the stop humidity value you want; after setting, wait for 10 without operation Seconds, the system automatically saves the data.
7. Humidification or dehumidification mode setting
Long press the adjustment key, when the red screen displays H-0, press the set key to enter the H-0 mode setting, press the up and down keys to switch between the blue screen L and H, L stands for humidification, H stands for dehumidification. (Note:The humidity control load you connect to at L must be a humidifying device, and at H, the load you connect to must be a dehumidifying device.) After setting, wait 10 seconds, and the system automatically saves the data.
8. Humidity difference setting
Long press the adjustment key, when the red screen displays H-0, press the up and down keys to switch to the H-1 humidity difference setting, press the setting key to enter the humidity difference setting, press the up and down keys to adjust the setting you want After setting the difference, wait 10 seconds, the system automatically saves the data. (If the stop humidity is set to 50%RH, the mode is set to L humidification mode, the humidity difference is set to 5%RH, then the start humidity is 50-5=45%RH, and the humidity control range is between 45-50%RH, on the contrary If the mode is set to H dehumidification mode, then the starting humidity is 50 + 5 = 55%RH, and the humidity control range is between 50~55%RH)
9. Humidity calibration
Long press the adjustment key, when the red screen displays H-0, press the up and down keys to switch to the H-2 humidity correction mode, press the set key once to enter the correction mode, press the up and down keys to adjust the set difference; such as actual humidity It is 56%RH, the humidity detected by the probe is 56.2%RH, then the correction difference can be set to -0.2; if the detection temperature is low, the correction difference can be adjusted higher. After setting, wait 10 seconds, the system automatically saves the data.
CodeNamePredetermined areaDefault parameters
H-0Mode settingL:Humidify H:DehumidificationL:Heating mode
H-1 Humidity difference0.1-50%RH10%RH
H-2Humidity calibration-10 and 10%RH0.0%RH
10. Restore factory settings
Press the up and down keys at the same time for 5 seconds, when the screen displays 888, the factory restoration is complete.
| Weight | 0.132 kg |
|---|
Related products
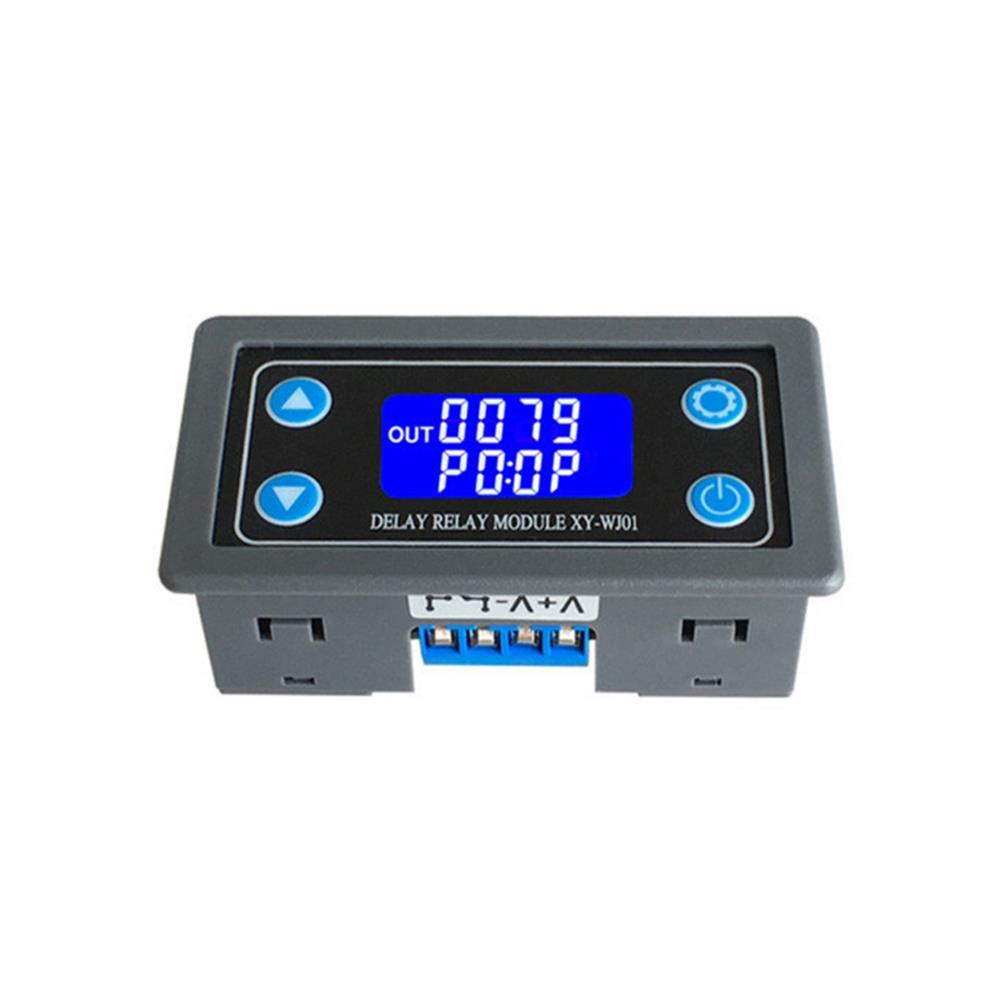
XY-WJ01 DC6-30V AC220 one Way Relay Module Trigger Delay Loop Timing Circuit Switch Electrical Equipment Supplies
$19.67Test & Measuring ModuleAdd to cartDescriptionMaterial:ABS + electronic componentsWorking voltage:6-30 V power supplyTrigger signal source:High-level touch (3.0V~24V), low-level trigger (0.0V~0.2V), switching quantity control (passive switch). 3:Output capacity:can control devices within 30v 10A or within 220v5AQuiescent current:15 mAWorking current:50 mAService life:More than 100,000 timesWorking temperature:-40~85 ° CWeight:45 gSize:7.1*3.9*2.5 cm (length, width and height)Package list:1*1pcsPrinciple:Time relayProtective features:SealedLiaison load:Low powerPower mode:DCFeatures1. With liquid …
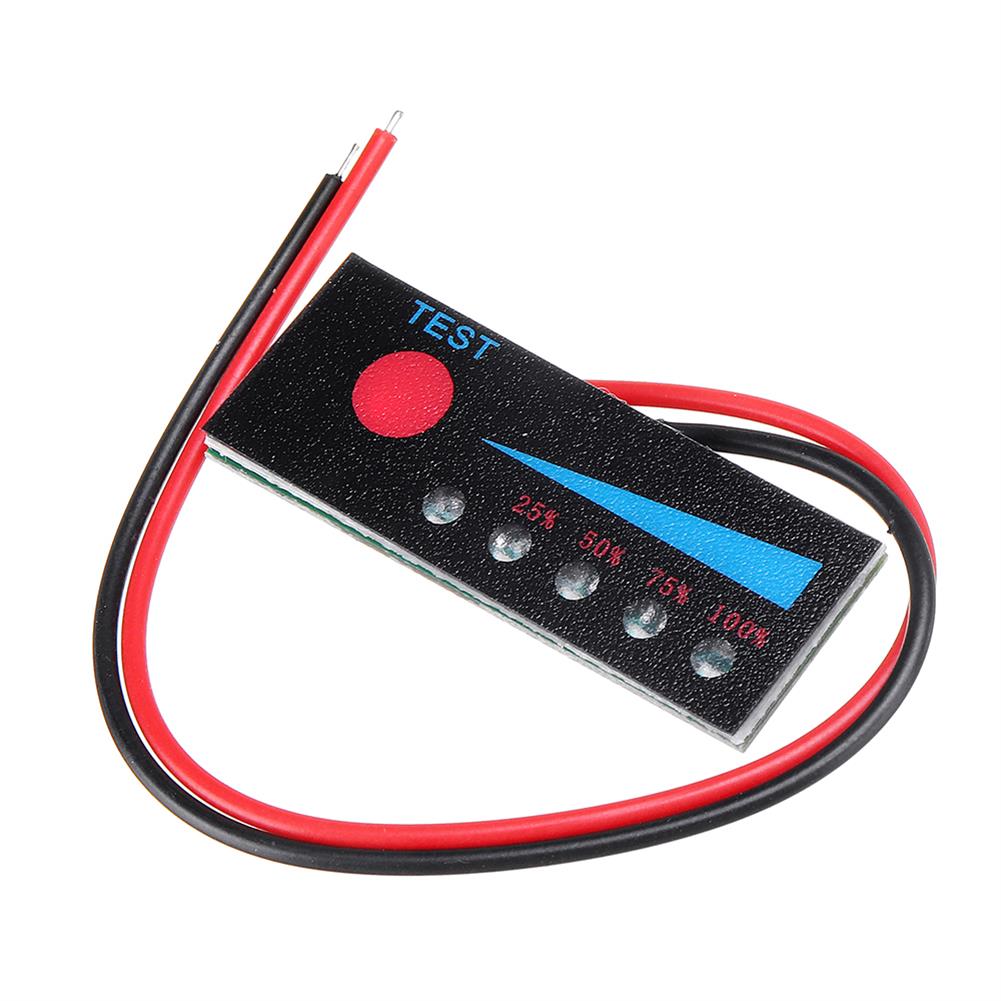
3.7V 1-7S Li-ion Lithium Battery 12-48V LiFePO4 Battery Power indicator Board 12V Car Lead Acid Battery Level Capacity Meter with Reverse Connection
$4.36Test & Measuring ModuleAdd to cartBattery 1S / Battery 2S / Battery 3S / Battery 4S / Battery 5S / Battery 6S / Battery 7S / Battery 12V / Battery 24V / Battery 36V / Battery 48V /
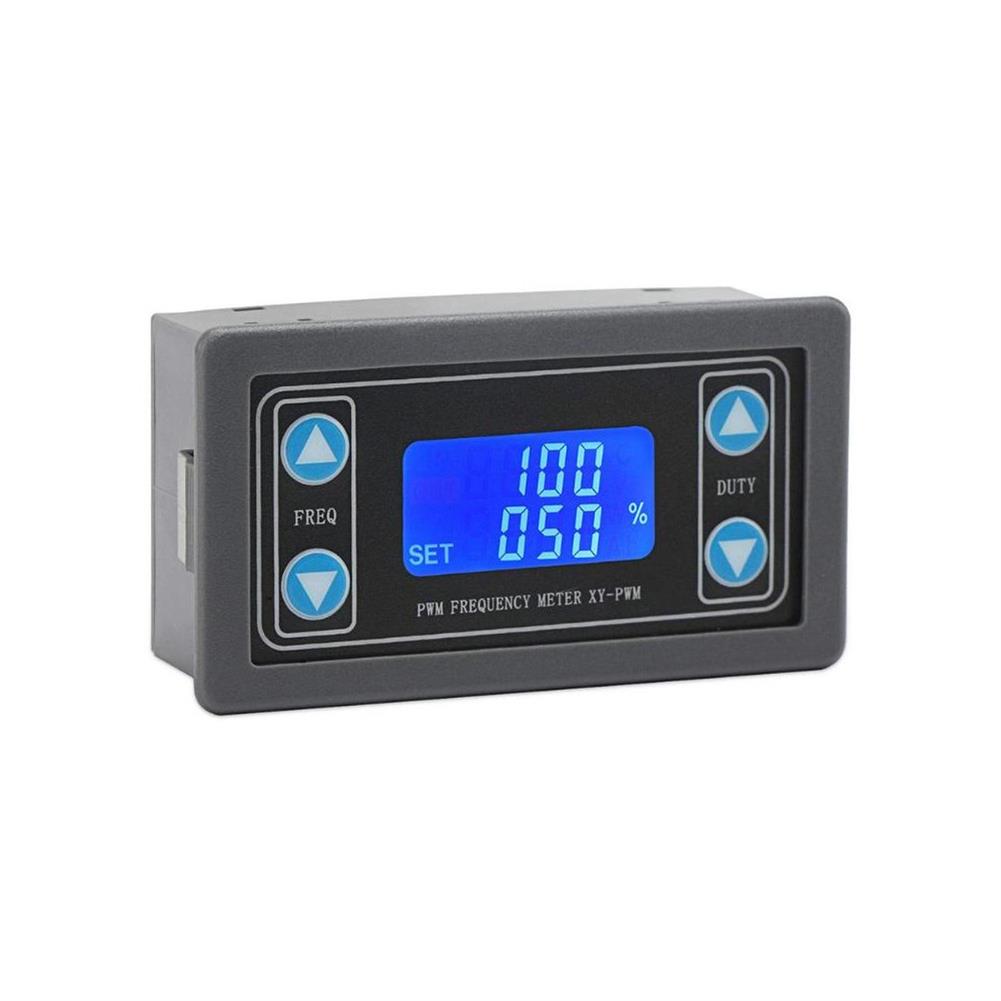
3pcs XY-PWM DC3.3-30V 1Hz~150KHz Digital Display Square Wave Rectangular Wave Pulse Signal Generator
$39.11Test & Measuring ModuleAdd to cartFunction1. Protective Shell2. LCD High Definition Display3. Support UART4. Supporting frequency adjustment5. Support duty cycle adjustment6. High accuracy detection7. Supporting POW ER-OFF memory function8. 0.1 Channel PWM Output9. Purpose:Device used as a signal source or excitation source in production practiceFeatureWorking voltage:3.3-30VFrequency ran ge:1Hz~150KHzFrequency accuracy:the accuracy in each range is about 2%Signal load capacity:output current can …
XY-PWM DC3.3-30V 1Hz~150KHz Digital Display Square Wave Rectangular Wave Pulse Signal Generator Duty Cycle Regulator
$17.48Test & Measuring ModuleAdd to cartFunction1. Protective Shell2. LCD High Definition Display3. Support UART4. Supporting frequency adjustment5. Support duty cycle adjustment6. High accuracy detection7. Supporting power-off memory function8. 0.1 Channel PWM Output9. Purpose:Device used as a signal source or excitation source in production practiceFeatureWorking voltage:3.3-30VFrequency range:1Hz~150KHzFrequency accuracy:the accuracy in each range is about 2%Signal load capacity:output current can be around …

Customers Also Viewed
KW-AR-Mini Kit with 17 Classes UNO R3 DC Motor Breadboard LED Components Set Geekcreit for Arduino – products that work with official Arduino boards
$39.35Module KitsAdd to cartFeatureFree TutorialGood kit for Arduino Starter17 ClassesClass 1 Hello Arduino!Class 2 LED Running LightsClass 3 Key ExperimentClass 4 AD Analog-to-Digital conversationClass 5 PWM ExperimentClass 6 Buzzer ExperimentClass 7 The Temperature Sensor ExperimentClass 8 Photosensitive Light ExperimentClass 9 Fire Alarm ExperimentClass 10 Infrared Remote ControlClass 11 UltrasonicClass 12 8-Bit Digital Display ExperimentClass 13 4 x 8 …
2Pcs Mini Football Soccer Goals for Training Junior Kids Children
$136.93Carbon FiberAdd to cartSpecificationsMaterial:Nylon & G-carbonSize:1200*810*810mmColor:Red&GreenWeight:820gFeatures1. This item is great for junior soccer players to practice their shooting accuracy, or just to have fun and play some shooting games.2. Easy to Set Up–The pop up soccer goals are super easy to set up, your kids maybe can do that all on his own, or call some friends to …
2Pcs Mini Football Soccer Goals for Training Junior Kids ChildrenRead More
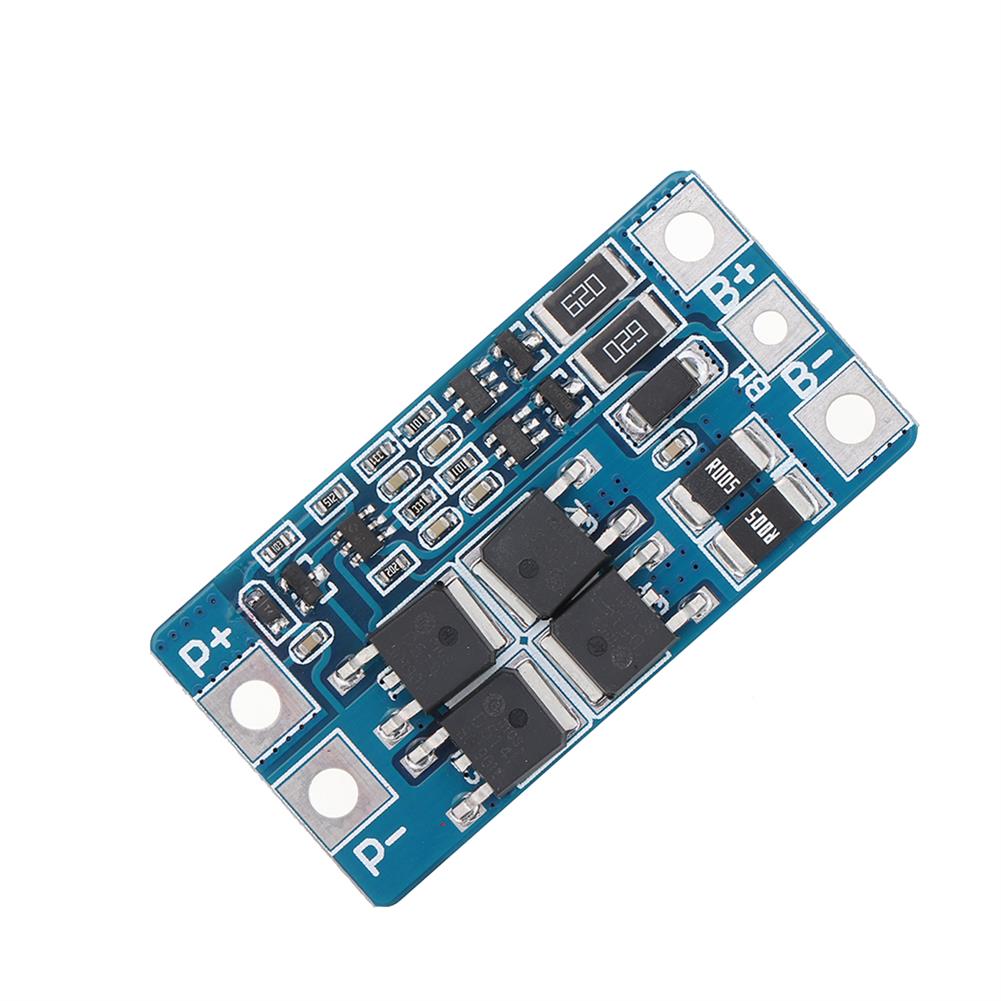
5pcs 2S 10A 7.4V 18650 Lithium Battery Protection Board 8.4V Balanced Function Overcharged Protection
$19.20Battery Protection ModuleAdd to cartSpecificationsModel:HX-2S-JH20 Overcharge voltage range:4.25±0.05vSize:46.7*23*3.15mm Over-discharge voltage range:2.9v±0.05vUpper limit working current:10A Working temperature:-40—+50°CUpper limit instantaneous current:20A Storage condition:-40– +80°CQuiescent current:less than 10uA Internal resistance:less than 300mΩ Short circuit protection:protection, charge recoveryCharging voltage:8.4V-9VWelding Point Description· B+ is connected to the battery positive pole;· B- is connected to the negative pole of the battery;· MB is connected to …
55Pcs/Set Silicone Casting Molds and Tools Jewelry Pendant Resin Mould DIY
$38.46Painting Teaching ToolsAdd to cartFeatures-This set of making tool is especially designed for DIY expoxy resin crafts, including silicone mold,spoon,sequin,drill,nails and so on.-Different silicone molds have different shapes for you to choose,which may accurately match your various needs.-It is easy control with the reliable quanlity as well as the efficence. -The superior DIY tools for your craft works.SpecificationMaterials:Silicone,MetalType:Making ToolsQuantity:55pcs,one …
55Pcs/Set Silicone Casting Molds and Tools Jewelry Pendant Resin Mould DIYRead More
DIY thermoelectric Peltier Semiconductor Refrigeration Cooling System + Fan Kit
$27.54Electronic Accessories & SuppliesAdd to cartFeaturesSimple operation, strong practicabilityFast cooling, outstanding effectPower supply:12V 15AFan power rate:about 5WFan size:40*40mm Cooling profiles:40*40mm for inlet tube:8mm Screws:3mmNoteMust fititng radiator heartsink when power on, or it will burn the kitThis kit does not comes with PeltierPackage included1 x DIY Thermoelectric Peltier Refrigeration Cooling Kit
5pcs I2C 8-bit I/O Expander Module PCA8574AD Expansion Board RobotDyn for Arduino – products that work with official for Arduino boards
$45.20Expansion Board & ShieldAdd to cartFeatureIf you just don’t have enough digital I/O pins on your for Arduino to interface with all your sensors and controls, you might want to look at using the I2C bus to connect a few port expander chip PCA8574AD have 8 digital I/O bits and can be set to addresses 0x38-0x3F respectively.The I2C bus on …
Ebyte E70-DTU-433NW30-GPRS GPRS Modem 6.5km Wireless Networking Equipment 433MHz 30dbm Networking LoRa RF Module lOT Gateway
$260.04Smart ModuleAdd to cartSpecification Model:E70-DTU-433NW30-GPRSProduct name:iot gatewayProduct advantages:Star self-organizing networkTransmission type:GPRSInterface Type:RS232/RS485Frequency band:433MHzTransmission Range:6.5kmSupply voltage:8 ~ 28V DCSize:108*75*37mmInterface:RS232 RS485Application:Industry Network TransmissionPackage included1 x LoRa RF Module


Recently Viewed Products
-
 30pcs TK10-1P 1 Channel Relay Module High Level 10A MCU Expansion Relay 5V $55.19
 -
 YwRobot DC Motor Drive Module L9110 4 Channel Motor Driver Board $14.18
 -
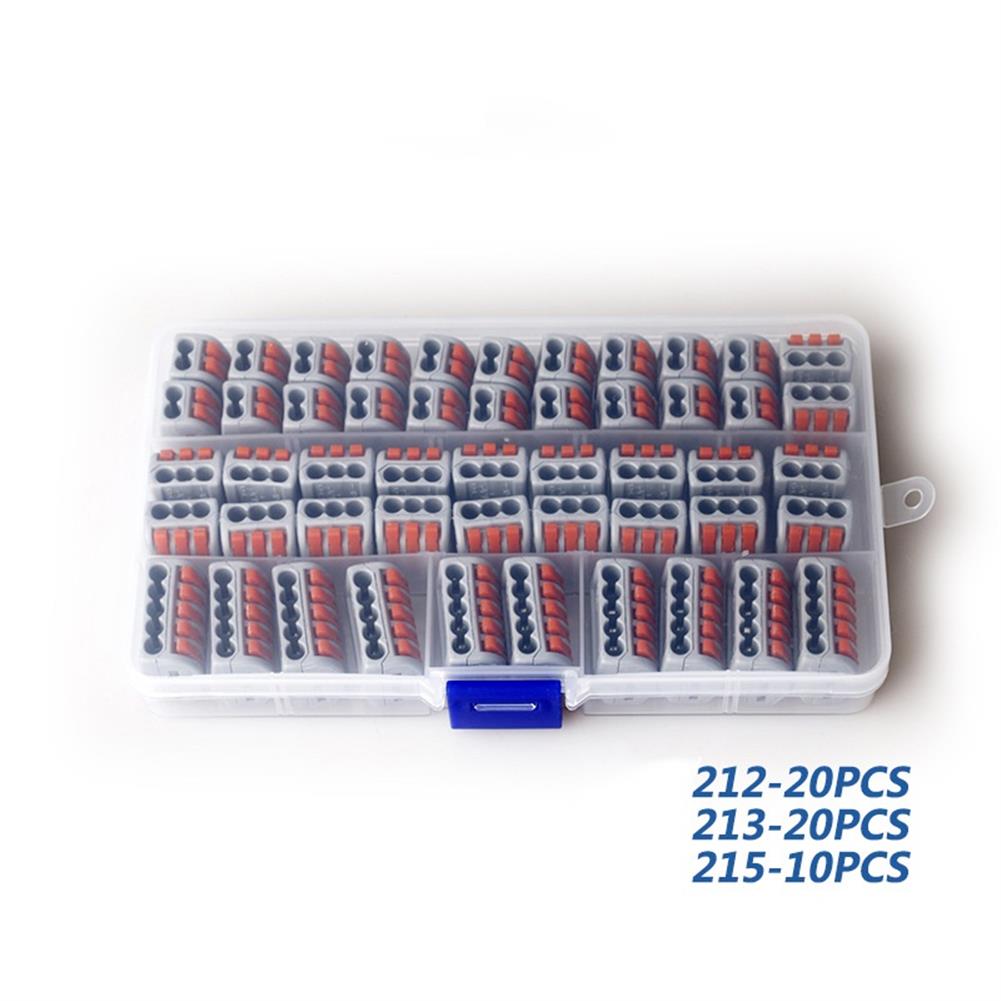 HORD 50Pcs 2/3/5 Holes 212 Fast Terminal Block 213 Wire Connector 215 Terminal Block with Plastic Box $28.34
 -
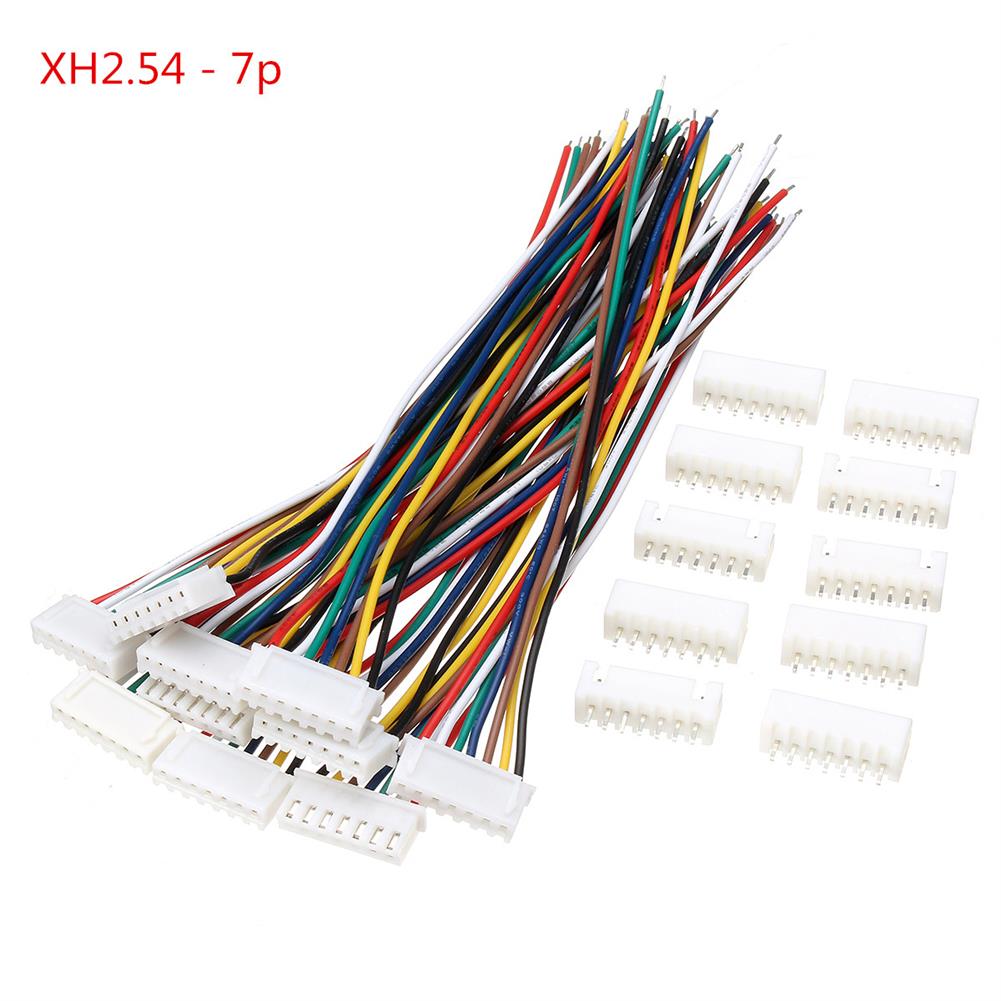 Excellway 10 Sets Mini Micro JST XH2.54mm 7 Pin Connector Plug Socket Wire Cable 150mm $20.24
 -
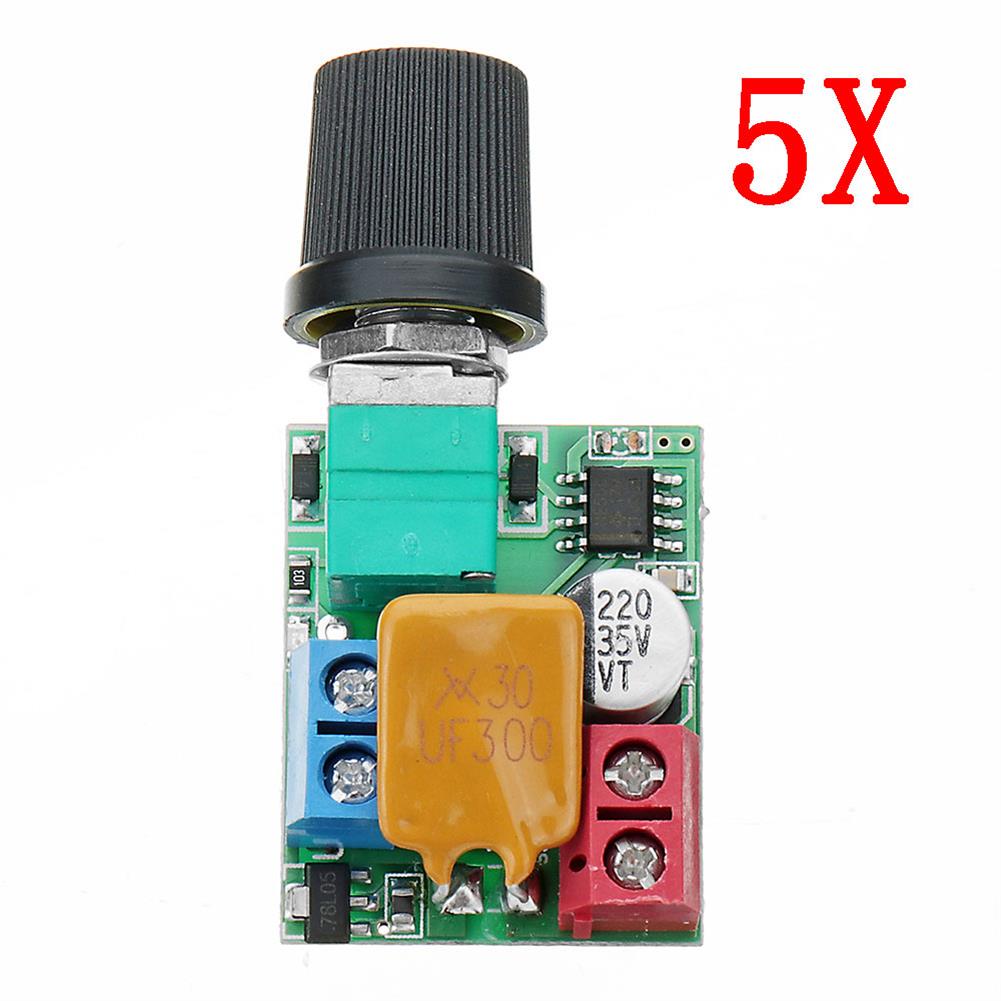 5pcs DC 5V To 35V 5A Mini Motor PWM Speed Controller Ultra Small LED Dimmer Speed Switch Governor $22.52
 -
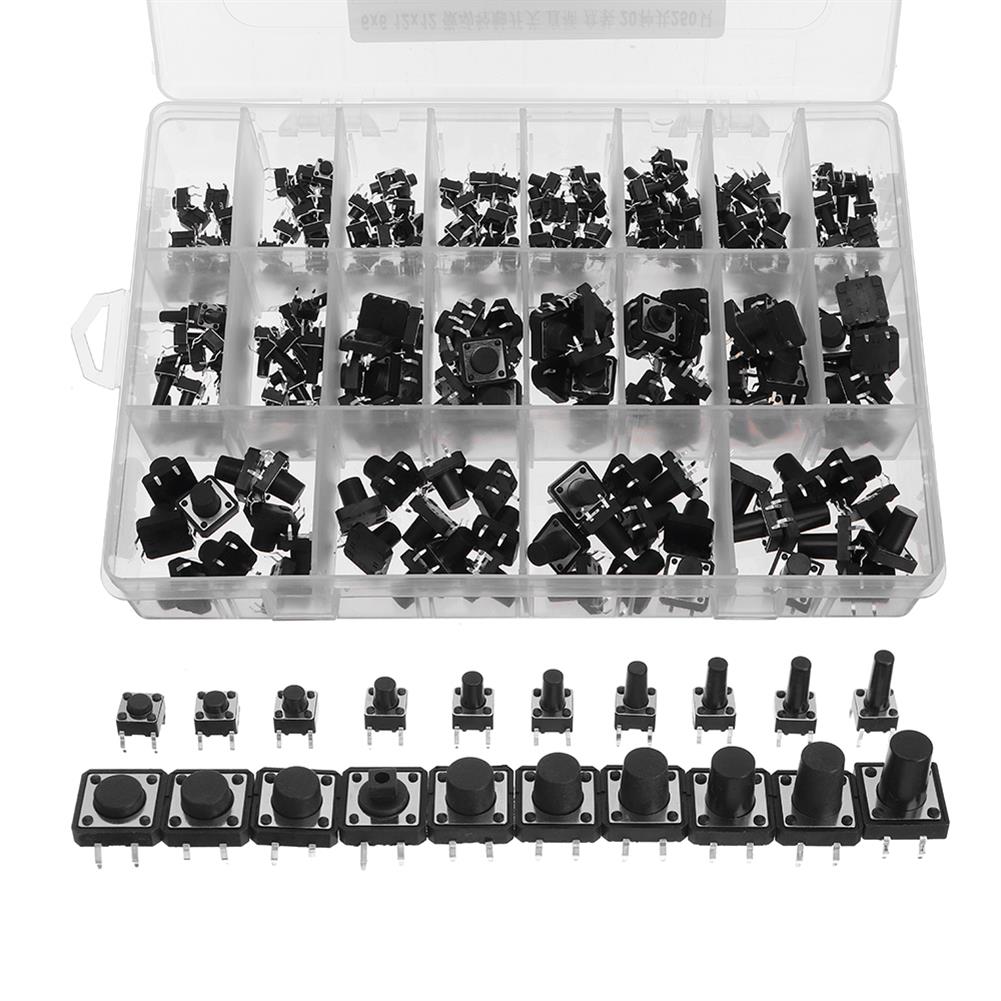 250Pcs 6 x 6mm 12 x 12mm 20 Value 4 Pins Tactile Push Button Switch Micro Momentary Tact Assortment Kit $22.67
 -
 3pcs DC-DC Step Up Module 3V 3.7V 4.2V to 5V 2A Rechargeable USB Boost Panel Digital Tube Display Fast Charging Module $21.61
 -
 DR55B01 DC 5-24V 2A Flip-Flop Latch Motor Reversible Controller Self-locking Bistable Reverse Polarity Relay Module $7.64
 -
 20pcs WXD3-13-2W Precision Potentiometer 4.7K Ohm Wirewound Multi-Turn Potentiometer $49.11
 -
 1/2/3 Gang Smart Home WiFi Touch Light Wall Switch Panel for Alexa Google Home Assistant $54.66
Reviews
There are no reviews yet.