


3pcs 24V XH-W3002 Micro Digital thermostat High Precision Temperature Control Switch Heating and Cooling Accuracy 0.1
$34.33
Shipping:Standard Shipping about 10-25 business days
Secure Payment:Paypal,VISA,MasterCard
Feature
Product Name:Microcomputer Temperature Controller
Product model:XH-W3002
Temperature range:-50~110°C
Temperature control range:-50~110°C
Temperature measurement accuracy:+-0.2 °C
Temperature control accuracy:+-0.1 °C
Temperature probe:NTC10K (B3950) 1 meter waterproof probe
Supply voltage:DC12V/DC24V/AC220V
Output power:DC24V:240W
Output type:direct output
Appearance size:60 x 45 x 31mm
Opening size:73mm (aperture 4mm)
Package includes
3 x Microcomputer Temperature Controller
Wiring
Key Description
Up key:Short press to display the starting temperature, long press to set the starting temperature.
Down button:short press to display the stop temperature, long press to set the stop temperature.
Shutdown button:Press to turn off the thermostat, and then press to turn on the thermostat.
Code:Code description:Setting range:Factory setting
P0:Starting temperature:-50~110°C:25
P1:Stop temperature:-50~110°C:40
P2:Temperature correction:-10~10°C:0°C
P3:Delayed start:0-10 minutes:0
P0. Set the startup temperature
Press the Setup button to enter the internal menu. The default display is P0. Press the Setup button again and set the desired startup temperature by pressing the up and down buttons.
P1. Set the stop temperature
Press the setup button to enter the internal menu, the display is P0, switch to P1 by the up and down keys, press the setup button again, and set the required stop temperature by the up and down buttons.
P2. Set the temperature correction
In the same way, enter the internal menu, switch to P2 by pressing the up and down buttons, press the setting button again, and set the required calibration temperature by pressing the up and down buttons. (Note:In the setting, if the detected temperature value is 0.5 °C larger than the actual temperature value, then the calibration temperature to be set is -0.5 ° C. If the detected value is 1 ° C smaller than the actual temperature value, the set calibration temperature is required. It is 1 ° C. Detection temperature + correction temperature = actual temperature.)
P3. Set the delay start
In the same way, enter the internal menu, switch to P3 by pressing the up and down buttons, press the setting button again, and set the required delay time by the up and down buttons, the unit is minute. (Note:Delay start is generally used for compressor refrigeration. If it is used in refrigerator freezer, this value needs to be set. According to compressor back pressure, the general setting is 3-6 minutes, if you are not using it for control or doesn’t need delay function, skip directly.
Instructions
Start temperature
Start temperature > stop temperature = cooling mode (output is connected to the cooling unit)
1. Connect the power supply and heating or cooling equipment according to the wiring diagram above (note the positive and negative poles)
2. Press and hold the up key to set the starting temperature. When the screen number flashes, press the up and down keys to set the starting temperature you want. After setting, wait for 5 seconds to brake the system.
3. Press and hold the key to set the stop temperature. When the screen number flashes, press the up and down keys to set the desired stop temperature. After setting, wait for 5 seconds to automatically save the data.
4. Restore the factory:Colleagues press and hold the up and down keys for 5 seconds, when the screen displays 888, the factory is restored.
5. Press the power off button to turn off the thermostat and press to turn on the thermostat.
Tips
888:In the case of power-on, press and hold the up and down keys for about 3 seconds, the digital tube displays 888, and automatically jumps to the detection temperature, that is, the factory settings are restored successfully.
LLL:Describe the sensor is open circuit, repair the sensor, or replace the sensor
HHH:The sensor is short circuit.
| Weight | 0.165 kg |
|---|
Related products
Keyes Brick Tilt Module Sensor(Pad hole) with Pin Header Digital Signal
$4.36Sensor & Detector ModuleAdd to cartSpecificationsWorking voltage:DC 3.3-5VPositioning hole size:3mm in diameterControl signal:digital signalSize:34 x 22 x 9mmPackage included1 x Module BoardWiring, the UNO board is not includes.
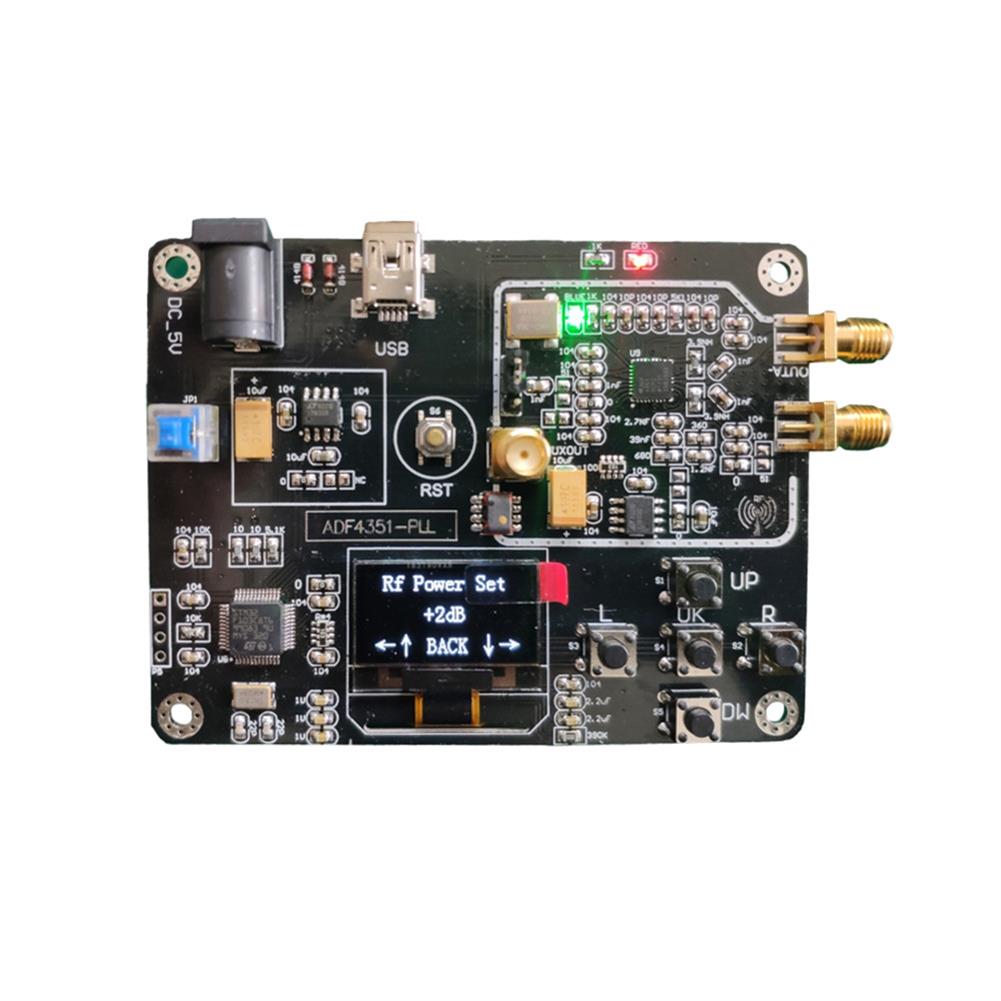
Geekcreit Signal Generator Module 35M-4.4GHz RF Signal Source Frequency Synthesizer ADF4351 Development Board
$54.66Sensor & Detector ModuleAdd to cartThe Source code:Click here to openSchematic:Click here to openHighlightsWith OLED displayHost computer USB & serial portIntegrated key operationWide range voltage supplyGood man-machine interface Many improvements on the phase noise, phase spurious and loop filterMuch enhancement on the power filter and ground processingModule can achieve 35MHz – 4.4GHz frequency output, point frequency, sweep, frequency hopping and …
3pcs thermal Sensor Module Temperature Switch thermistor Sensor Board
$5.49Sensor & Detector ModuleAdd to cartUsesTemperature detection, temperature control sensors , ambient temperature detectionFeatures1. Using the NTC thermistor sensor, good sensitivity2. The comparator output signal is clean, good waveform, driving ability, more than 15mA.3. Adjust the temperature distribution position detection threshold4. The working voltage 3.3V-5V5. The output format:digital switching outputs ( 0 and 1 )6. Fixed bolt holes for easy …
3pcs thermal Sensor Module Temperature Switch thermistor Sensor BoardRead More
10pcs thermal Sensor Module Temperature Switch thermistor Sensor Board
$10.88Sensor & Detector ModuleAdd to cartUsesTemperature detection, temperature control sensors , ambient temperature detectionFeatures1. Using the NTC thermistor sensor, good sensitivity2. The comparator output signal is clean, good waveform, driving ability, more than 15mA.3. Adjust the temperature distribution position detection threshold4. The working voltage 3.3V-5V5. The output format:digital switching outputs ( 0 and 1 )6. Fixed bolt holes for easy …
10pcs thermal Sensor Module Temperature Switch thermistor Sensor BoardRead More


Customers Also Viewed
AMS1117-5.0V 5V DC-DC Step Down Power Supply Module Power Buck Board LDO 800MA
$2.94Power Supply ModuleAdd to cartFeature1. Input:DC 6V – 12V ( input voltage must be higher than the output voltage to 1V or more. )2. Output:5.0V (+-0.05v error ), 800mA ( load current must not exceed 800ma)3. Three pairs of panel design, layout nice ;4. Specially designed two pin mounting holes, can be directly fixed on hole board for extended …
AMS1117-5.0V 5V DC-DC Step Down Power Supply Module Power Buck Board LDO 800MARead More
10A 300W High Power DC-DC Step Down Power Module 24V 19V 12V 5V Adjustable Buck Board Converter
$39.35Power Supply ModuleAdd to cartSpecification1. Input voltage:DC 3.5~30V2. Output voltage:DC 0.8~29V3. Output current:10A (MAX)4. Conversion efficiency:92%5. Blue digital display, the static current is 2-8mA (depends on the tube status)6. Onboard voltmeter:It can display the input voltage and output voltage, pressing the button of bottom short press digital tube to switch. The IN LED light shows the input voltages, while …
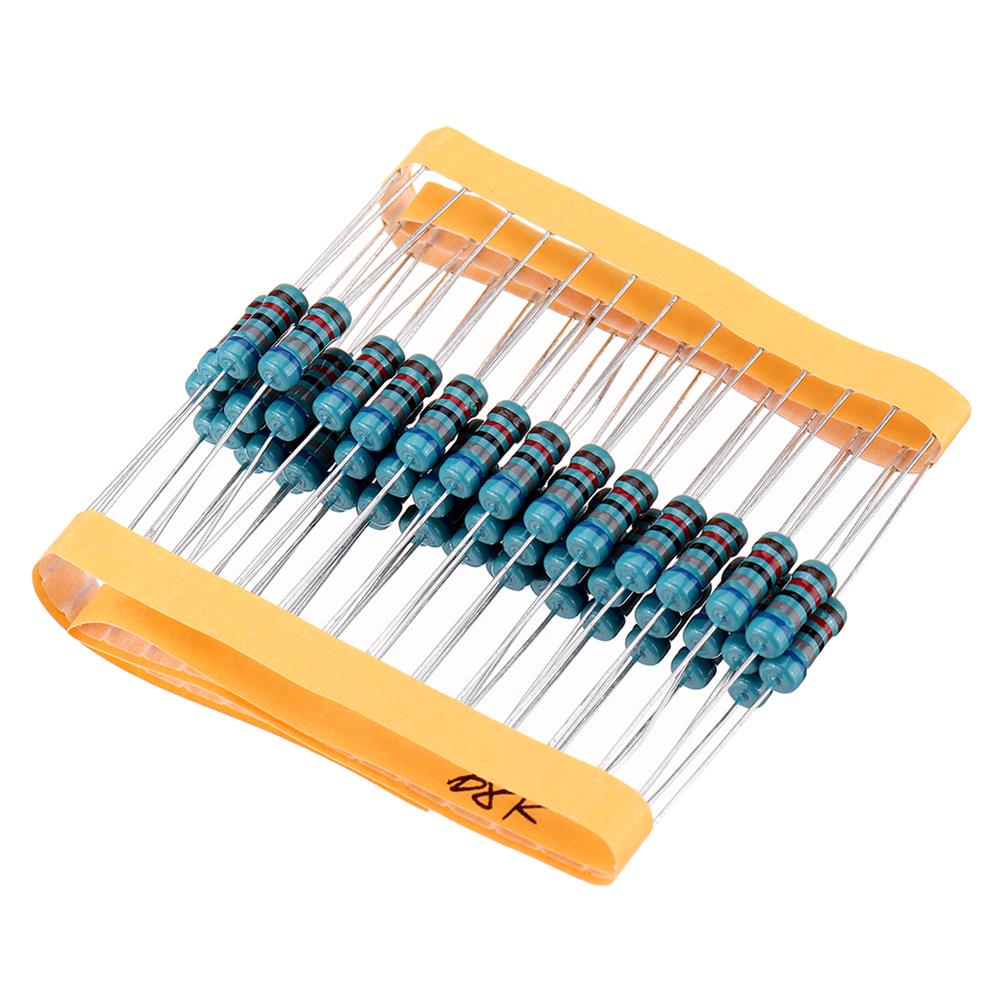
60pcs 2W 22KR Metal Film Resistor Resistance 1% 22K ohm Resistor
$7.41Electronic Accessories & SuppliesAdd to cartSize ConversionInchesCentimetersPlease according to your own measurements to choose your suitable size. The tags inside the items will show in our Asian (Type) size.DescriptionFive-color ringResistance:22k OhmAccuracy:+/- 1%Power:2WPackage included60 x 2W 22k Ohm Resistor
5pcs Hall Magnetic induction Sensor Magnetic Detection Magnetic Pole Resolver North and South Pole Detection Module DIY Kit
$16.88DIY Electronic KitsAdd to cartProduct parametersSize:33mm x 22mmOperating voltage:4.5V to 24V DCModule function:South and North poles distinguish, the South Pole is close to the bright blue light, and the North Pole is close to the bright red light.Maximum output load current:25MAOperating temperature range:-40 to 80 degrees Celsius.Detection distance:visually within 7MM, strong magnetic can reach 1.5CM.Interface definitionVCC:Positive power supplyGND:Negative power …
10pcs EQKIT OTL-1 Power Amplifier Circuit DIY Kit High Sensitivity OTL Discrete Component Amplifier Kit
$34.47DIY Electronic KitsAdd to cartDescriptionThis is a kit parts. You should solder it by yourself.This circuit belongs to the OTL circuit teaching model, its maximum power is only 1W, driven by two complementary transistors S8550 and S8050.It can be used for exercise welding techniques, understanding the triode complementary OTL output type and how to adjust the static operating point, …
YEABRICKS DIY LED Lighting Light Kit for Lego 10254 Christmas Holiday Car Building Blocks Lighting Accessories
$42.40DIY Electronic KitsAdd to cartSpecificationPlastic material:ABSPower supply:USBBlock net weight:0.07KGColor:As the picture shownThe product is just a light kit, not included the model!!!FitmentONLY For Lego 10254 Christmas Holiday Car Building Blocks Lighting AccessoriesPackage Included1 x LED Light Kit (Model Not Included)
LILYGO TTGO T5 V1.0 Wifi bluetooth Wireless Module Base ESP-32 ESP32 1.54 inch RBW Display
$45.91Display ScreenAdd to cartOverviewThis is an E-paper display module, resolution with embedded controller, communicating via SPI interface, supports more color display.Due to the advantages like ultra low power consumption, wide viewing angle, clear display without electricity, it is an ideal choice for applications such as shelf label, industrial instrument, and so on.Features· No backlight, keeps displaying last content …
LILYGO TTGO T5 V1.0 Wifi bluetooth Wireless Module Base ESP-32 ESP32 1.54 inch RBW DisplayRead More


Recently Viewed Products
-
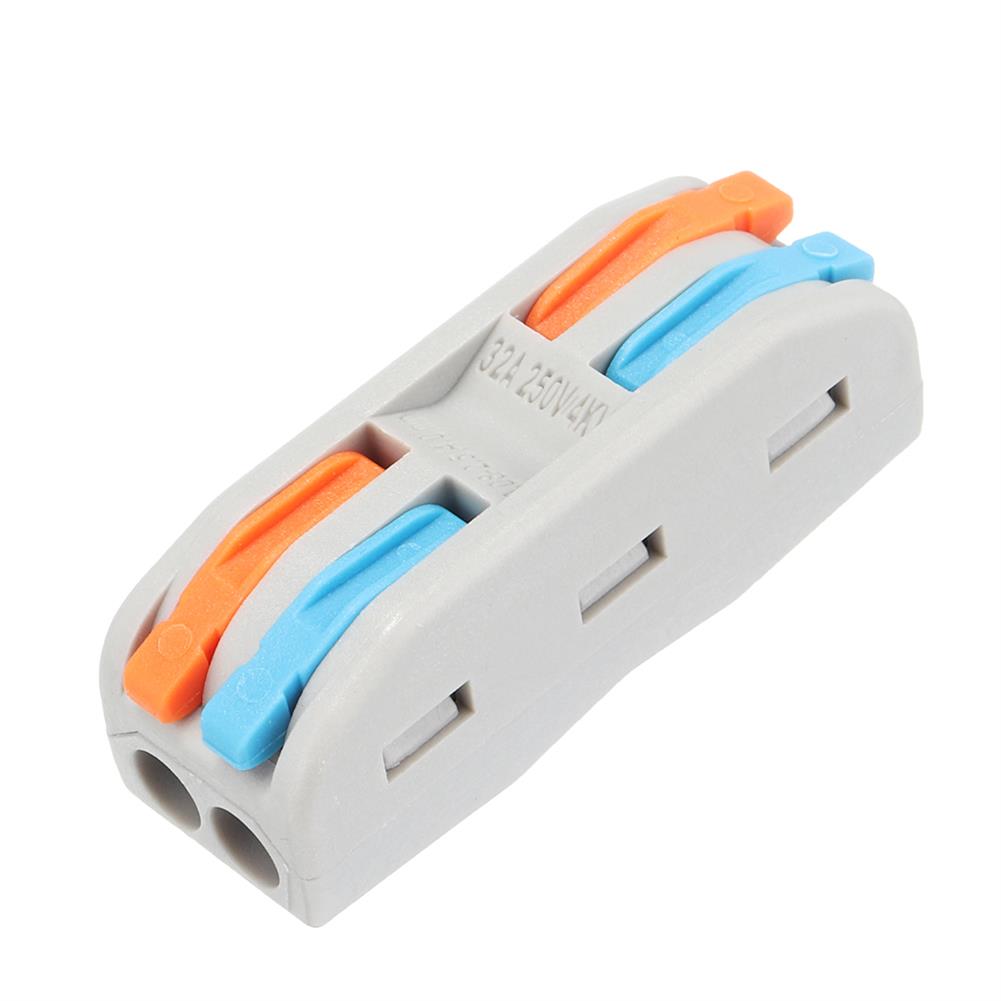 Excellway PCT-2 2Pin Colorful Docking Connector Electrical Connectors Wire Terminal Block Universal Electrical Wire Connector $12.14
 -
 Transparent Quartz Dry Herb Glass Pan Saucepan Fit for Greenlightvapes G9 Tick E-nail $12.47
 -
 Silver/Black Mini TP101 Smart Tank Chassis Car Kit with Dual DC Motor for DIY $77.38
 -
 Catda Raspberry Pi 4B Voice HAT Dual Microphone Voice Recognition Recording AI Smart Expansion Board Speaker 3B+ $70.86
 -
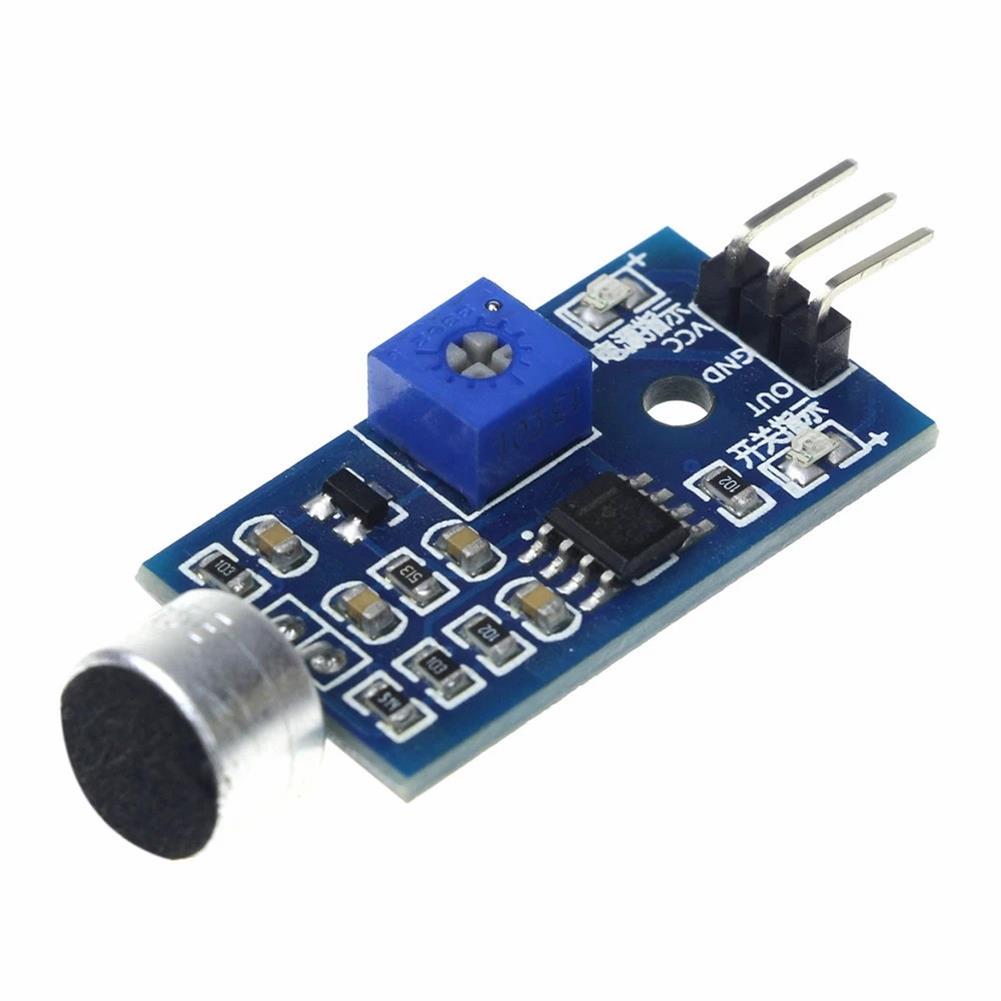 YAHBOOM 3pin Voice Sound Detection Sensor Module intelligent Smart Vehicle Robot Helicopter Airplane Aeroplane Car for Arduino $6.97
 -
 3pcs SPL-1 PCT-211 Rail Type Quick Connection Terminal Press Type Connector instead of UK2.5B Terminal Block $5.91
 -
 3pcs Mini Digital Voltmeter Ammeter DC 100V 10A Panel Amp Volt Voltage Current Meter Tester 0.56 Blue Red Dual LED Display $19.51
 -
 Plantower Household PM2.5 Laser indoor Air Quality Detector Professional Gas Detection Portable Mini Tester $119.35
 -
 10pcs CJMCU-3216 AP3216 Distance Sensor Photosensitive Tester Digital Optical Flow Proximity Sensor Module Geekcreit for Arduino - products that work with official Arduino boards $26.12
 -
 HAWEEL 20W Waterproof Solar Charging Panel Solar Panel with Tiger Clip Support Fast Charging Connected in Series $126.39
Reviews
There are no reviews yet.