


DIY Airband Radio Receiver Aviation Band Receiver Kit
$43.73
Shipping:Standard Shipping about 10-25 business days
Secure Payment:Paypal,VISA,MasterCard
Description
Like many scanner enthusiasts and ham operators, you are interested in listening in on all the excitement manifest in aeronautic communication, but lack the equipment to pursue your interest, then maybe the Aviation-Band Receiver described in this article is for you.
The Aviation Receiver, designed to tune the 118-135MHz band, features exceptional sensitivity, image rejection, signal-to-noise ratio, and stability.
The receiver is ideally suited to listening in on ground and air communication associated with commercial airlines and general aviation.
Powered from a 9-volt alkaline battery, it can be taken along with your to local airports so that you won’t miss a moment of the action.
And even if you’re nowhere near an airport, this little receiver will pick-up all the ground-to-air and vice-versa communications of any plane or ground facility within about 130 miles (190Km).
Color:Green
Material:CCL
Construction
Once you have obtained all of the components and the board for the Aviation Receiver, construction can begin. A parts-placement diagram is shown in Fig. When assembling the project, take special care that polarity-sensitive components (electrolytic capacitors [keep leads as short as possible], diodes, and transistors) are installed properly. Just one part installed backwards can cause grievous harm!
Inductors (Aircoils) L1,L3,L5 can be made easily on a 5mm drill bit. Before you wind them, scrape the enamel of each end, about 5mm. Then wind the 1.5 turn (2-turns is okay too). I know it can be tricky especially if you have big fingers like me. Begin by installing the passive components (6 jumper wires, sockets, resistors, capacitors, inductors). Followed by installing the active components; diodes, transistors, and IC’s. Once the active components have been installed, check your work for the usual construction errors; cold solder joints, misplaced or reversed-lead components, solder bridges, etc. Once you have determined that he circuit has been correctly assembled, it’s time to consider the enclosure that will house the receiver.
The receiver’s circuit board can be housed in any enclosure that you choose.
Note
Light shooting and different displays may cause the color of the item in the picture a little different from the real thing. The measurement allowed error is +/- 1-3cm.
Package included
1 x DIY KITs Airband Radio Receiver Aviation Band Receiver
1 x English manual
| Weight | 0.081 kg |
|---|
Related products
5Pcs inverter Boost High Voltage Generator 15KV High Frequency Transformer
$28.50DIY Electronic KitsAdd to cartUseSchool science experiment, electronic equipment, negative ion generator, small scientific production and so on. FeatureThis circuit works to produce a stable high-frequency arc, the temperature is extremely high, can easily ignite the combustible, so it was called a plasma lighter.NoteThis transformer high voltage winding in the inner layer, is the segment skeleton wound, low voltage …
5Pcs inverter Boost High Voltage Generator 15KV High Frequency TransformerRead More
with Housing DIY Music Spectrum LED Flash Kit + DIY Amplifier Speaker Kit
$63.73DIY Electronic KitsAdd to cartWith Housing DIY Music Spectrum LED Flash Kit + DIY Amplifier Speaker KitLED Flash Kit FeatureOperating voltage:5V USB power supplySignal access mode:3.5 audio line input audio signalInstallation:DIY welding assemblyDimensions:108 x 70 x 16mm (Length x high x thickness)Weight:130g (including housing)Type:With housing DIY kitPCB color:WhiteDIY Mini Speaker Kit FeatureInstallation:Circuit board assembly weldingSpeaker power:3W per channelCase Size:65 …
with Housing DIY Music Spectrum LED Flash Kit + DIY Amplifier Speaker KitRead More
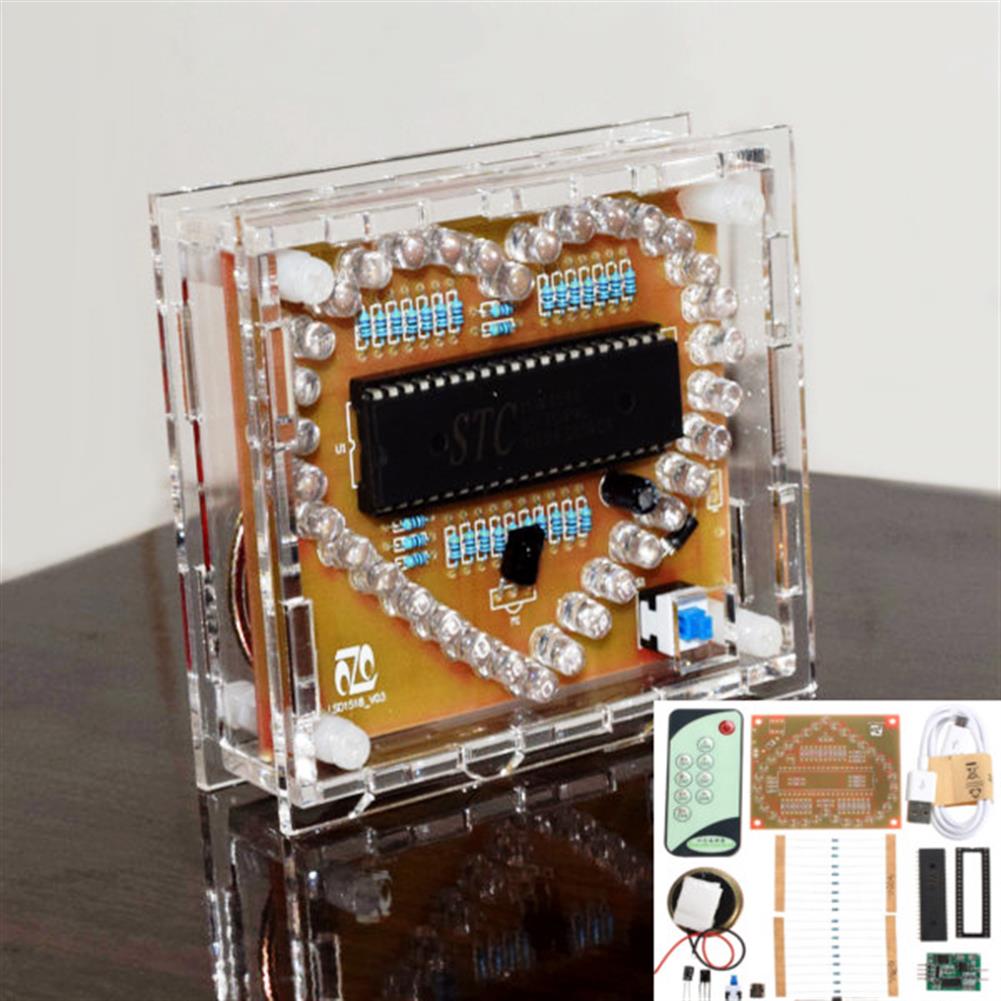
DC 5V DIY Colorful MP3 Music Heart-shaped RGB LED Flash Kit
$28.62DIY Electronic KitsAdd to cartVideo Feature Size:92 x 79.5 x 29mm model:STC15W408S Operating voltage:DC 5V (Or USB) Remote control:9-key infrared remote control (need to be aligned with the infrared receiver, no need pairing) Music:You can replace the music, you can also insert the U disk playback (only supports MP3 format) Sound output:8ohm 1W Measured speaker distance:65dB (1M) Speaker size:4cm …
DC 5V DIY Colorful MP3 Music Heart-shaped RGB LED Flash KitRead More
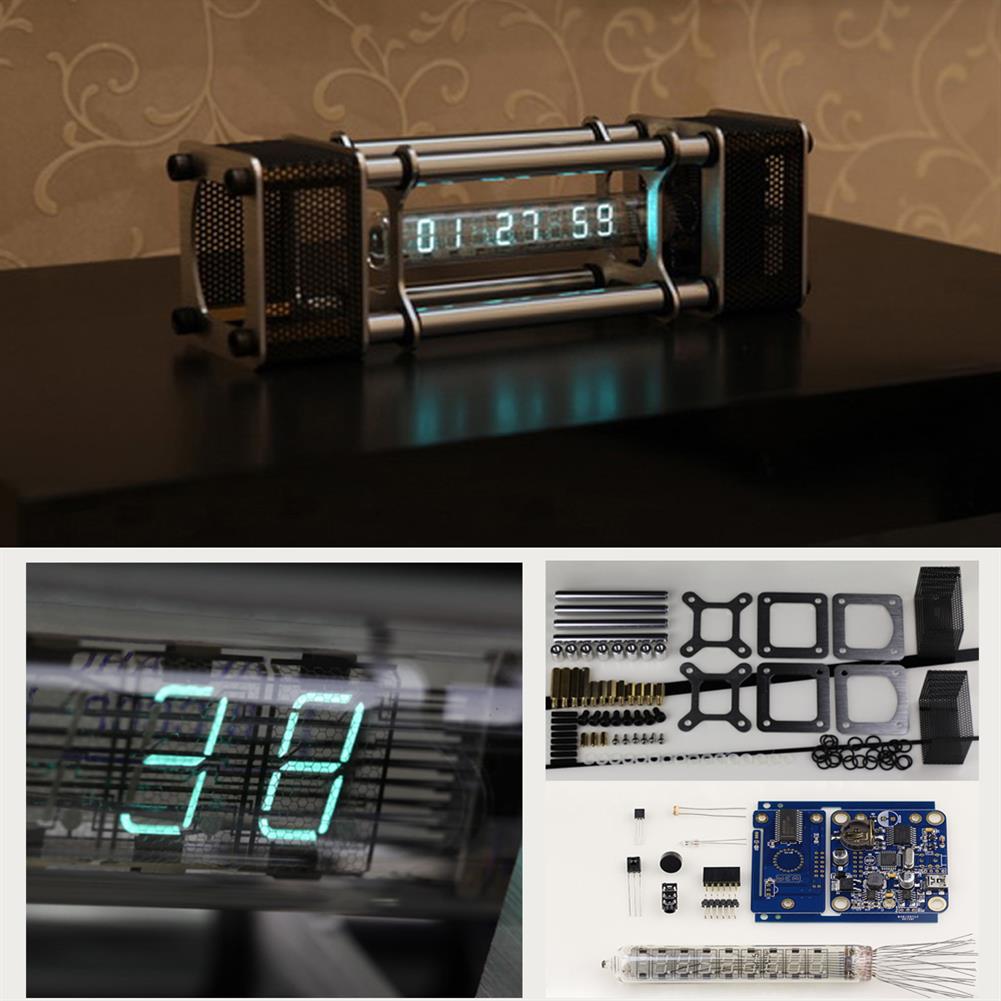
Unassembled IV-18 Fluorescent Tube Clock Kit DIY 6 Digital Display Energy Pillar with Remote Control
$328.40DIY Electronic KitsAdd to cartUser manual:http://img.staticbg.com/file/products/20180621033457IV-18-VFD-tube-Clock-Manual-EN-v1.2.0.pdfAssembly Instruction:http://www.nixieclock.org/p=449BOM list:http://img.staticbg.com/file/products/20180621211231IV-18-VFD-tube-Clock-kit-BOM-EN-v1.2.0.pdfFeatureInput voltage:DC 5VOperating current:220mA maximumFluorescent tube model:IV-18 (B-18 1984-1992 manufactured by the former Soviet Union)Dimensions:200mm x 52mm x 64mm (L x W x H) fluorescent tube length 115mm diameter 18mmWorking temp:0°C – 60°C Net Weight:350g Shell material:Aluminum alloy Functional features1. Eight digits in IV-18 (-18) VFD tube display. (~1980-1992 made in USSR). …


Customers Also Viewed
50Pcs KW12-3 Micro Limit Switch with Roller Lever Open/Close Switch 5A 125V
$16.52Electronic Accessories & SuppliesAdd to cartFeaturesOperating temperature:-40°C to 70°CRated voltage:AC 125V-250VPer weight:2gCurrent rating:5ASize:20 x 10 x 6mm (L X W X H)PCB Terminals Circuit BoardWith Roller Lever LimitWorking principleBy external mechanical force transmission elements (by pins, buttons, levers, rollers, etc.) will be used to force action on a reed, producing reed instantaneous action when action shifted to the critical point, …
50Pcs KW12-3 Micro Limit Switch with Roller Lever Open/Close Switch 5A 125VRead More
129Pcs/Set Silicone Casting Molds and Tools Jewelry Pendant Resin Mould DIY
$20.24Lab TubesAdd to cartFeatures-This set of making tool is especially designed for DIY expoxy resin crafts, including silicone mold,spoon,sequin,drill,nails and so on.-Different silicone molds have different shapes for you to choose,which may accurately match your various needs.-It is easy control with the reliable quanlity as well as the efficence. -The superior DIY tools for your craft works.SpecificationMaterials:Silicone,MetalType:Making ToolsQuantity:129pcs,one …
129Pcs/Set Silicone Casting Molds and Tools Jewelry Pendant Resin Mould DIYRead More
12V 7.5W Polysilicon Solar Panel Battery Charger Clip for Car RV Boat Outdoor
$60.74Solar PanelAdd to cartFeatures Lightweight and convenient to carry Long span life Easy to use Suitable for 12V battery, working temperature 0-60 ℃, reflow protectionSpecificationsMaterial:Grade A monocrystalline silicon solar panelPower:7.5W maxWorking voltage:12V (rechargeable 12V battery)Current:0-625MATemperature:-60 ° CSolar panel size:310 * 190mmPacking size:330 * 205 * 30mmNotice Make sure your battery is good and bad The level of the …
12V 7.5W Polysilicon Solar Panel Battery Charger Clip for Car RV Boat OutdoorRead More
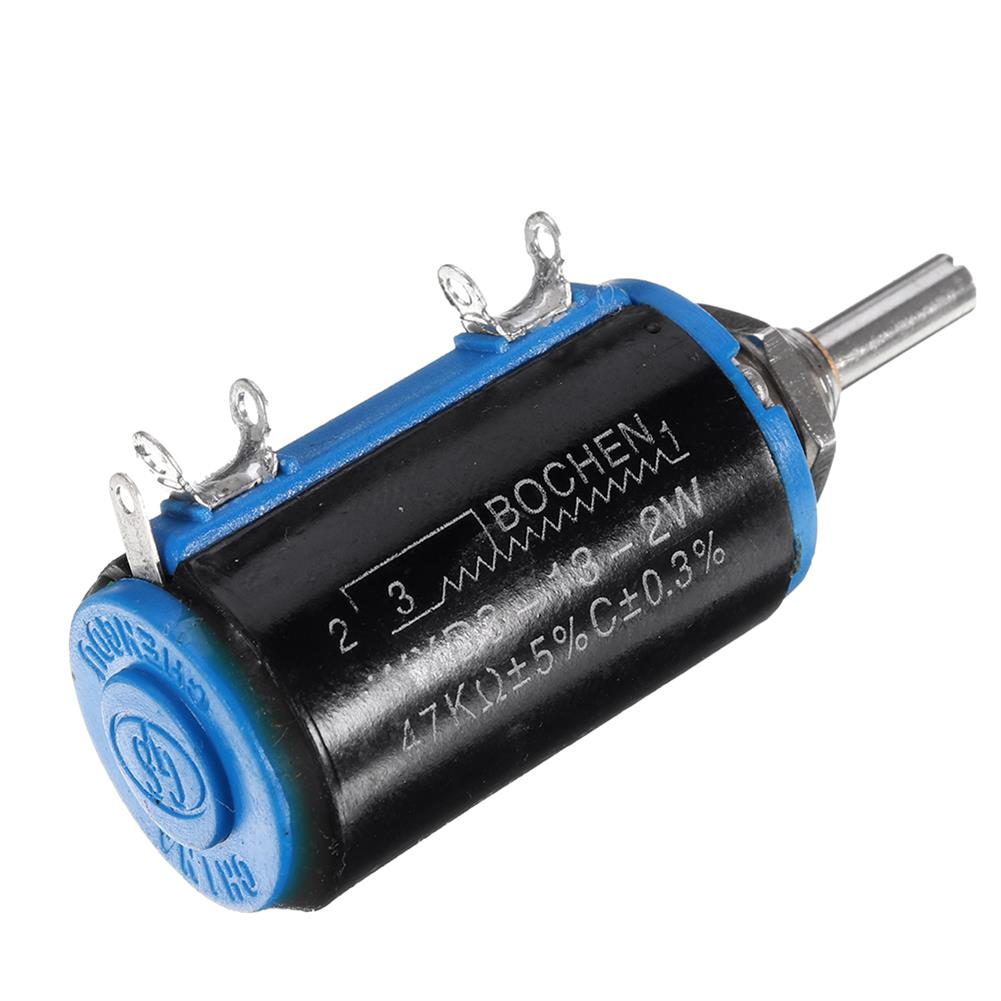
WXD3-13-2W Precision Potentiometer 470R 47K Ohm Wirewound Multi-Turn Potentiometer
$4.50Module ComponentsAdd to cartSpecificationsResistance range:47K┯Resistance tolerance:÷ 5%Rotation angle:3600 ÷ 20 Number of laps:10 lapsRated voltage:160VStarting torque:3.5 ~ 100mN.mRated power:2W (85 →) 0W (125 →)Linearity accuracy:÷ 0.3%Mechanical durability:10,000 weeksPackage included1 x Potentiometer
Mini Diving Equipment Scuba Diving Cylinder Scuba Oxygen Reserve Air Tank Set
$568.00Magnetic StirrerAdd to cartSpecificationsName:0.5L Portable Mini Oxygen Cylinder Air Oxygen Tank Breath DivingBreathing Oxygen CylinderCapacity:0.5LMaterial:Aviation aluminumOxygen cylinder weight:1040gOxygen cylinder dimension:φ6*35.5cm (2.4*14inch)Packing case size:65*10*38cm (25.6*4*15inch)Air capacity:3.0 Cu.Ft / 85 LittersMax. pressure:3000PSI / 200bar / 20MPaMax. dwell time underwater:10minNumber of underwater max. breathing:21 times(depending on individual lung capacity and depth of diving)High-pressure Inflatable PumpHigh pressure air pump material:stainless steelSize:62*26*3.6 cm(24.4*10*1.4inch)Barometer …
Mini Diving Equipment Scuba Diving Cylinder Scuba Oxygen Reserve Air Tank SetRead More
intelligent Dual LCD Pure Sine Wave Power inverter DC48V to AC220V 6000W for Home/Car/industry
$1,188.66InvertersAdd to cartSpecificationsType:Solar inverterOutput voltage waveform:Pure sine waveMatarial:Aluminum shellPower:6000WPeak Power:12000W (5000W Continous)Output voltage:220VInput voltage:48VInput DC low voltage protection:10V±0.5V DCInput DC high voltage protection:15.5V±0.5V DCOutput frequency:50Hz/60HzConversion rate:93% or moreSize:450x180x140mmWeight:8.9KG(Approx.)Appication:Home emergency/Industry/CarFeatures-High-precision circuit board.-Built-in intelligent control chip.-Dual LCD screen integration.-If the machine is abnormal, there will be an alarm.-Screw terminal. Pluggable plug, easy to replace the cable.-Universal socket, strong compatibility,most …
43.8V 1.6A Electric Bike Battery Charger for Scooter Power Supply Lithium Battery Charger
$46.56AC/DC AdaptersAdd to cartSpecificationsName:36V Lithium Battery Charger 43.8V 1.6AColor:BlackSize:155*90*50mm (6.1*3.5*2inch)Input:AC 100-240V 50-60HzOutput:DC 42V 0-2AInput plug:EU PlugOutput plug:1+, 3-Feature– This charger is suitable for all 36V lithium batteries.– Quick charge function.– Suitable for electric bicycle scooter.Package included1 x Lithium Battery Charger


Reviews
There are no reviews yet.