


5pcs XH-W1321 0.1 Digital thermostat Mini Embedded Red Digital Display Switch Temperature Controller with Waterproof NTC Sensor Meter
$48.34
Shipping:Standard Shipping about 10-25 business days
Secure Payment:Paypal,VISA,MasterCard
Specifications
Product Name:Miniature embedded digital display thermostat
Product Model:XH-1321
Material:ABS
Case Color:White
LED Color:Red
Input Voltage:DC12V
Temperature Measurement Range:-50-110→
Temperature Control Range:-50-110→
Control Accuracy:0.1→
Display Accuracy:0.1→
Measuring Input:NTC10K Waterproof Probe L=1 Meter
Output Type:Relay Output(Output Switch)
Output Capacity:10A
Size (Length x Width x Height):about 56 x 38 x 32mm (2.17 x 1.50 x 1.26 Inch )
Opening hole size:46 x 34mm
Key Function
SET:Press once during normal use, directly enter the stop temperature setting state, use the up and down keys to set the required stop temperature, long press to enter the internal setting menu.
UP:After long press the setting button to enter the internal setting, increase the value setting by the up button.
DOWN:After long press the setting button to enter the internal setting, use the up button to decrease the value setting.
Code:Description:Setting range (method):Factory settings
P0:Operating mode:H/C:C
P1:Backlash setting:0.1-50:2
P2:Temperature correction:-9.9~+9.9°C:0
P3:Delayed start:0-9:0
Detailed Code Descriptions
P0:Working mode:This value must be set when the thermostat is used for the first time. If it is used for heating heating, set to H, if it is used for cooling cooling, set to C.
P1:Hypothesis setting:Press and hold the setting button for 3 seconds to enter the internal menu, select P1, and press the setting button again to enter the hysteresis value setting state. The hysteresis is the difference required when the thermostat reaches the set temperature and stops working again. For example, it is set to the heating mode. When it is heated to 40 degrees, it stops at 35 degrees and starts to return. The difference is 5
P2:Temperature correction:Press and hold the setting button for 3 seconds to enter the internal menu. Press the up and down keys to select P2, press the setting button again, and set the required calibration temperature by the up and down keys. In the setting, if the detected temperature value is 0.5 °C larger than the actual temperature value, the calibration temperature to be set is -0.5 °C. If the detected temperature value is 1 °C smaller than the actual temperature value, the calibration temperature to be set is 1 °C, and the detection temperature +-calibration temperature = actual temperature.
P3:Delay start:Press and hold the setting button for 3 seconds to enter the internal menu, select P3 by the up and down keys, press the setting button again, and set the required delay time (minutes) by the up and down keys. The delay start is generally used for compressor refrigeration. If it is used in the refrigerator freezer, this value needs to be set. According to the compressor back pressure, the set value is usually 3-6 minutes, if it is not used to control the compressor or no delay. Function, skip this item directly.
Instructions
Set the difference back:Why set the backlash setting When you control the device, the temperature will rise or fall back. How many degrees does the temperature change If you want the temperature to change by 10°, the device needs to set the difference back to 10. By setting the difference back, the device can cycle through the temperature range.
Set the stop temperature:press the set button once in the normal display state to stop the temperature value flashing. You can set the desired stop temperature value by using the up and down keys.
How to set factory settings are restored:Press and hold the up and down keys while the power is on, the digital tube display 888 will then automatically jump to the detection temperature.
Heating mode setting method
Setup steps
The first step is to set P0=H
The second step sets the stop temperature
The third step sets the hysteresis value
Setting method
1. Press and hold the setting button to enter the internal menu and set P0 to H.
2. Press the setting button to stop the temperature flashing, and the up and down keys to set the temperature.
3. Press and hold the setting button to enter the internal menu and set the P1 hysteresis setting.
Use Cases
Control the water heater, heat it to 65 ° C to stop, the temperature drops back to 50 ° C and start heating again, how to set
Step 1:Determine the working mode as heating mode and set P0 to H
Step 2:Press the setting button to stop the temperature flashing. Set the starting temperature to 50 °C with the up and down keys.
The third step:stop at 65 °C, start again at 50 °C, so the return difference needs to be set to 65-50=15, enter the internal menu and set P1 to 15, the heating case is set!
Cooling mode setting mode
Setup steps
The first step is to set P0=C
The second step sets the stop temperature
The third step sets the hysteresis value
Setting method
Press and hold the setting button to enter the internal menu and set P0 to C.
Press the setting button to stop the temperature flashing, and the up and down keys to set the temperature.
Long press the setting button to enter the internal menu, set the P1 backlash setting
Use Cases
Control the farm, ventilate to 26 ° C to stop, the temperature rises to 28 ° C to start the refrigeration again, how to set up
The first step:determine the working mode is cooling mode, set P0 to C
Step 2:Press the SET button to stop the temperature flashing. Set the stop temperature to 28 °C with the up and down keys.
The third step:stop at 26 ° C, start again at 28 ° C, so the return difference needs to be set to 28-26 = 2, enter the internal menu to set P1 to 2, the cooling case is set!
Package includes
5 x Miniature embedded digital display thermostat
| Weight | 0.23 kg |
|---|
Related products
3pcs 6mA 3-100CM Adjustable infrared Digital Obstacle Avoidance Sensor Module
$20.45Sensor & Detector ModuleAdd to cartSpecificationsWorking voltage:DC 3.8V-5.5VWorking current (5V):typical current 6mAInput and output signals (3 lines):GND, VCC is power, and VCC is 3.8V-5.5VObstacle detection time (range from obstacle-free to obstacle-free or obstacle-free to obstacle-free)Working Principle:Sensors actively emit infrared light, according to reflected light detection, if detected obstacles, OUT foot output 0, otherwise 1.Detection distance (test environment, indoor, maximum power, …
3pcs 6mA 3-100CM Adjustable infrared Digital Obstacle Avoidance Sensor ModuleRead More
30pcs thermal Sensor Module Temperature Switch thermistor Sensor Board
$27.45Sensor & Detector ModuleAdd to cartUsesTemperature detection, temperature control sensors , ambient temperature detectionFeatures1. Using the NTC thermistor sensor, good sensitivity2. The comparator output signal is clean, good waveform, driving ability, more than 15mA.3. Adjust the temperature distribution position detection threshold4. The working voltage 3.3V-5V5. The output format:digital switching outputs ( 0 and 1 )6. Fixed bolt holes for easy …
30pcs thermal Sensor Module Temperature Switch thermistor Sensor BoardRead More
Waterproof Ultrasonic Sensor Module integrated Ranging Sensor Reversing Radar Measuring Distance
$24.04Sensor & Detector ModuleAdd to cartThis module is easy to use. A control port sends a high level above 10US, so you can wait for the high level output at the receiving port. You can turn on the timer when there is an output. When this port goes low, you can read it. The value of the timer, at this …
10pcs 6mA 3-100CM Adjustable infrared Digital Obstacle Avoidance Sensor Module
$64.02Sensor & Detector ModuleAdd to cartSpecificationsWorking voltage:DC 3.8V-5.5VWorking current (5V):typical current 6mAInput and output signals (3 lines):GND, VCC is power, and VCC is 3.8V-5.5VObstacle detection time (range from obstacle-free to obstacle-free or obstacle-free to obstacle-free)Working Principle:Sensors actively emit infrared light, according to reflected light detection, if detected obstacles, OUT foot output 0, otherwise 1.Detection distance (test environment, indoor, maximum power, …
10pcs 6mA 3-100CM Adjustable infrared Digital Obstacle Avoidance Sensor ModuleRead More


Customers Also Viewed
Multiple Car Toys Magnetic Puzzle Box Book Educational Book Kids Learning Gift
$52.64MathematicsAdd to cartPackage included10 x Card76 x MagnetsFeatures1.Developing kids’ intelligence.2.Teaching kids to know more words.3.Easy for storage.SpecificationsColor:MulticolorMaterial:Paperboard, MagnetismSize:30x4x21.5cm
Basic Starter Kit UNO R3 Mini Breadboard LED Jumper Wire Button with Box for Geekcreit for Arduino – products that work with official Arduino boards
$18.62Module KitsAdd to cartDescriptionsPerfect for Shield Prototyping and TestingPlastic housing, metal contact clipsAccept wire with diameter 20-29AWGVolatge/current:300V/3-5A400 tie-point2 Power Lanes, Tie-point 1001 Double-strip, Tie-point 300Solderless Breadboard Size:82x55x8.5mmPackage included1 x Uno R3 Development Board1x 400 hole Breadboard10 x 220Ω resistor 5% carbon film10 x 1k resistor 5% carbon film10 x 10k resistor 5% carbon film10 x 100k resistor 5% …
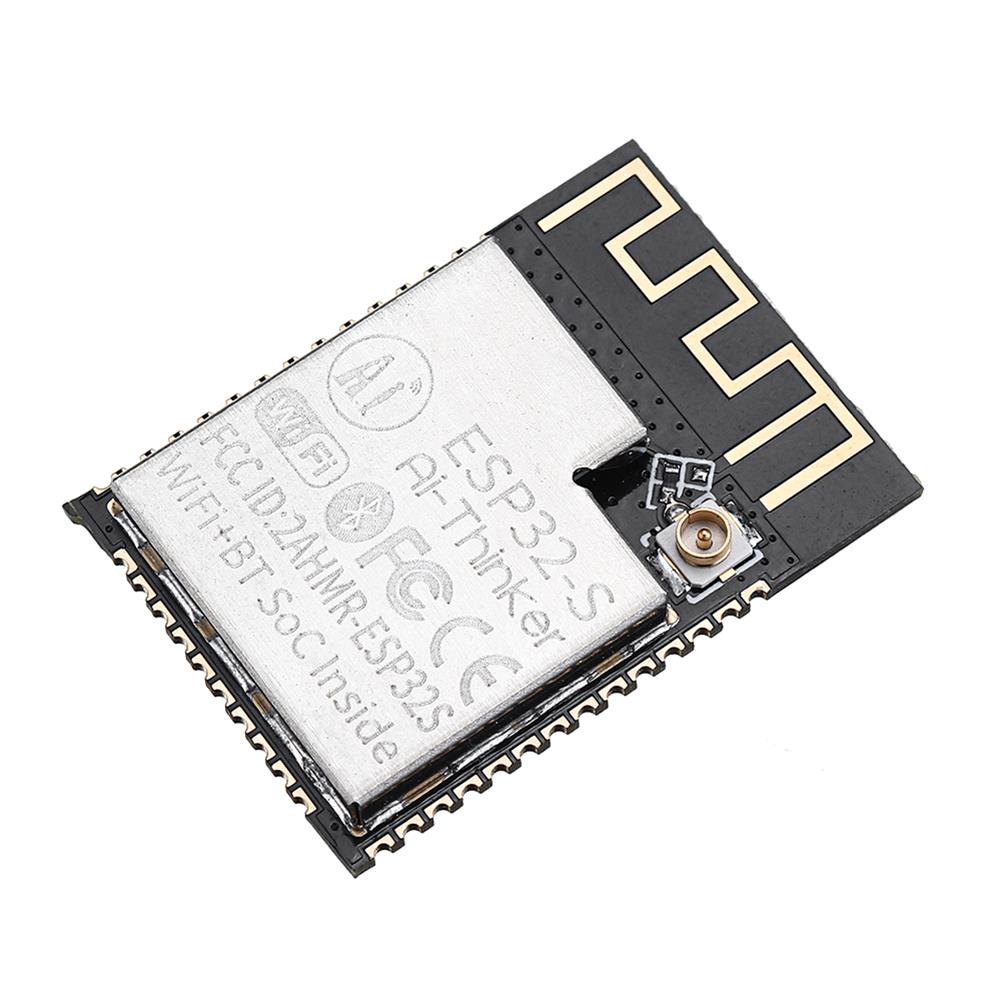
3pcs ESP32-S WiFi + Bluetooth ESP32S Serial to WiFi Dual Antenna Module
$29.27Smart ModuleAdd to cartDescriptionThe main chip uses a low-power dual-core 32-bit CPU with a frequency of up to 240MHz and computing power of up to 600DMIPS.Default 32Mbit SPI Flash, 520KB SRAMSupport SoftAP and Station modeUltra-small 802.11b/g/n Wi-Fi + BT/BLE SoC moduleSupport UART/SPI/I2C/I2S/PWM/ADC/DAC, etc.Support for firmware upgrade (FOTA)Antenna supports onboard antenna or IPEX block outputPackage includes3 x Wifi module
Geekcreit 433MHz DC 12V 10A Relay 1CH Channel Wireless RF Remote Control Switch Transmitter with Receiver
$15.30Smart ModuleAdd to cartIf you need more Transmitter, please buy Product ID:1215079>>>Manual:Click here to openFeaturesEasy to install and easy to carryWith a slidable cover on the remote controlWith a hook on the remote controlUse Learning coding, stable and reliableThe wireless signal can pass through walls, floors and doorsYou can turn on or turn off the receiver with transmitter …
CO2 Refill Adapter Connector Kit W21.8-14 Thread Set for Filling SodaStream
$56.69Electrical Pump & ValveAdd to cartFeature*CO2 Refill Adapter is used to fill CO2 into your Sodastream tank.*Adjustable valve pin ensures compatibility with any cylinder valve variation.*Easy to install and use.*Made of high quality metal, high hardness and durable.Specification*Material:Metal*Color:Silver (As Pictures Show)*Inner Thread:TR21-4*Outer Thread:W21.8-14Package Contents1*CO2 Refill AdapterNotes:The real color of the item may be slightly different from the pictures shown on …
CO2 Refill Adapter Connector Kit W21.8-14 Thread Set for Filling SodaStreamRead More
30pcs 2.5-5.5V TTP223 Capacitive Touch Switch Button Self Lock Module
$15.15Other Module BoardAdd to cartFeatures 1. Size:15*11mm 2. Power:2.5-5.5V 3.Trigger setting mode:(1->Short;0->No Short) AB=00:No-lock High TTL level output; AB=01:Self-lock High TTL level output; AB=10:No-lock Low TTL level output; AB=11:Self-lock Low TTL level output; Package included 30 x 2.5-5.5V TTP223 Capacitive Touch Switch Button Self-Lock Module For
NE555 Pulse Module LM358 Duty and Frequency Adjustable Square Wave Signal Generator Upgrade Version
$6.55Test & Measuring ModuleAdd to cartFeature1. Used as a square wave signal generator to generate square wave signals for experimental development.2. Used to generate a square wave signal that drives the stepper motor driver.3. Generate adjustable pulses for use by the MCU.4. Generate adjustable pulses to control the associated circuitry.Description1. Size:3.5CM * 4.6CM1. The main chip:LM358;2. Input voltage:5V-12VDC.3. Input current:≥100MA;4. …
3pcs LM3915 Level indicator Kit DC9V-12V DIY Electronic Production Module Kit
$13.73DIY Electronic KitsAdd to cartFeatureModel:AUL-10Supply voltage:DC9V-12VAudio input:0~1.5VrmsPCB size:66 x 28mm (L x W)Light row size:62.5 x 5 x 10.7mm (L x W x H)Two indication modes:bar indication and fire spot indication (Realized by MOD short-circuit point)Lamp row offers two kinds of vertical and horizontal installationTin-treated solder padsNote:Before power on, please confirm the polarity of the power supply is correct …
3pcs LM3915 Level indicator Kit DC9V-12V DIY Electronic Production Module KitRead More


Recently Viewed Products
-
 DC 12V/24V 6 inch Air Cooling Fan Mini Rotatable Fan with Sucker Auto Vehicle Low Noise $52.64
 -
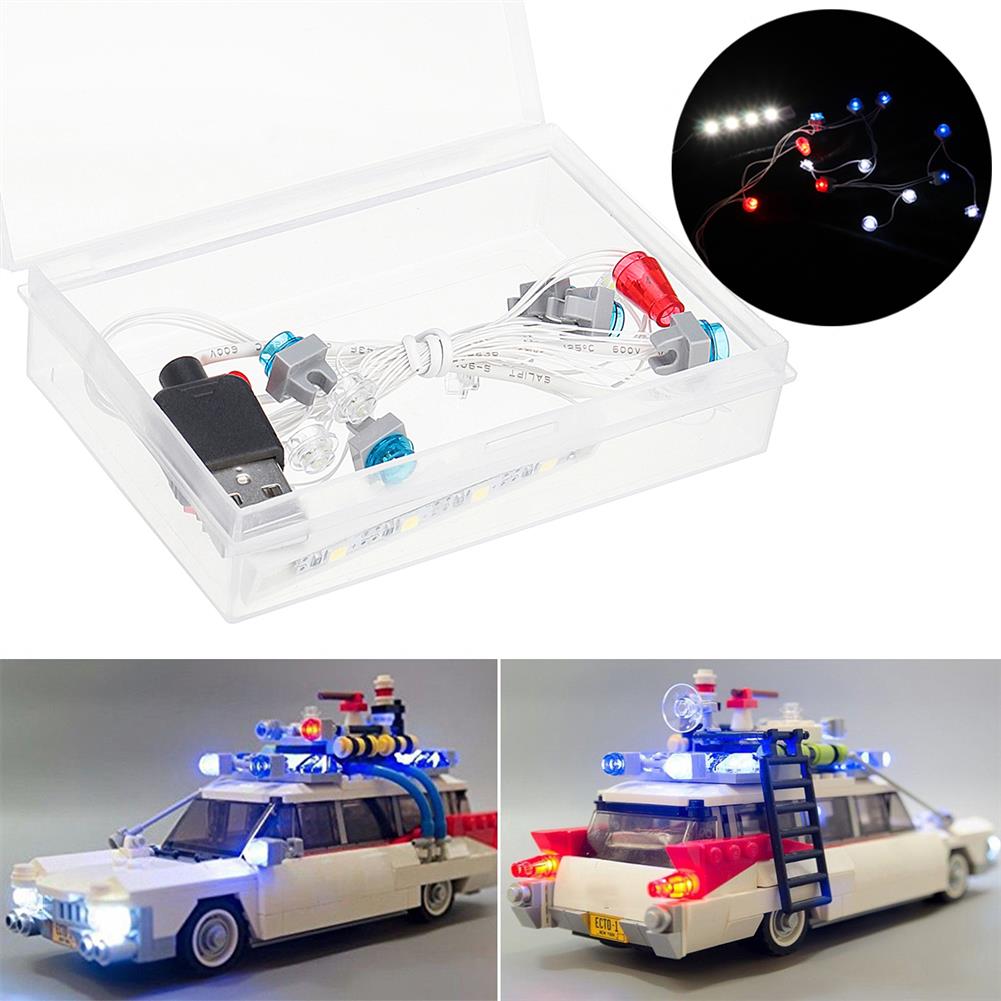 LED Light Kit ONLY for Lego 21108 Ghostbusters Ecto-1 Lighting Bricks USB Port $20.74
 -
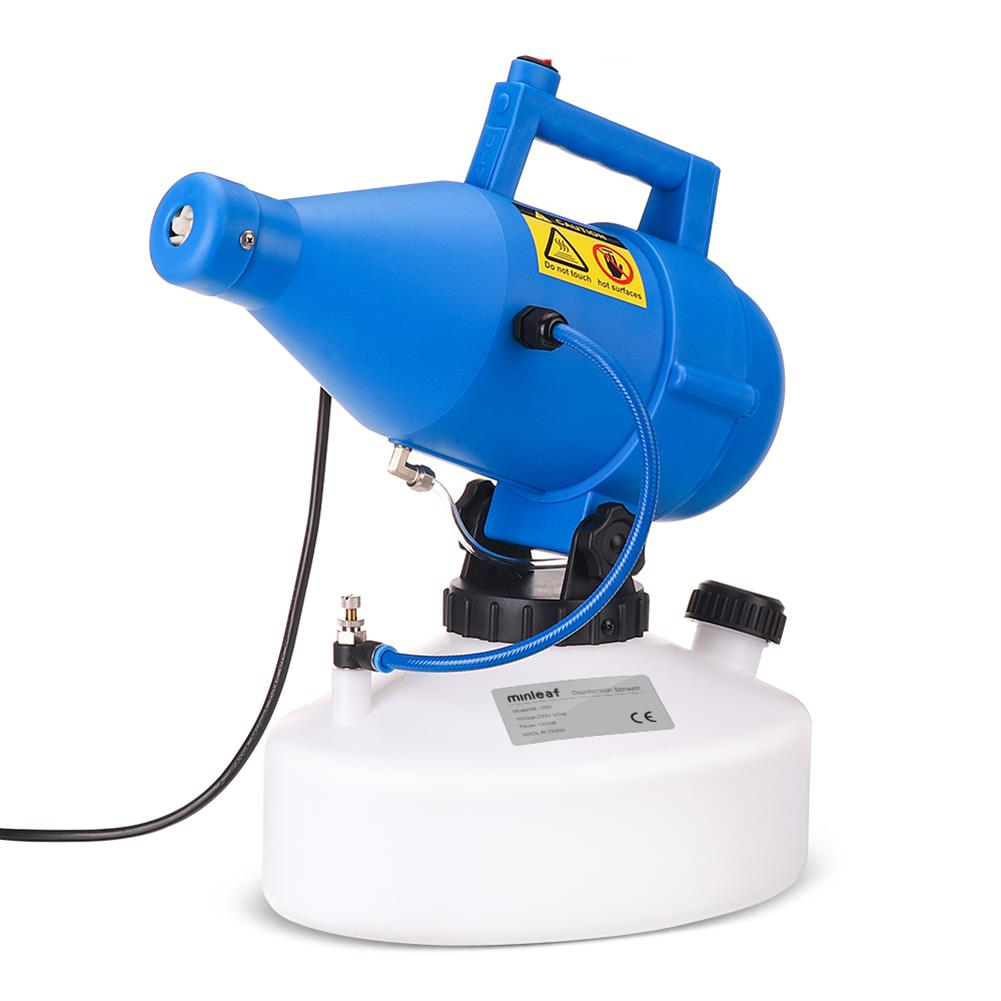 Minleaf 110V/220V 60HZ/50HZ 5L Portable Electric ULV Fogger Flow Adjustable Nebulizer Hotels Residence Community office industrial Disinfection Sterilization insecticide EU/US $263.24
 -
 Engraving Machine Hand Piece Mini Tips for Pneumatic Graver Jewelry Making Tools $115.41
 -
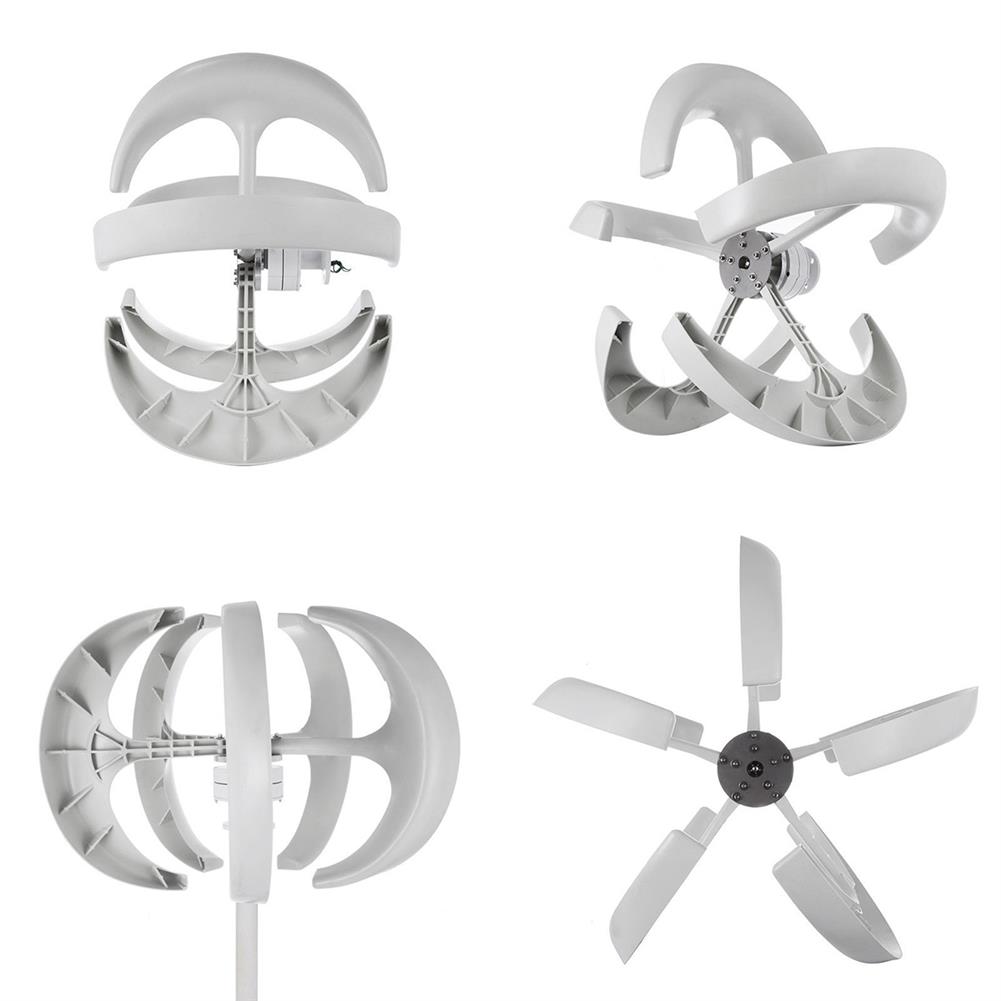 550W 12V/24V 5 Blades Lantern Power Wind Turbine Generator with Charge Controller $664.19
 -
 10Pcs/Pack KittenBot 23x12.2x29mm SG90 9g Mini Servo with 25cm Wire for Smart Robot Car $58.02
 -
 10pcs 433MHZ Wireless Transmitter Receiving Module ASK DC 9V-12V EV1527 Remote Control Switch Board $32.75
 -
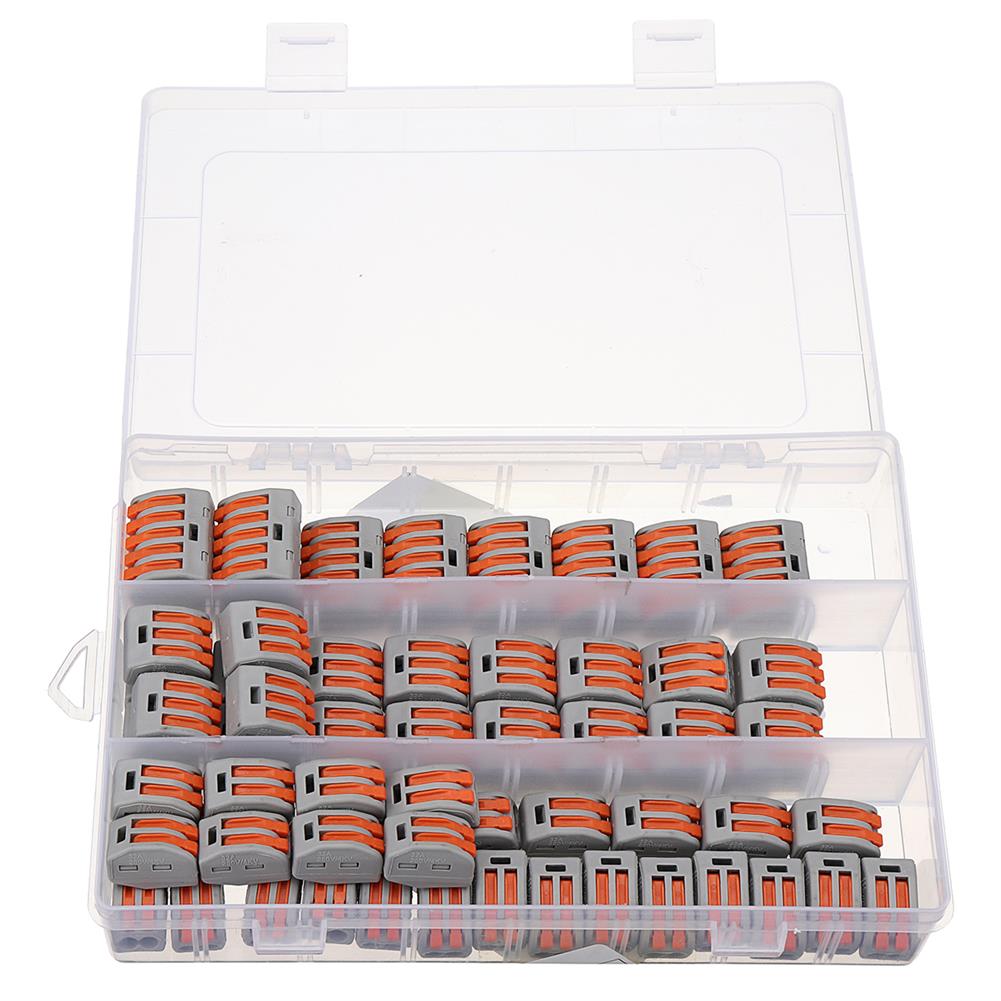 Excellway 60Pcs 2/3/5 Holes Spring Conductor Terminal Block Electric Cable Wire Connector $20.24
 -
 10Pcs USB Humidifier Atomization Driver Board PCB Circuit Board 5V Spray incubation $37.17
 -
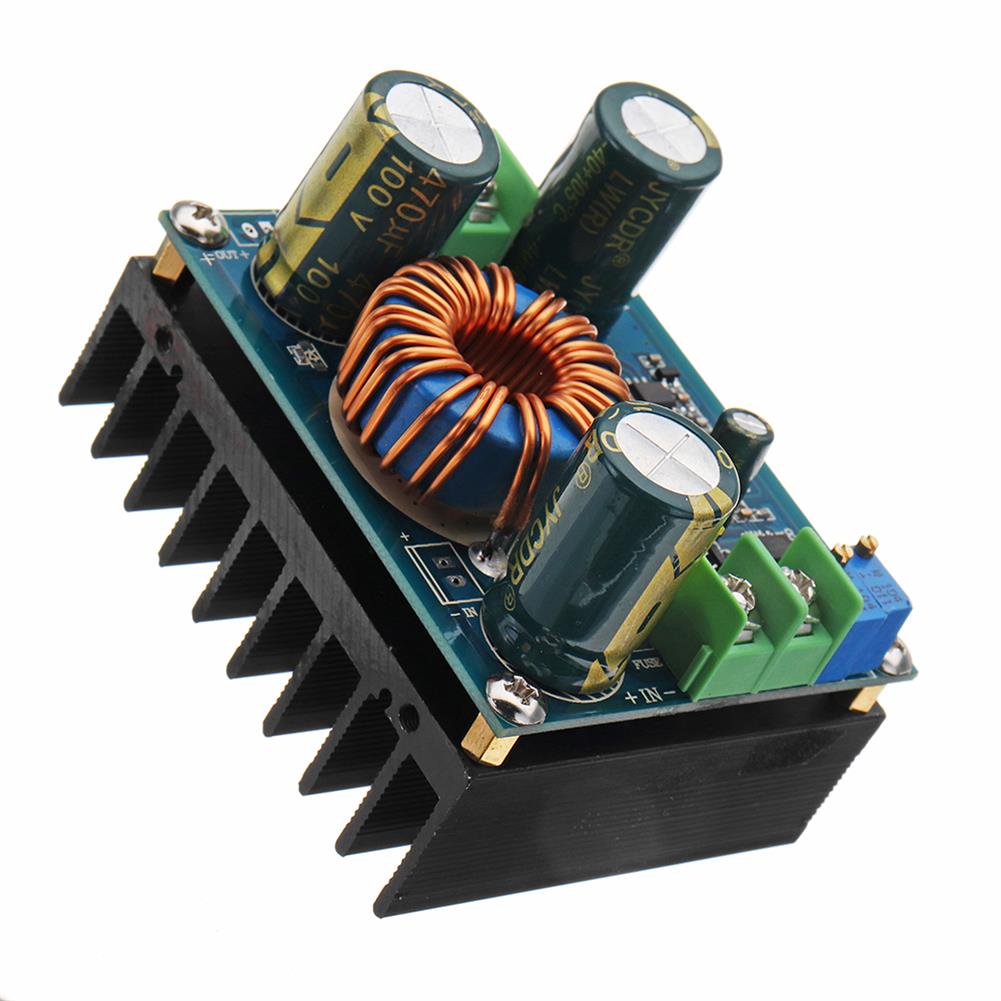 600W 12A DC 8V To 16 V Or DC 12V To 60V Adjustable Boost Converter Power Supply Board Step-Up Module $39.35
Reviews
There are no reviews yet.