


3pcs XH-W1321 0.1 Digital thermostat Mini Embedded Red Digital Display Switch Temperature Controller with Waterproof NTC Sensor Meter
$30.89
Shipping:Standard Shipping about 10-25 business days
Secure Payment:Paypal,VISA,MasterCard
Specifications
Product Name:Miniature embedded digital display thermostat
Product Model:XH-1321
Material:ABS
Case Color:White
LED Color:Red
Input Voltage:DC12V
Temperature Measurement Range:-50-110→
Temperature Control Range:-50-110→
Control Accuracy:0.1→
Display Accuracy:0.1→
Measuring Input:NTC10K Waterproof Probe L=1 Meter
Output Type:Relay Output(Output Switch)
Output Capacity:10A
Size (Length x Width x Height):about 56 x 38 x 32mm (2.17 x 1.50 x 1.26 Inch )
Opening hole size:46 x 34mm
Key Function
SET:Press once during normal use, directly enter the stop temperature setting state, use the up and down keys to set the required stop temperature, long press to enter the internal setting menu.
UP:After long press the setting button to enter the internal setting, increase the value setting by the up button.
DOWN:After long press the setting button to enter the internal setting, use the up button to decrease the value setting.
Code:Description:Setting range (method):Factory settings
P0:Operating mode:H/C:C
P1:Backlash setting:0.1-50:2
P2:Temperature correction:-9.9~+9.9°C:0
P3:Delayed start:0-9:0
Detailed Code Descriptions
P0:Working mode:This value must be set when the thermostat is used for the first time. If it is used for heating heating, set to H, if it is used for cooling cooling, set to C.
P1:Hypothesis setting:Press and hold the setting button for 3 seconds to enter the internal menu, select P1, and press the setting button again to enter the hysteresis value setting state. The hysteresis is the difference required when the thermostat reaches the set temperature and stops working again. For example, it is set to the heating mode. When it is heated to 40 degrees, it stops at 35 degrees and starts to return. The difference is 5
P2:Temperature correction:Press and hold the setting button for 3 seconds to enter the internal menu. Press the up and down keys to select P2, press the setting button again, and set the required calibration temperature by the up and down keys. In the setting, if the detected temperature value is 0.5 °C larger than the actual temperature value, the calibration temperature to be set is -0.5 °C. If the detected temperature value is 1 °C smaller than the actual temperature value, the calibration temperature to be set is 1 °C, and the detection temperature +-calibration temperature = actual temperature.
P3:Delay start:Press and hold the setting button for 3 seconds to enter the internal menu, select P3 by the up and down keys, press the setting button again, and set the required delay time (minutes) by the up and down keys. The delay start is generally used for compressor refrigeration. If it is used in the refrigerator freezer, this value needs to be set. According to the compressor back pressure, the set value is usually 3-6 minutes, if it is not used to control the compressor or no delay. Function, skip this item directly.
Instructions
Set the difference back:Why set the backlash setting When you control the device, the temperature will rise or fall back. How many degrees does the temperature change If you want the temperature to change by 10°, the device needs to set the difference back to 10. By setting the difference back, the device can cycle through the temperature range.
Set the stop temperature:press the set button once in the normal display state to stop the temperature value flashing. You can set the desired stop temperature value by using the up and down keys.
How to set factory settings are restored:Press and hold the up and down keys while the power is on, the digital tube display 888 will then automatically jump to the detection temperature.
Heating mode setting method
Setup steps
The first step is to set P0=H
The second step sets the stop temperature
The third step sets the hysteresis value
Setting method
1. Press and hold the setting button to enter the internal menu and set P0 to H.
2. Press the setting button to stop the temperature flashing, and the up and down keys to set the temperature.
3. Press and hold the setting button to enter the internal menu and set the P1 hysteresis setting.
Use Cases
Control the water heater, heat it to 65 ° C to stop, the temperature drops back to 50 ° C and start heating again, how to set
Step 1:Determine the working mode as heating mode and set P0 to H
Step 2:Press the setting button to stop the temperature flashing. Set the starting temperature to 50 °C with the up and down keys.
The third step:stop at 65 °C, start again at 50 °C, so the return difference needs to be set to 65-50=15, enter the internal menu and set P1 to 15, the heating case is set!
Cooling mode setting mode
Setup steps
The first step is to set P0=C
The second step sets the stop temperature
The third step sets the hysteresis value
Setting method
Press and hold the setting button to enter the internal menu and set P0 to C.
Press the setting button to stop the temperature flashing, and the up and down keys to set the temperature.
Long press the setting button to enter the internal menu, set the P1 backlash setting
Use Cases
Control the farm, ventilate to 26 ° C to stop, the temperature rises to 28 ° C to start the refrigeration again, how to set up
The first step:determine the working mode is cooling mode, set P0 to C
Step 2:Press the SET button to stop the temperature flashing. Set the stop temperature to 28 °C with the up and down keys.
The third step:stop at 26 ° C, start again at 28 ° C, so the return difference needs to be set to 28-26 = 2, enter the internal menu to set P1 to 2, the cooling case is set!
Package includes
3 x Miniature embedded digital display thermostat
| Weight | 0.138 kg |
|---|
Related products
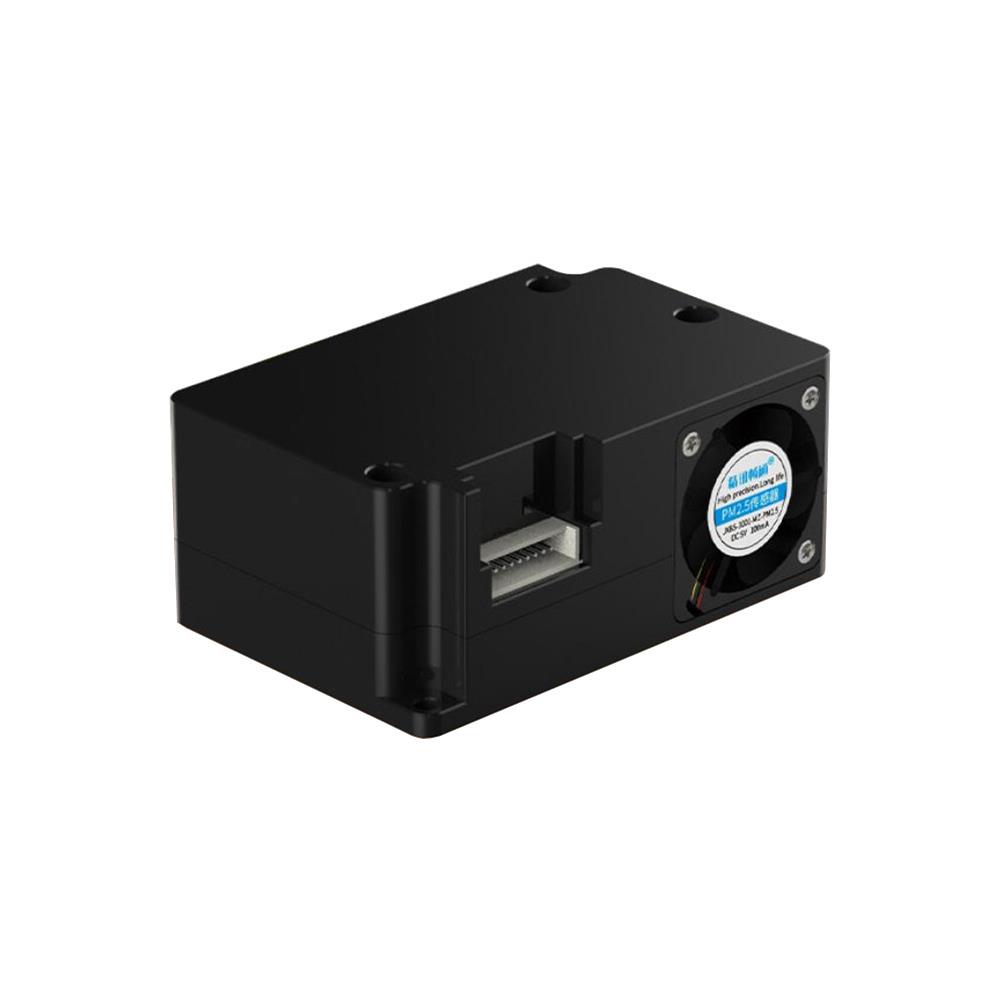
PM2.5 Laser Particulate Matter Sensor PM1.0 PM10 Air Quality Detection Sensor Monitoring Particulate Matter Sensor Module
$39.35Sensor & Detector ModuleAdd to cartTechnical ParametersPM2.5/PM10 measuring range:0-999ug/m3PM2.5/PM10 resolution:lug/m3PM2.5/PM10 accuracyConsistency of particle concentration:0-100ug/m3:÷10%;100-500ug/m3:÷10%Minimum detectable particle diameter:0.3umPower supply voltage:5V÷0.1VMaximum working current:100mAOperating temperature range:-10~60CWorking humidity range:0-95%RHStorage temperature:-30~70CResponse speedProduct appearance size:53x35x23mmApplication areasAir Purifier / Air Quality Detector / Fresh Air Ventilation SystemSupporting air-conditioning / cars with air purification function and consumer electronicsAgricultural greenhouse / environmental monitoring of outdoor breeding placesKitchen and bathroom …
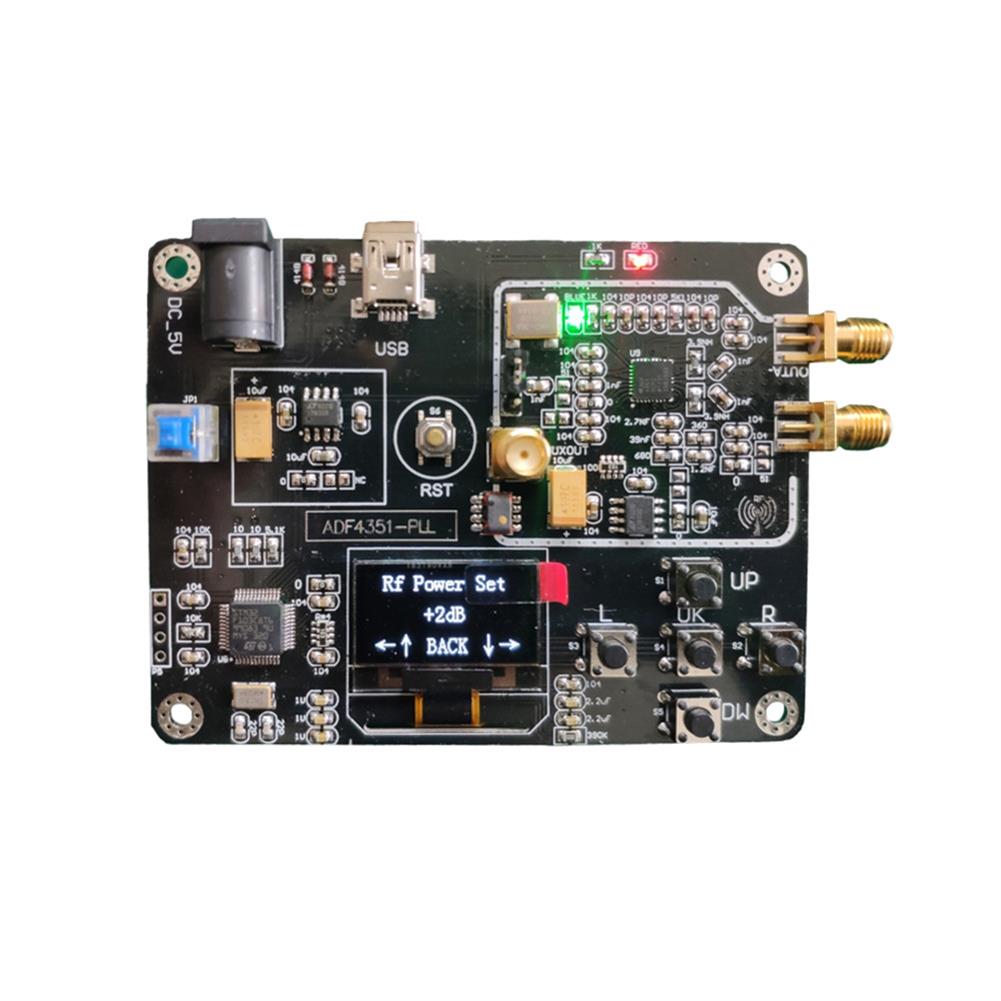
Geekcreit Signal Generator Module 35M-4.4GHz RF Signal Source Frequency Synthesizer ADF4351 Development Board
$54.66Sensor & Detector ModuleAdd to cartThe Source code:Click here to openSchematic:Click here to openHighlightsWith OLED displayHost computer USB & serial portIntegrated key operationWide range voltage supplyGood man-machine interface Many improvements on the phase noise, phase spurious and loop filterMuch enhancement on the power filter and ground processingModule can achieve 35MHz – 4.4GHz frequency output, point frequency, sweep, frequency hopping and …
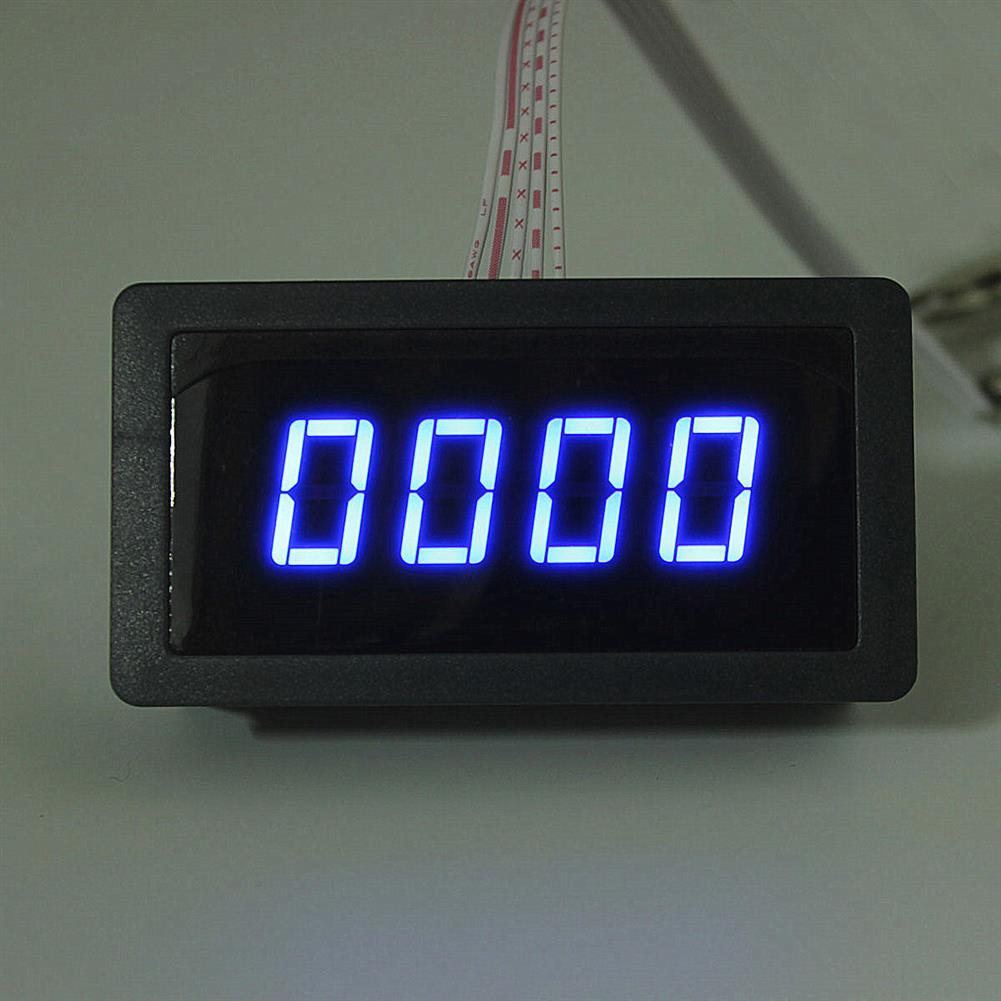
4 Digital LED Tachometer RPM Speed Meter + Proximity Switch Sensor NPN
$26.23Sensor & Detector ModuleAdd to cartSpecificationsWorking power supply:DC8-24v 40 mAMeasure range:5-9999 RPMDisplay:Blue LED 67*32mmSign:Pusle signal, Hall NPN 3 wires normally openHall proximity model:NJK-5002CAppearance:M12mm cylinderDetection range:10mmDetected objects:MagnetResponse frequency:100HZOperating temperature:0 to 50°CPackage included1 x Proximity switch1 x Tachometer
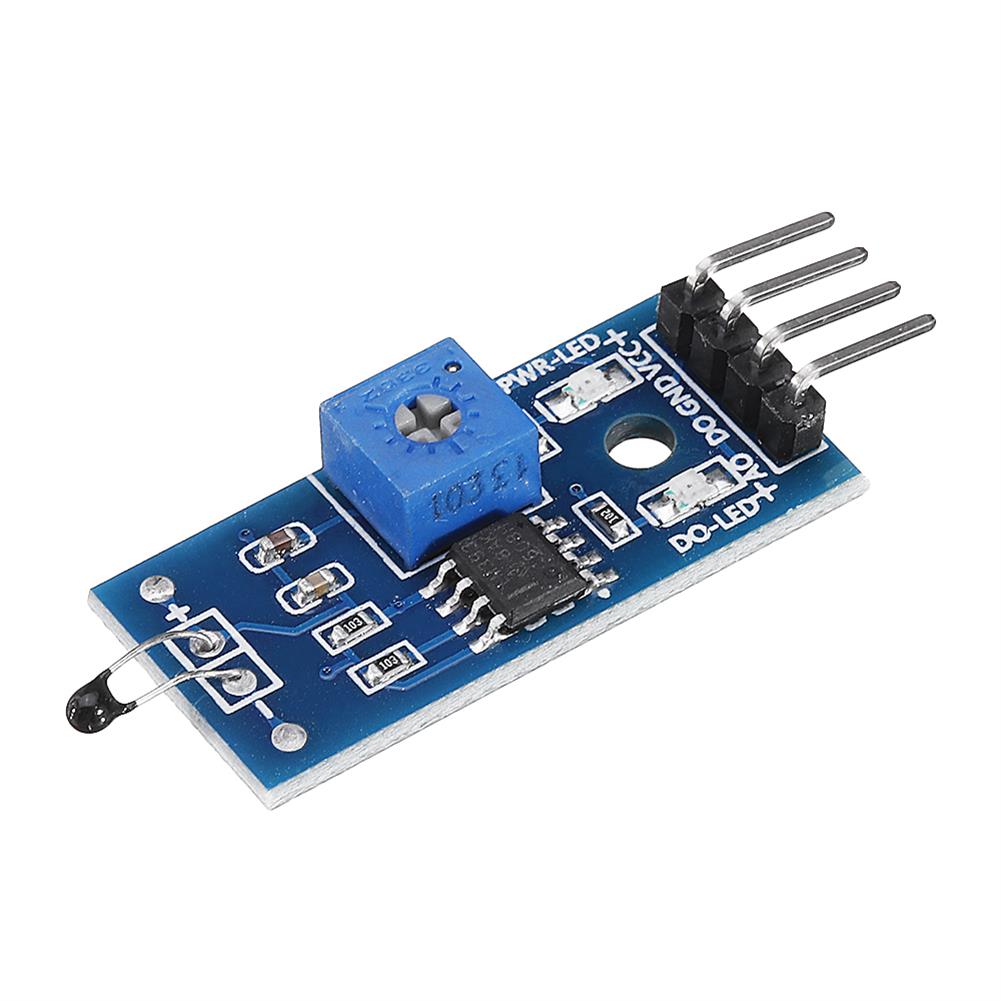
20pcs thermal Sensor Module Temperature Switch thermistor Sensor Board
$20.28Sensor & Detector ModuleAdd to cartUsesTemperature detection, temperature control sensors , ambient temperature detectionFeatures1. Using the NTC thermistor sensor, good sensitivity2. The comparator output signal is clean, good waveform, driving ability, more than 15mA.3. Adjust the temperature distribution position detection threshold4. The working voltage 3.3V-5V5. The output format:digital switching outputs ( 0 and 1 )6. Fixed bolt holes for easy …
20pcs thermal Sensor Module Temperature Switch thermistor Sensor BoardRead More
Customers Also Viewed
1pcs AS15-G AS15G TQFP-48 Chip IC
$4.36Electronic Accessories & SuppliesAdd to cartSize ConversionInchesCentimetersPlease according to your own measurements to choose your suitable size. The tags inside the items will show in our Asian (Type) size.DescriptionType:AS15-GQuantity:1Package included1 x AS15-G AS15G QFP48 Chip IC
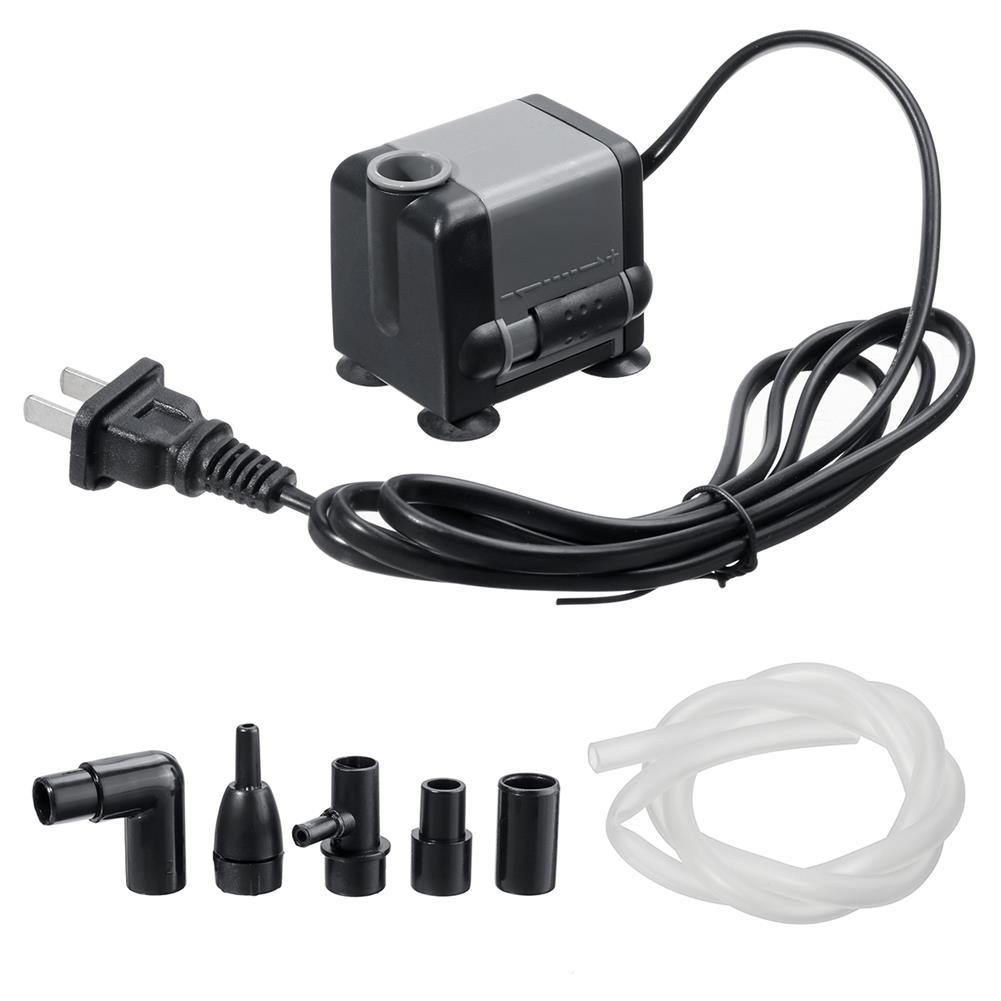
18W 1PCS Aquarium Filter Aquarium internal Filter Oxygen Submersible Water Pumps for Fish Tank Pond Aquarium Filters
$48.59MathematicsAdd to cartSpecificationsModel:1280FMaterial:ABSFlow 1300 L/H ,Cable length:1.1MMaximum lift:1.2mOxygen tube length:0.34MFit For fish tank:≤80cmColor:As Picture ShowPower Consumption:18WWeight:639gFeatures-Removable filter box, easy to replace the filter material.-Adopt high quality and firm ABS shell, durable, freshwater and sea water are suitable.-Small size, easy to hide, at the same time filtering, oxygen, pumping and other functions.-With biological filtration cotton in the filter …
4 Channels 4-20mA Current Signal Generator Module Board with 12864 Digital LCD Display
$55.43Other Module BoardAdd to cartDescriptionThis module is a multichannel current signal generator that generates 4 channels 4~20mA current signal. The module is simple to use and input data by keystroke operation, and the output signal is updated immediately.FeaturesUse 12864 LCD displayVoltage:15-24VActive output current 0~20mA. Display resolution 0.01mA and control accuracy 0.1mAPolarity protection of input voltageCan analog transmitter outputCompatible for …
4 Channels 4-20mA Current Signal Generator Module Board with 12864 Digital LCD DisplayRead More
20pcs LM393 DC 5V Optoelectronic Sensor PIR Sensor Module with LED instruction Slot Single Signal
$23.96Sensor & Detector ModuleAdd to cartSpecificationsThe distance between PCB two circular hole (point to point center) is 1.5cm, and the aperture is 0.3cm.Slot type optocoupler slot width:10mmMain chip:LM393, slot type optocoupler H2010Working voltage:DC 5VSize:32mm x11mm x 20mmCharacteristic1. There is a signal output indication.2. Single signal output.3. When the object is blocked, the output is high level (LED lights out), and …
DIY Digital Display LED Logic Pen Electronic Kit High and Low Level Test Circuit Soldering Practice Board Kit
$4.36DIY Electronic KitsAdd to cartDescriptionPower supply:DC 4.5-5VBoard size:3.5 * 5.5cmLow-level judgment voltage:0.0-0.4VHigh-level judgment voltage:3.3-5VPackage included1 x DIY Digital Display LED Logic Pen Electronic Kit


Reviews
There are no reviews yet.