


3pcs XH-W1321 0.1 Digital thermostat Mini Embedded Blue Digital Display Switch Temperature Controller with Waterproof NTC Sensor Meter
$30.89
Shipping:Standard Shipping about 10-25 business days
Secure Payment:Paypal,VISA,MasterCard
Specifications
Product Name:Miniature embedded digital display thermostat
Product Model:XH-1321
Material:ABS
Case Color:White
LED Color:Blue
Input Voltage:DC12V
Temperature Measurement Range:-50-110→
Temperature Control Range:-50-110→
Control Accuracy:0.1→
Display Accuracy:0.1→
Measuring Input:NTC10K Waterproof Probe L=1 Meter
Output Type:Relay Output(Output Switch)
Output Capacity:10A
Size (Length x Width x Height):about 56 x 38 x 32mm (2.17 x 1.50 x 1.26 Inch )
Opening hole size:46 x 34mm
Key Function
SET:Press once during normal use, directly enter the stop temperature setting state, use the up and down keys to set the required stop temperature, long press to enter the internal setting menu.
UP:After long press the setting button to enter the internal setting, increase the value setting by the up button.
DOWN:After long press the setting button to enter the internal setting, use the up button to decrease the value setting.
Code:Description:Setting range (method):Factory settings
P0:Operating mode:H/C:C
P1:Backlash setting:0.1-50:2
P2:Temperature correction:-9.9~+9.9°C:0
P3:Delayed start:0-9:0
Detailed Code Descriptions
P0:Working mode:This value must be set when the thermostat is used for the first time. If it is used for heating heating, set to H, if it is used for cooling cooling, set to C.
P1:Hypothesis setting:Press and hold the setting button for 3 seconds to enter the internal menu, select P1, and press the setting button again to enter the hysteresis value setting state. The hysteresis is the difference required when the thermostat reaches the set temperature and stops working again. For example, it is set to the heating mode. When it is heated to 40 degrees, it stops at 35 degrees and starts to return. The difference is 5
P2:Temperature correction:Press and hold the setting button for 3 seconds to enter the internal menu. Press the up and down keys to select P2, press the setting button again, and set the required calibration temperature by the up and down keys. In the setting, if the detected temperature value is 0.5 °C larger than the actual temperature value, the calibration temperature to be set is -0.5 °C. If the detected temperature value is 1 °C smaller than the actual temperature value, the calibration temperature to be set is 1 °C, and the detection temperature +-calibration temperature = actual temperature.
P3:Delay start:Press and hold the setting button for 3 seconds to enter the internal menu, select P3 by the up and down keys, press the setting button again, and set the required delay time (minutes) by the up and down keys. The delay start is generally used for compressor refrigeration. If it is used in the refrigerator freezer, this value needs to be set. According to the compressor back pressure, the set value is usually 3-6 minutes, if it is not used to control the compressor or no delay. Function, skip this item directly.
Instructions
Set the difference back:Why set the backlash setting When you control the device, the temperature will rise or fall back. How many degrees does the temperature change If you want the temperature to change by 10°, the device needs to set the difference back to 10. By setting the difference back, the device can cycle through the temperature range.
Set the stop temperature:press the set button once in the normal display state to stop the temperature value flashing. You can set the desired stop temperature value by using the up and down keys.
How to set factory settings are restored:Press and hold the up and down keys while the power is on, the digital tube display 888 will then automatically jump to the detection temperature.
Heating mode setting method
Setup steps
The first step is to set P0=H
The second step sets the stop temperature
The third step sets the hysteresis value
Setting method
1. Press and hold the setting button to enter the internal menu and set P0 to H.
2. Press the setting button to stop the temperature flashing, and the up and down keys to set the temperature.
3. Press and hold the setting button to enter the internal menu and set the P1 hysteresis setting.
Use Cases
Control the water heater, heat it to 65 ° C to stop, the temperature drops back to 50 ° C and start heating again, how to set
Step 1:Determine the working mode as heating mode and set P0 to H
Step 2:Press the setting button to stop the temperature flashing. Set the starting temperature to 50 °C with the up and down keys.
The third step:stop at 65 °C, start again at 50 °C, so the return difference needs to be set to 65-50=15, enter the internal menu and set P1 to 15, the heating case is set!
Cooling mode setting mode
Setup steps
The first step is to set P0=C
The second step sets the stop temperature
The third step sets the hysteresis value
Setting method
Press and hold the setting button to enter the internal menu and set P0 to C.
Press the setting button to stop the temperature flashing, and the up and down keys to set the temperature.
Long press the setting button to enter the internal menu, set the P1 backlash setting
Use Cases
Control the farm, ventilate to 26 ° C to stop, the temperature rises to 28 ° C to start the refrigeration again, how to set up
The first step:determine the working mode is cooling mode, set P0 to C
Step 2:Press the SET button to stop the temperature flashing. Set the stop temperature to 28 °C with the up and down keys.
The third step:stop at 26 ° C, start again at 28 ° C, so the return difference needs to be set to 28-26 = 2, enter the internal menu to set P1 to 2, the cooling case is set!
Package includes
3 x Miniature embedded digital display thermostat
| Weight | 0.132 kg |
|---|
Related products
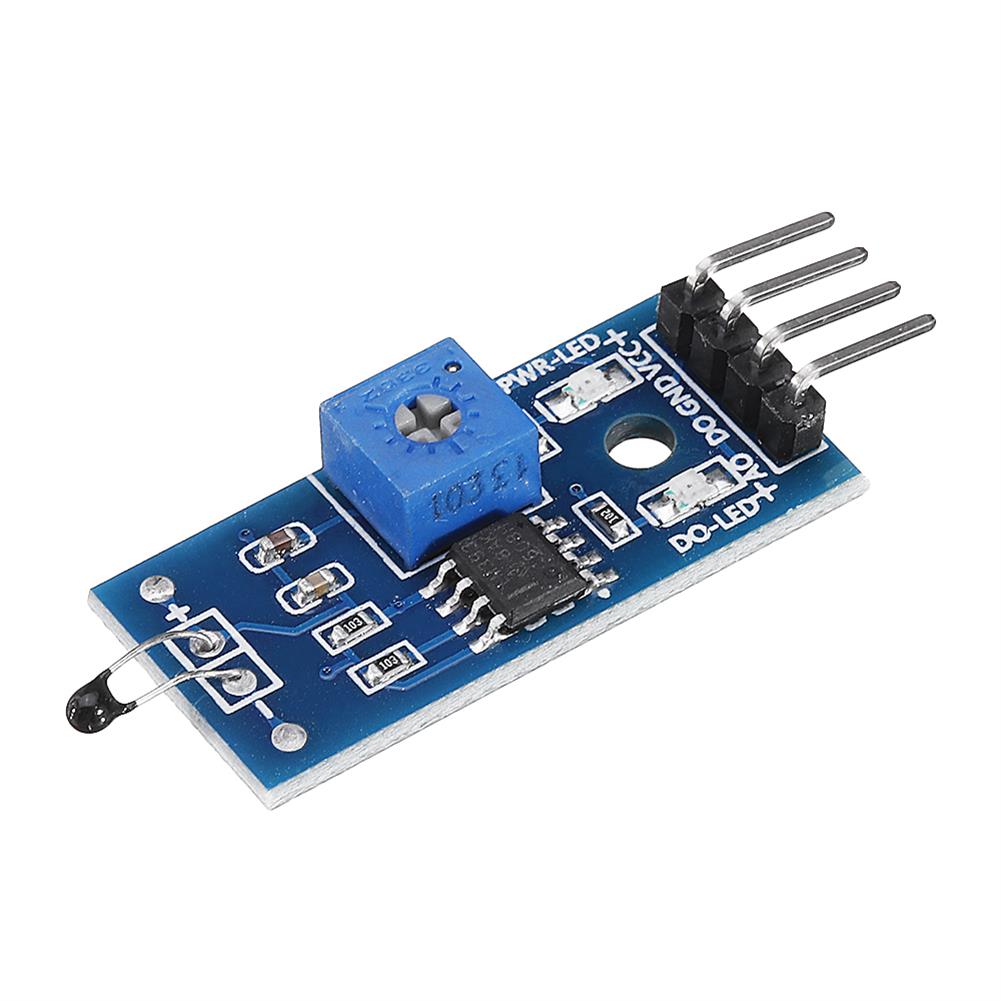
5pcs 6mA 3-100CM Adjustable infrared Digital Obstacle Avoidance Sensor Module
$36.94Sensor & Detector ModuleAdd to cartSpecificationsWorking voltage:DC 3.8V-5.5VWorking current (5V):typical current 6mAInput and output signals (3 lines):GND, VCC is power, and VCC is 3.8V-5.5VObstacle detection time (range from obstacle-free to obstacle-free or obstacle-free to obstacle-free)Working Principle:Sensors actively emit infrared light, according to reflected light detection, if detected obstacles, OUT foot output 0, otherwise 1.Detection distance (test environment, indoor, maximum power, …
5pcs 6mA 3-100CM Adjustable infrared Digital Obstacle Avoidance Sensor ModuleRead More
5pcs thermal Sensor Module Temperature Switch thermistor Sensor Board
$6.20Sensor & Detector ModuleAdd to cartUsesTemperature detection, temperature control sensors , ambient temperature detectionFeatures1. Using the NTC thermistor sensor, good sensitivity2. The comparator output signal is clean, good waveform, driving ability, more than 15mA.3. Adjust the temperature distribution position detection threshold4. The working voltage 3.3V-5V5. The output format:digital switching outputs ( 0 and 1 )6. Fixed bolt holes for easy …
5pcs thermal Sensor Module Temperature Switch thermistor Sensor BoardRead More
3pcs thermal Sensor Module Temperature Switch thermistor Sensor Board
$5.49Sensor & Detector ModuleAdd to cartUsesTemperature detection, temperature control sensors , ambient temperature detectionFeatures1. Using the NTC thermistor sensor, good sensitivity2. The comparator output signal is clean, good waveform, driving ability, more than 15mA.3. Adjust the temperature distribution position detection threshold4. The working voltage 3.3V-5V5. The output format:digital switching outputs ( 0 and 1 )6. Fixed bolt holes for easy …
3pcs thermal Sensor Module Temperature Switch thermistor Sensor BoardRead More
20pcs thermal Sensor Module Temperature Switch thermistor Sensor Board
$20.28Sensor & Detector ModuleAdd to cartUsesTemperature detection, temperature control sensors , ambient temperature detectionFeatures1. Using the NTC thermistor sensor, good sensitivity2. The comparator output signal is clean, good waveform, driving ability, more than 15mA.3. Adjust the temperature distribution position detection threshold4. The working voltage 3.3V-5V5. The output format:digital switching outputs ( 0 and 1 )6. Fixed bolt holes for easy …
20pcs thermal Sensor Module Temperature Switch thermistor Sensor BoardRead More


Customers Also Viewed
Geekcreit DIY C51 RGB Colorful Crystal LED Aurora Colorful Flashing Light Kit
$19.67DIY Electronic KitsAdd to cartFeaturesPower supply:3xAA batteries1. 14 new Aurora gradient modes2. LED color speed changing by different brightness3. All DIP components, suitable for beginners too4. Power-on automatic switch display modesPlease not this is a DIY kit. Easy to assemble.More effects please see this videoPackage included1 x Aurora RGBLED Seven Colorful Light(batteries are not included)
5pcs 2.8 inch TFT LCD Shield Touch Screen Module with Touch Pen for UNO R3/Nano/Mega2560 OPEN-SMART for Arduino – products that work with official for Arduino boards
$72.74Display ScreenAdd to cartSize ConversionInchesCentimetersPlease according to your own measurements to choose your suitable size. The tags inside the items will show in our Asian (Type) size.DescriptionThis is a 2.8 inch TFT LCD expansion board. This display has a controller built into it with RAM buffer so that almost all work is done by the TFT. It leads …
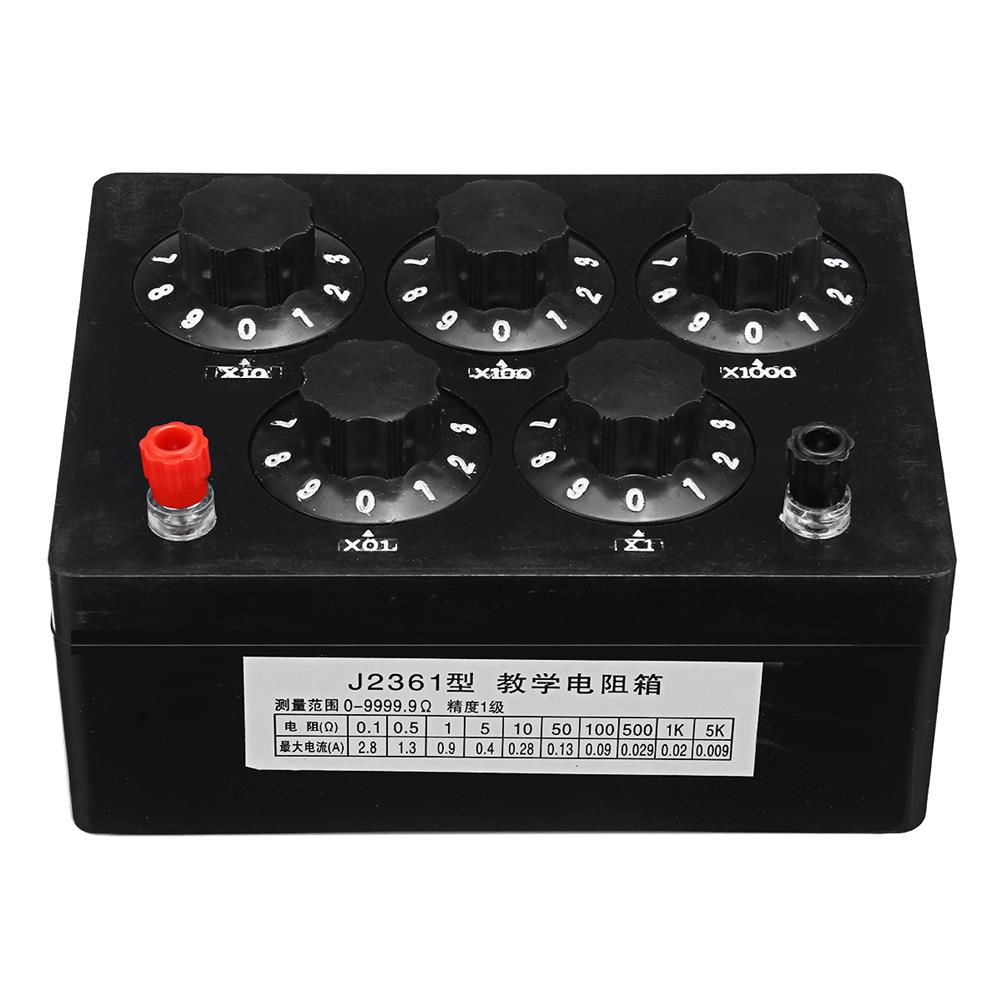
0-9999.9 Variable Resistor Substitution Box Ohm Adjustable Substitution Resistance Knob Switch Precision Physical Experiment
$54.66PhysicsAdd to cartDescriptionThis Resistor Substitution Box with Adjustable Knob Switch Used for Precision Measuring ResistanceSpecificationMaterial:PlasticColor:BlackDimension:140*100*50mmOperating Temperature:0-40℃Relative Humidity:25%-80%Reference Power:0.5WRated Power:1WAdjustable Range:0-9999.9ΩFeatures1.Convenient instrument in determining the desired resistance values in circuits under design or test.2.Wide application in lab physical experiment for its accurate reading.3.Better use knob switch designed according to your needs, 0 to 9999.9Ω variable resistance, 5 switchable …
5pcs LilyPad Tri-Color LED RGB Module LilyPad LED Board Tri-color Module
$7.60LED BoardAdd to cartDescriptionBlink any color you need! Use the Tri-Color LED board as a simple indicator, or by pulsing the red, green, and blue channels, you can create any color. Very bright output. This is a common anode design – to turn on a channel you simply need to ground one of the R/G/B pins to illuminate …
5pcs LilyPad Tri-Color LED RGB Module LilyPad LED Board Tri-color ModuleRead More
DALY BMS 4S 12V 300A 400A 500A18650 Lithium Battery Protection Board Bluetooth 485 to USB Device NTC UART Togther Lion LiFePO4 LTO Battery with Fan
$12.14Battery Protection ModuleAdd to cartType 300A com UART BT / Type 300A com 485 / Type 400A com UART BT / Type 400A com 485 / Type 500A com UART BT / Type 500A com 485 / Type USB to RS485 Cable / Type USB to UART Cable / Type Bluetooth module / Type BMS touch control screen /
20pcs CJMCU-5102 PCM5102A Stereo Digital To Analog Converter DAC PLL Voice Module
$187.54Sensor & Detector ModuleAdd to cartSize ConversionInchesCentimetersPlease according to your own measurements to choose your suitable size. The tags inside the items will show in our Asian (Type) size.DescriptionBrand:CJMCUPCM5102A Stereo DAC Digital To Analog Converter PLL Voice ModuleMore infos:!Package included20 x CJMCU-5102 Stereo DAC Digital To Analog Converter PLL Voice Module
580pcs 2.8mm 2/3/4/6 Pin Motorcycle Automotive Electrical Wire Terminal Male Female Cable Connector Plug Kits
$26.31Electronic Accessories & SuppliesAdd to cartFeatures-Can be used to connect internal wiring.-Can be used on car, moped, quad bike, tricycle,caravan,motorcycle, ATV, scooter, boat, snowmobile etc.-2.8mm terminal for cable diameter up to 2.0mm-2/3/4/6 way connector with fixed hook580pcs Package IncludedHousing Female & Male Connector 100pcs2-hole:20pcs10x7021A-2.8-1110x7021A-2.8-213-hole:20pcs10x7031A-2.8-1110x7031A-2.8-214-hole:20pcs10x7041A-2.8-1110x7041A-2.8-216-hole:20pcs10x7061A-2.8-1110x7061A-2.8-219-hole:20pcs10x7091A-2.8-1110x7091A-2.8-21Male Bare Terminals 240 pinsFemale Bare Terminals 240 holes
4D Vision Human Ear Anatomy Model Anatomical Learn Study Equipment
$66.81MathematicsAdd to cartSpecificationsMaterial:PlasticColor:As the picture showsModel size:106*59*90mm(L*W*H)Features– The model consists of 22 different pieces, a stand, and an assembly guide.– It’s a great challenge to put them together, you will be satisfied when finished.– Ever wonder what the inside of your Ear looks like – Learn all about it with this 4 dimensional model.– This ear model …
4D Vision Human Ear Anatomy Model Anatomical Learn Study EquipmentRead More


Reviews
There are no reviews yet.