


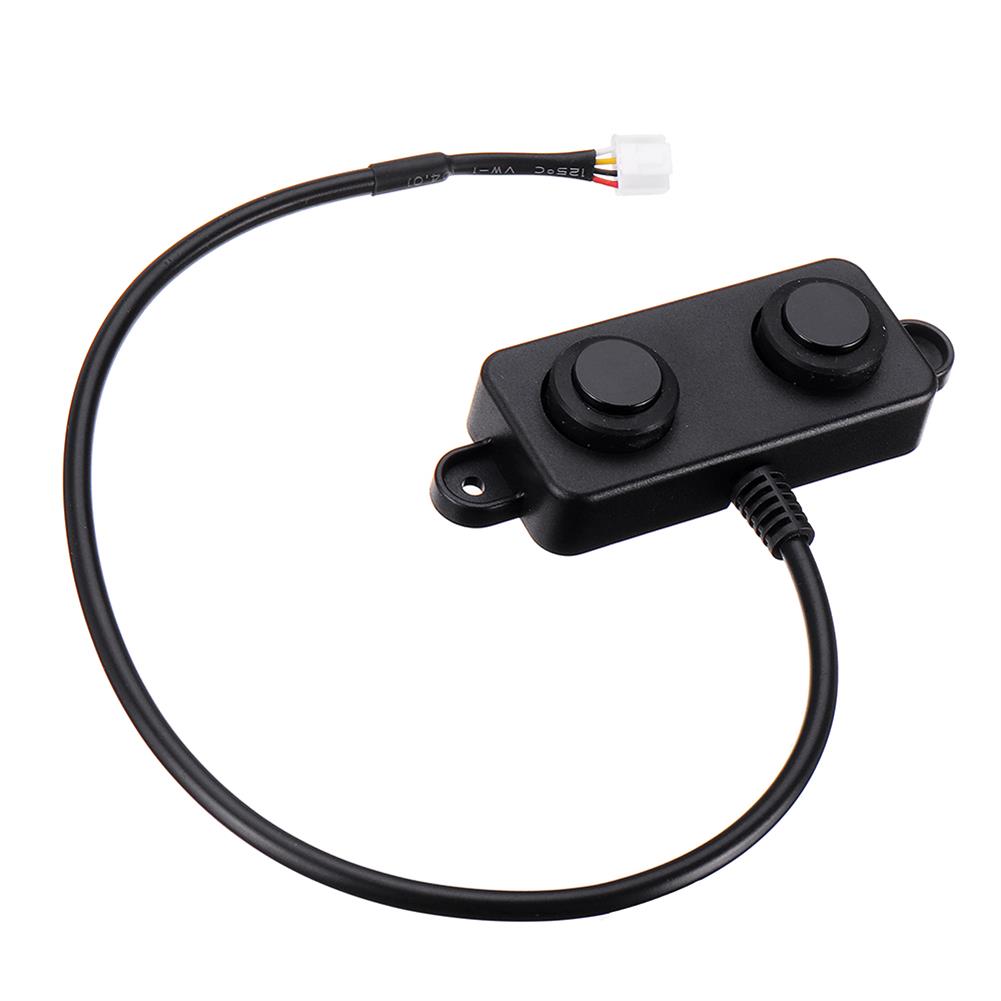
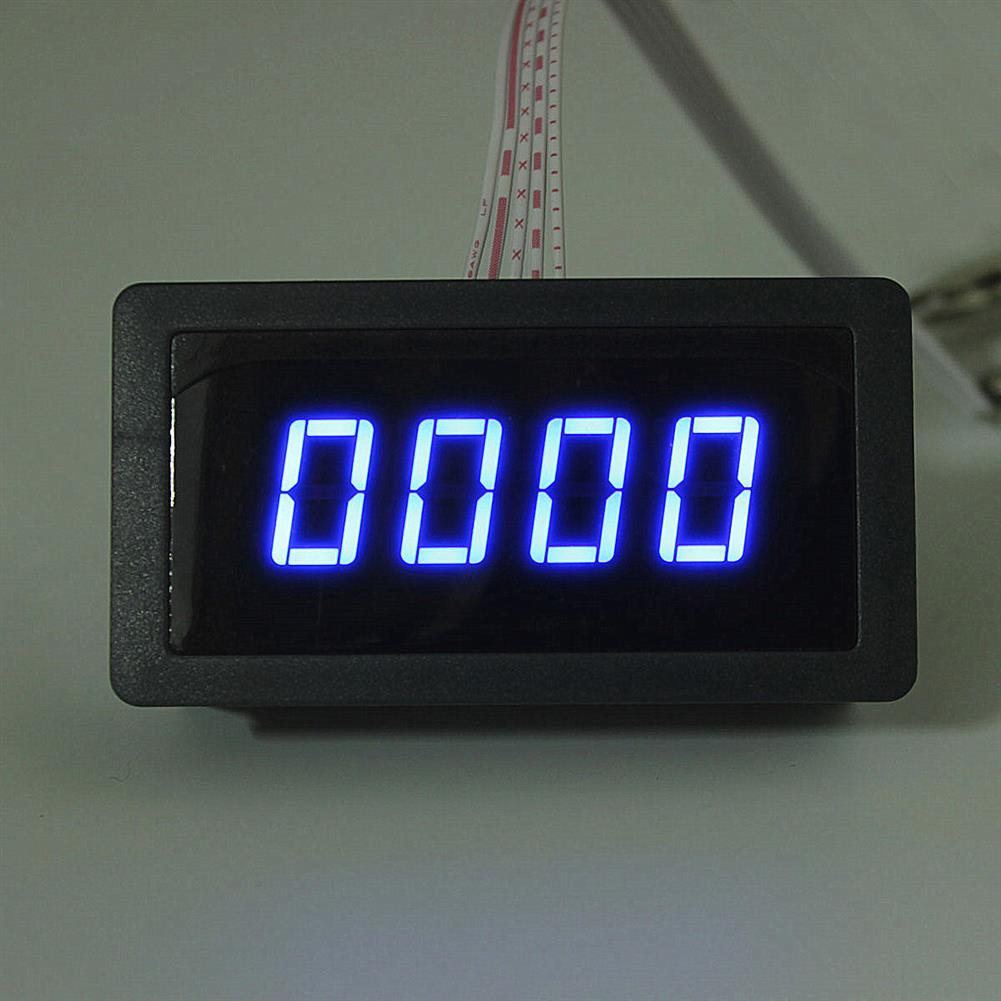
3pcs XH-W1321 0.1 Digital thermostat Mini Embedded Blue Digital Display Switch Temperature Controller with Waterproof NTC Sensor Meter
$30.89
Shipping:Standard Shipping about 10-25 business days
Secure Payment:Paypal,VISA,MasterCard
Specifications
Product Name:Miniature embedded digital display thermostat
Product Model:XH-1321
Material:ABS
Case Color:White
LED Color:Blue
Input Voltage:DC12V
Temperature Measurement Range:-50-110→
Temperature Control Range:-50-110→
Control Accuracy:0.1→
Display Accuracy:0.1→
Measuring Input:NTC10K Waterproof Probe L=1 Meter
Output Type:Relay Output(Output Switch)
Output Capacity:10A
Size (Length x Width x Height):about 56 x 38 x 32mm (2.17 x 1.50 x 1.26 Inch )
Opening hole size:46 x 34mm
Key Function
SET:Press once during normal use, directly enter the stop temperature setting state, use the up and down keys to set the required stop temperature, long press to enter the internal setting menu.
UP:After long press the setting button to enter the internal setting, increase the value setting by the up button.
DOWN:After long press the setting button to enter the internal setting, use the up button to decrease the value setting.
Code:Description:Setting range (method):Factory settings
P0:Operating mode:H/C:C
P1:Backlash setting:0.1-50:2
P2:Temperature correction:-9.9~+9.9°C:0
P3:Delayed start:0-9:0
Detailed Code Descriptions
P0:Working mode:This value must be set when the thermostat is used for the first time. If it is used for heating heating, set to H, if it is used for cooling cooling, set to C.
P1:Hypothesis setting:Press and hold the setting button for 3 seconds to enter the internal menu, select P1, and press the setting button again to enter the hysteresis value setting state. The hysteresis is the difference required when the thermostat reaches the set temperature and stops working again. For example, it is set to the heating mode. When it is heated to 40 degrees, it stops at 35 degrees and starts to return. The difference is 5
P2:Temperature correction:Press and hold the setting button for 3 seconds to enter the internal menu. Press the up and down keys to select P2, press the setting button again, and set the required calibration temperature by the up and down keys. In the setting, if the detected temperature value is 0.5 °C larger than the actual temperature value, the calibration temperature to be set is -0.5 °C. If the detected temperature value is 1 °C smaller than the actual temperature value, the calibration temperature to be set is 1 °C, and the detection temperature +-calibration temperature = actual temperature.
P3:Delay start:Press and hold the setting button for 3 seconds to enter the internal menu, select P3 by the up and down keys, press the setting button again, and set the required delay time (minutes) by the up and down keys. The delay start is generally used for compressor refrigeration. If it is used in the refrigerator freezer, this value needs to be set. According to the compressor back pressure, the set value is usually 3-6 minutes, if it is not used to control the compressor or no delay. Function, skip this item directly.
Instructions
Set the difference back:Why set the backlash setting When you control the device, the temperature will rise or fall back. How many degrees does the temperature change If you want the temperature to change by 10°, the device needs to set the difference back to 10. By setting the difference back, the device can cycle through the temperature range.
Set the stop temperature:press the set button once in the normal display state to stop the temperature value flashing. You can set the desired stop temperature value by using the up and down keys.
How to set factory settings are restored:Press and hold the up and down keys while the power is on, the digital tube display 888 will then automatically jump to the detection temperature.
Heating mode setting method
Setup steps
The first step is to set P0=H
The second step sets the stop temperature
The third step sets the hysteresis value
Setting method
1. Press and hold the setting button to enter the internal menu and set P0 to H.
2. Press the setting button to stop the temperature flashing, and the up and down keys to set the temperature.
3. Press and hold the setting button to enter the internal menu and set the P1 hysteresis setting.
Use Cases
Control the water heater, heat it to 65 ° C to stop, the temperature drops back to 50 ° C and start heating again, how to set
Step 1:Determine the working mode as heating mode and set P0 to H
Step 2:Press the setting button to stop the temperature flashing. Set the starting temperature to 50 °C with the up and down keys.
The third step:stop at 65 °C, start again at 50 °C, so the return difference needs to be set to 65-50=15, enter the internal menu and set P1 to 15, the heating case is set!
Cooling mode setting mode
Setup steps
The first step is to set P0=C
The second step sets the stop temperature
The third step sets the hysteresis value
Setting method
Press and hold the setting button to enter the internal menu and set P0 to C.
Press the setting button to stop the temperature flashing, and the up and down keys to set the temperature.
Long press the setting button to enter the internal menu, set the P1 backlash setting
Use Cases
Control the farm, ventilate to 26 ° C to stop, the temperature rises to 28 ° C to start the refrigeration again, how to set up
The first step:determine the working mode is cooling mode, set P0 to C
Step 2:Press the SET button to stop the temperature flashing. Set the stop temperature to 28 °C with the up and down keys.
The third step:stop at 26 ° C, start again at 28 ° C, so the return difference needs to be set to 28-26 = 2, enter the internal menu to set P1 to 2, the cooling case is set!
Package includes
3 x Miniature embedded digital display thermostat
| Weight | 0.132 kg |
|---|
Related products
4 Digital LED Tachometer RPM Speed Meter + Proximity Switch Sensor NPN
$26.23Sensor & Detector ModuleAdd to cartSpecificationsWorking power supply:DC8-24v 40 mAMeasure range:5-9999 RPMDisplay:Blue LED 67*32mmSign:Pusle signal, Hall NPN 3 wires normally openHall proximity model:NJK-5002CAppearance:M12mm cylinderDetection range:10mmDetected objects:MagnetResponse frequency:100HZOperating temperature:0 to 50°CPackage included1 x Proximity switch1 x Tachometer
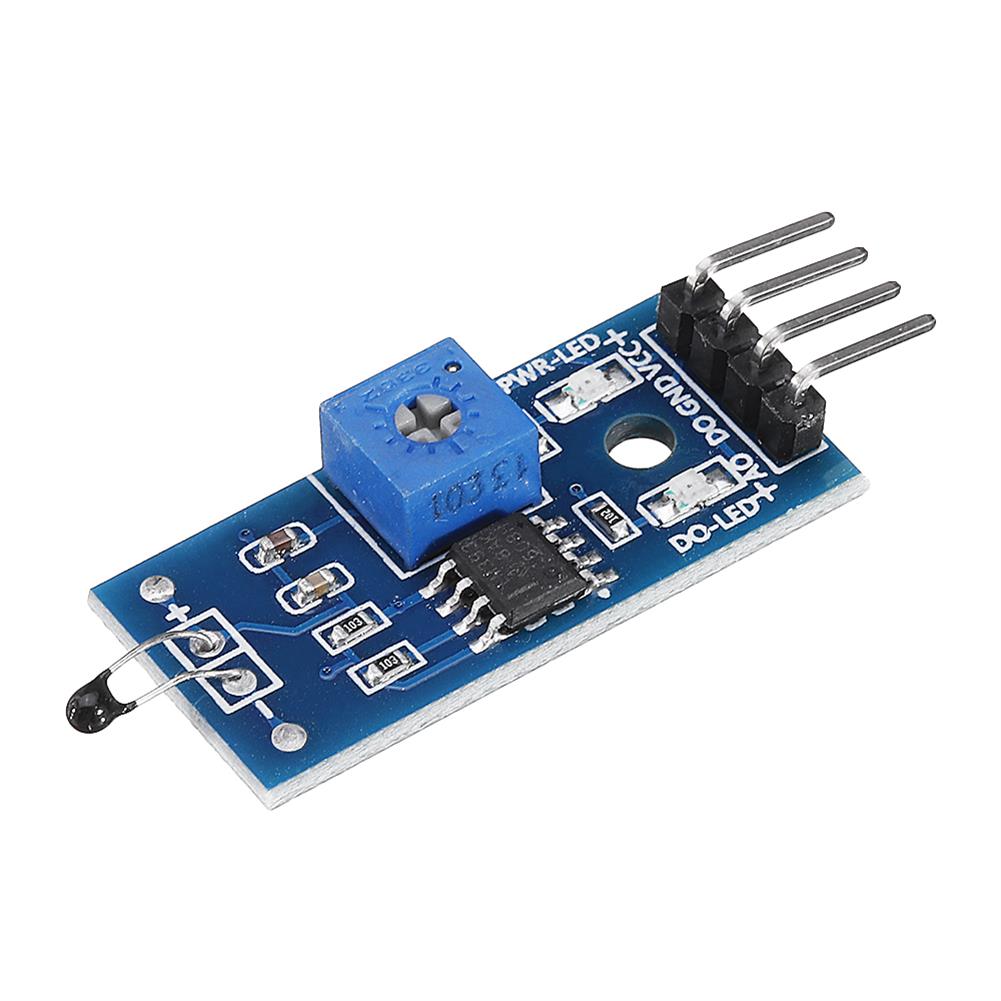
50pcs thermal Sensor Module Temperature Switch thermistor Sensor Board
$44.79Sensor & Detector ModuleAdd to cartUsesTemperature detection, temperature control sensors , ambient temperature detectionFeatures1. Using the NTC thermistor sensor, good sensitivity2. The comparator output signal is clean, good waveform, driving ability, more than 15mA.3. Adjust the temperature distribution position detection threshold4. The working voltage 3.3V-5V5. The output format:digital switching outputs ( 0 and 1 )6. Fixed bolt holes for easy …
50pcs thermal Sensor Module Temperature Switch thermistor Sensor BoardRead More
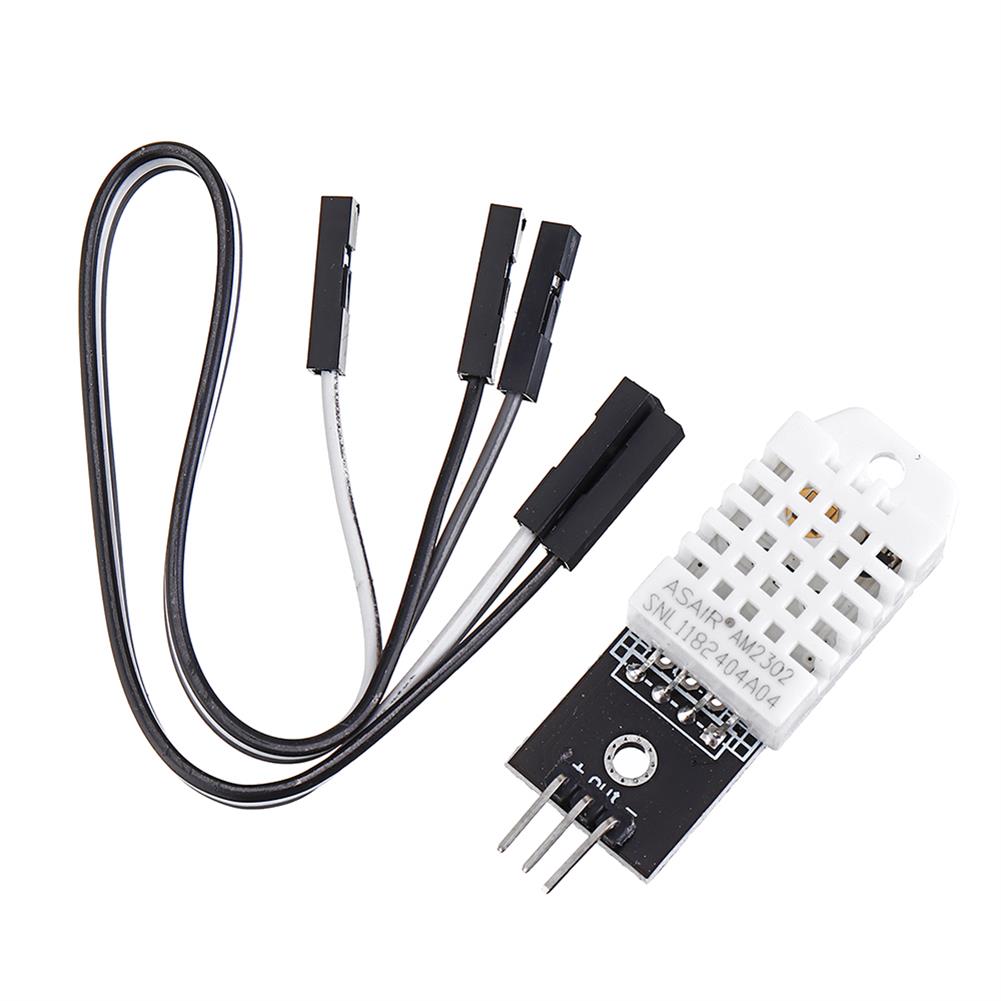
DHT22 Single-bus Digital Temperature and Humidity Sensor Module Electronic Building Blocks AM2302 3.3V-5V DC
$13.11Sensor & Detector ModuleAdd to cartSpecificationsWorking voltage:3 V – 5.5 VSignal output form:digital signalTemperature measurement range:- 40°c to 80°cMeasuring accuracy:0.5°cThe humidity measuring range:0-100% RHMeasuring accuracy:2% RHResolution:16With fixed screw holes, convenient installation and fixation. Diameter of 2.6 mmSize:28.2 x 13.1×10 mm Pininch+inch:positiveinch-inch:the power of anodeinchOutinch:the microcontroller IO portPackage Included1 x DHT22 Temperature Humidity Module1 x Cable
Customers Also Viewed
DIY AC100-240V 10A Smart Home Breaker Remote Control Switch Module Support ALEXA Voice Control
$21.86Smart ModuleAdd to cartParametersInput:AC 100-240V 50/60Hzmax output:10Aoutput:AC 100-240V 50/60Hzstandby mode:0.3Woperation temp:-30~70°CFunctionsupport ALEXA voice control, APP voice controlAPP remote controlon / off statusAPP setup timer, delay switchShare config with others memberseach APP support 150 smart-home deviceSupport French, Simplified Chinese, Traditional Chinese, English, Spanish, ArabicCaution1. Please follow user guide installation2. Please keep environment without wireless frequency when it is in …
3pcs Green ST16VD 22mm Hole Size 6-100 VDC Digital Voltmeter Round Voltage Detector Tester Mini LED Voltage indicator Signal Light Monitor
$12.23Electronic Accessories & SuppliesAdd to cartDescriptionDisplay type:digital onlyMaterial:Electrical ComponentsColor:Green22 mm Digital DisplayRated Frequnency:50/60 HzMeasuring Range:6-100 V DCRated Power:0.5WMechanical life:1 million timesElectrical life:500000 timesSize:2.8*5cm /1.10inch*1.97inch (D*H)Accuracy Class:highNotePlease allow 1-3mm error due to manual measurement.pls make sure you do not mind before you bid .Due to the difference between different monitors,the picture may not reflect the actual color of the item.Package included3 …
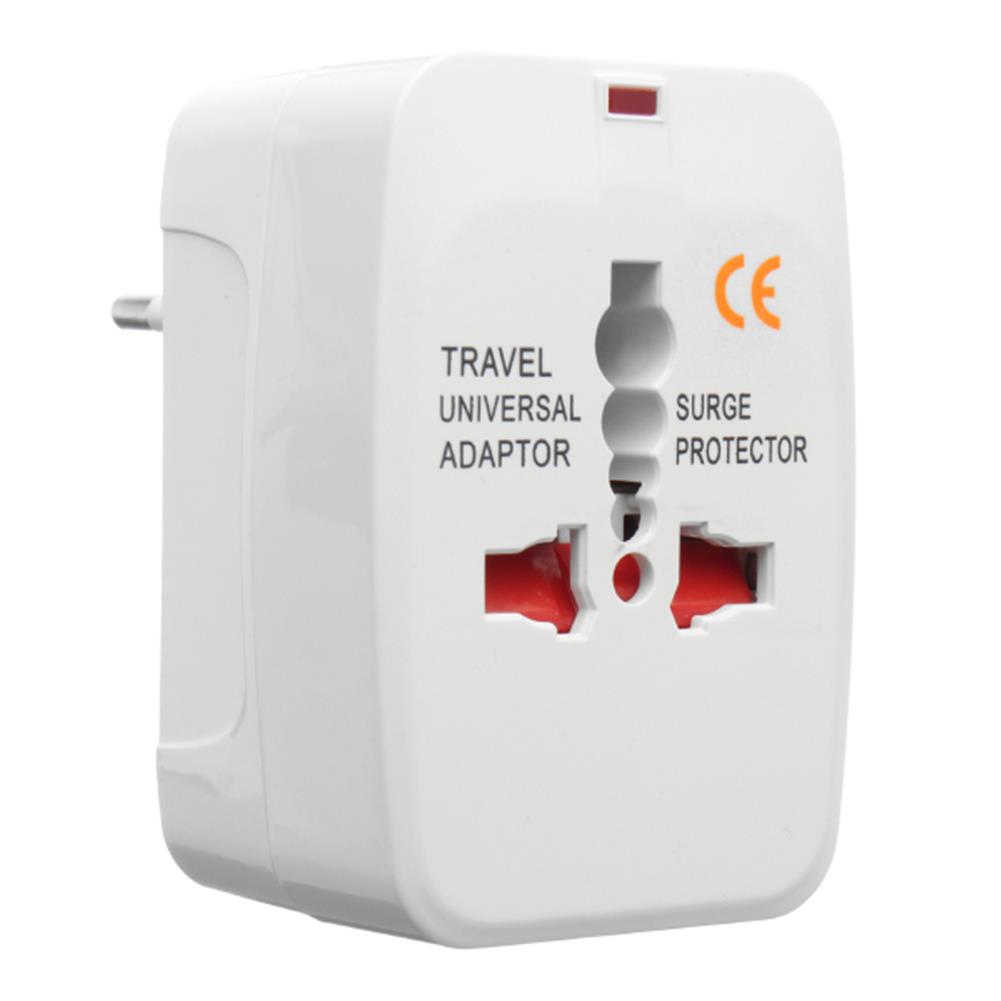
110-250V 10A Travel Universal Adapter Plug Socket Power Adapter
$22.26SwitchesAdd to cartSpecificationsPower input:100-250VCurrent:10AMaterial:ABS PlasticColor:WhiteSize:74mm*50mm*39mm(approx.)FeaturesThis item with fit the plugs in Europe/UK/USA/China/Japan/Australia/Spain and alomost every country in th world.This universal adaptor is a compact one piece unit with 4 international adpators,and provides a child protection safety shutter,power indicator light and surge protector.Tips-This unit does not convert voltage.-Keep this away from children.-Make sure your hands are dry before …
110-250V 10A Travel Universal Adapter Plug Socket Power AdapterRead More
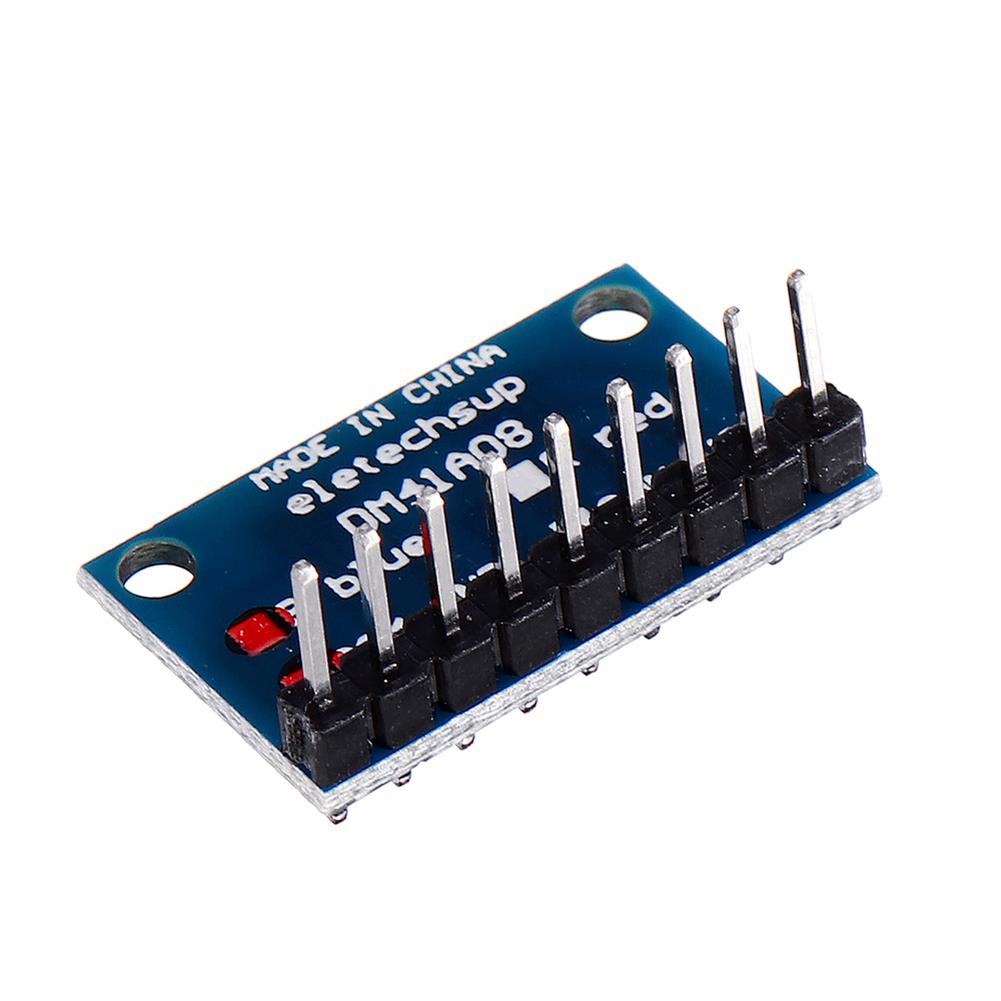
20pcs 3.3V 5V 8 Bit Blue Common Anode LED indicator Display Module DIY Kit
$38.52Display ScreenAdd to cartDescriptionIt can be inserted directly into Breadboard,Ideal for linking up to your Arduiuo UNO Mini Nano Mega2560 DUE Breadboard etc,or others MCU ( AVR STM32 ARM7 ARM9 ARM10 ARM11 PIC C8051 STC MSP430 FPGA/CPLD etc.) SpecificationsColor:BlueWorking Voltage:DC 3-24VPolarity:Common anodeInterface:2.54MM with PIN/2.54MM no PINSize:22.86 x 14.13 x 2.11 mmWeight:1.3gApplicationMCU/ARM/FPGA/Atmega328pPLC MotorElectronic diy kitESP8266/nodemcuNANO/UNO/MEGA2560/BreadboardRaspberry pi 4/robotPackage Incldued20 x …
20pcs 3.3V 5V 8 Bit Blue Common Anode LED indicator Display Module DIY KitRead More
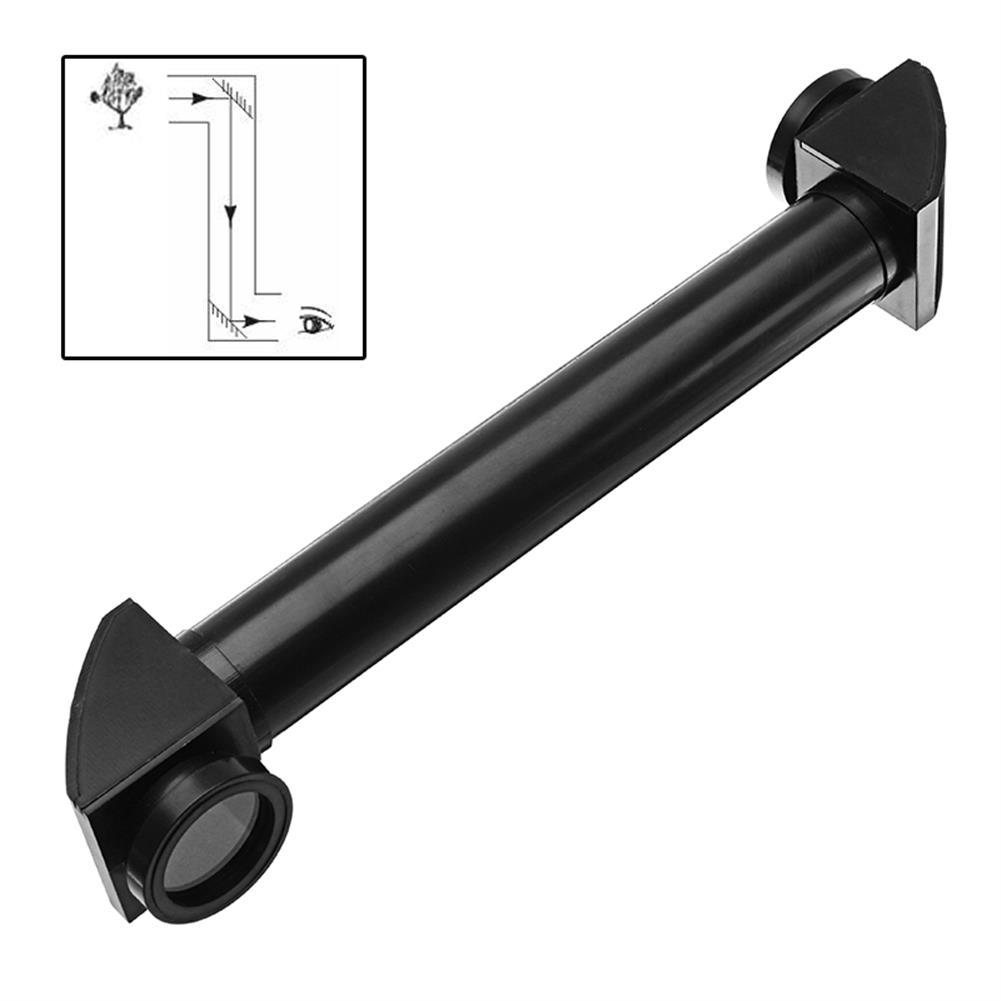
Periscope Model Laboratory Detachable Optical Reflection School Teaching Physics Experiment
$32.39PhysicsAdd to cartFeaturesLearning PointReflection principle of lightRectilinear propagation of light– Physical optical reflection teaching tools.– 360° Rotatable lens, quick detachable, expandable. – Train your children observation capability, thinking and analytical skills.Package Included1 x Periscope Model
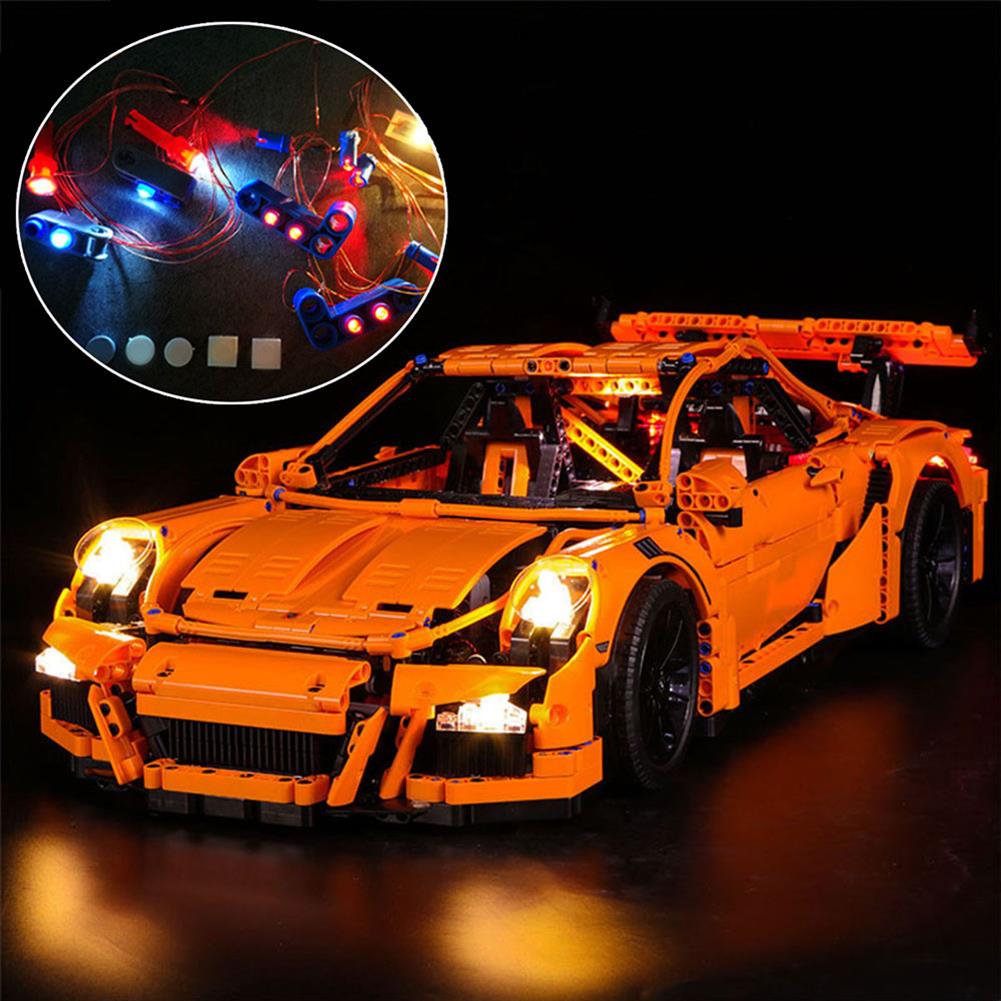
USB LED Light Lighting Kit ONLY for Lego 42056 911 GT3 RS Bricks Toys
$19.67DIY Electronic KitsAdd to cartDescriptionThe Product Is Just a Light Kit, Not Included The Model!!!Interface:USBColor:As the picture shownFitmentONLY For Lego 42056 911 GT3 RS Bricks ToysFeaturesEasy to install.LED powered by USB.Make your model more cool.Package Included1 x LED Light Kit(Model Not Included)


Reviews
There are no reviews yet.