


HW-M543 DC12V~24V/AC220V intelligent Digital Display Temperature and Humidity Controller
$46.56
Shipping:Standard Shipping about 10-25 business days
Secure Payment:Paypal,VISA,MasterCard
Specification
Name:Digital Display Temperature and Humidity Controller
Brand:HW
Model:HW-M543
Control type:temperature and humidity
Working Voltage:DC 12V~24V/AC 220V
Output capacity:maximum 10A
Measurement object:air, water
Temperature range:-20~60 →
Temperature measurement error:÷0.1 →
Humidity range:0-100 %RH
Humidity measurement error:0.2 %
Installation type:Embedded
Dimensions:105*70*38 mm
Hole size:81*57 mm
Weight:About 154g
Package included
1 x Temperature and Humidity Controller
Setting instructions
1. Correctly connect the power supply and the temperature and humidity control equipment according to the wiring diagram, pay attention not to connect the temperature and humidity control equipment wrongly. When connecting the DC12~24V power supply, you must distinguish the positive and negative poles. AC220V does not divide the zero live wire.
2. Stop temperature setting
Press the set button (SET), when the red screen number starts to flash, press the up and down buttons to adjust and set the stop temperature you want; after setting, wait for 10 seconds without operation, the system automatically saves the data.
3. Heating or cooling mode setting
Long press the up button, when the red screen displays C-0, press the set button to enter the C-0 mode setting, press the up and down buttons to switch between the blue screen L and H, L stands for heating, H stands for cooling. (Note:The temperature control load you connect to at L must be a heating device, and at H, the load you connect must be a refrigerating device.) After setting, wait 10 seconds, the system automatically saves the data.
4. Temperature difference setting
Long press the up key, when the red screen shows C-0, press the up and down keys to switch to the C-1 temperature difference setting, press the setting key again to enter the temperature difference setting, and then press the up and down keys to adjust the setting you want Temperature difference value; wait 10 seconds after setting, the system automatically saves the data. (If the stop temperature is set to 35C, the mode is set to L heating mode, and the temperature difference is set to 5, then the start temperature is 35-5=30C and the temperature control range is between 30~35C. On the contrary, if the mode is set to H cooling mode , Then the starting temperature is 35 + 5=40C, and the temperature control range is between 35~40→)
5. Temperature calibration
Long press the up button, when the red screen displays C-0, press the up and down buttons to switch to the C-2 temperature correction mode, press the setting button once to enter the correction mode, and then press the up and down buttons to adjust and set the difference you want If the actual temperature is 28C and the probe detection temperature is 28.2C, then the correction difference can be set to -0.2; if the detection temperature is low, the correction difference can be adjusted higher. After setting, wait 10 seconds, the system will automatically save the data.
6. Stop humidity setting
Press the set button (SET), the red screen numbers start to flash, press the set button again to switch to the blue screen numbers flashing, and then press the up and down keys to adjust and set the stop humidity value you want; after setting, wait for 10 without operation Seconds, the system automatically saves the data.
7. Humidification or dehumidification mode setting
Long press the adjustment key, when the red screen displays H-0, press the set key to enter the H-0 mode setting, press the up and down keys to switch between the blue screen L and H, L stands for humidification, H stands for dehumidification. (Note:The humidity control load you connect to at L must be a humidifying device, and at H, the load you connect to must be a dehumidifying device.) After setting, wait 10 seconds, and the system automatically saves the data.
8. Humidity difference setting
Long press the adjustment key, when the red screen displays H-0, press the up and down keys to switch to the H-1 humidity difference setting, press the setting key to enter the humidity difference setting, press the up and down keys to adjust the setting you want After setting the difference, wait 10 seconds, the system automatically saves the data. (If the stop humidity is set to 50%RH, the mode is set to L humidification mode, the humidity difference is set to 5%RH, then the start humidity is 50-5=45%RH, and the humidity control range is between 45-50%RH, on the contrary If the mode is set to H dehumidification mode, then the starting humidity is 50 + 5 = 55%RH, and the humidity control range is between 50~55%RH)
9. Humidity calibration
Long press the adjustment key, when the red screen displays H-0, press the up and down keys to switch to the H-2 humidity correction mode, press the set key once to enter the correction mode, press the up and down keys to adjust the set difference; such as actual humidity It is 56%RH, the humidity detected by the probe is 56.2%RH, then the correction difference can be set to -0.2; if the detection temperature is low, the correction difference can be adjusted higher. After setting, wait 10 seconds, the system automatically saves the data.
CodeNamePredetermined areaDefault parameters
H-0Mode settingL:Humidify H:DehumidificationL:Heating mode
H-1 Humidity difference0.1-50%RH10%RH
H-2Humidity calibration-10 and 10%RH0.0%RH
10. Restore factory settings
Press the up and down keys at the same time for 5 seconds, when the screen displays 888, the factory restoration is complete.
| Weight | 0.132 kg |
|---|
Related products
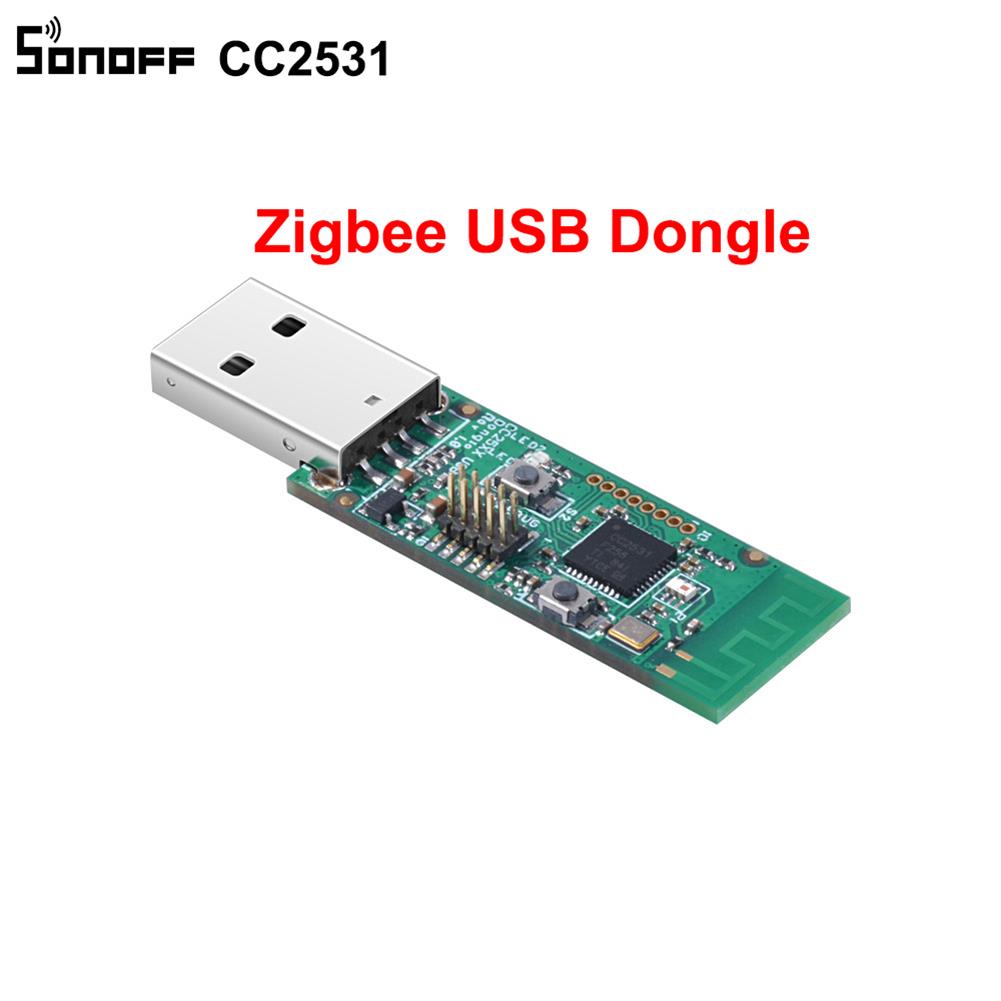
3Pcs Sonoff ZB CC2531 USB Dongle Module Bare Board Packet Protocol Analyzer USB interface Dongle Supports BASICZBR3 S31 Lite zb
$44.79Test & Measuring ModuleAdd to cartTo run ZB 2mqtt for the control of SONOFF ZB products like BASICZBR3, S31 Lite Zb in your home automation system, a CC2531 USB dongle integration is recommended. Features* The CC2531 USB dongle is a fully operational USB device which provides a PC interface to IEEE802.15.4 / ZB applications.* Comes with a CC2531ZNP-Prod firmware, it …
XY-PWM DC3.3-30V 1Hz~150KHz Digital Display Square Wave Rectangular Wave Pulse Signal Generator Duty Cycle Regulator
$17.48Test & Measuring ModuleAdd to cartFunction1. Protective Shell2. LCD High Definition Display3. Support UART4. Supporting frequency adjustment5. Support duty cycle adjustment6. High accuracy detection7. Supporting power-off memory function8. 0.1 Channel PWM Output9. Purpose:Device used as a signal source or excitation source in production practiceFeatureWorking voltage:3.3-30VFrequency range:1Hz~150KHzFrequency accuracy:the accuracy in each range is about 2%Signal load capacity:output current can be around …
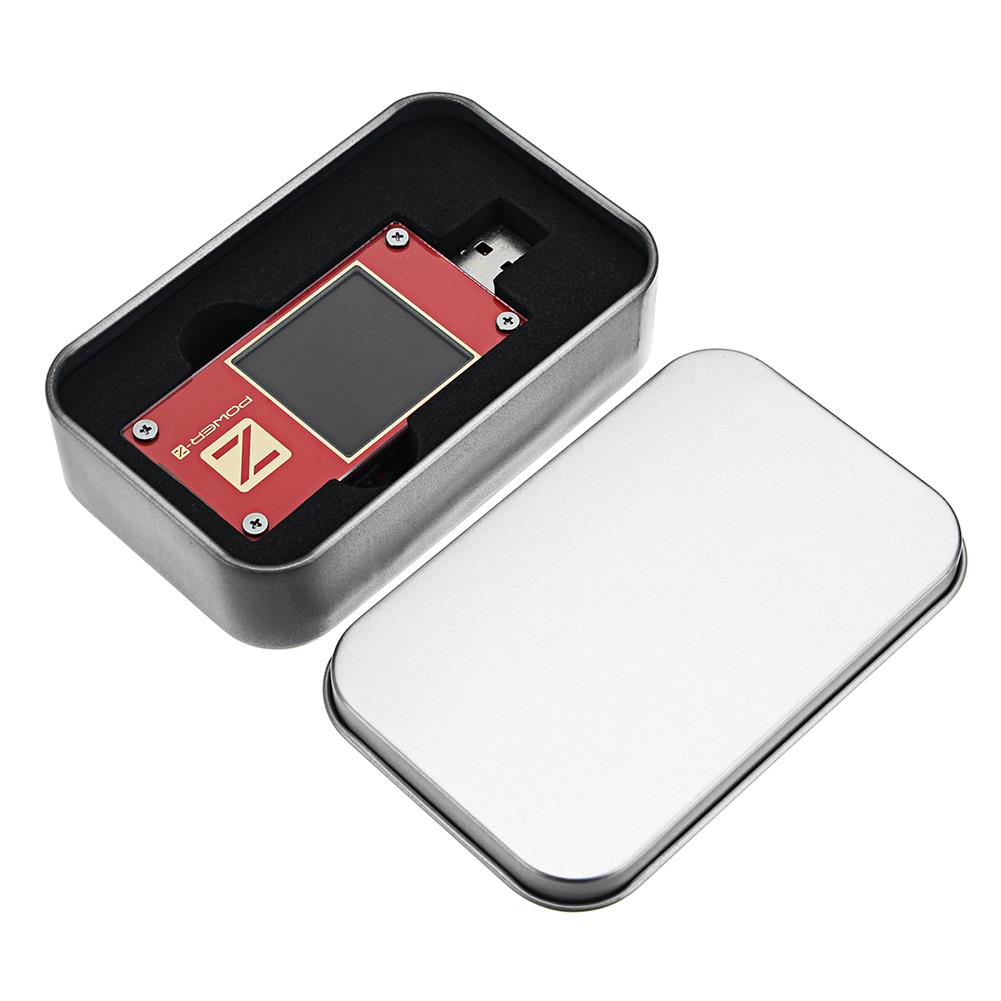
POWER-Z USB PD Tester MFi Identification PD Decoy instrument KT001
$135.68Test & Measuring ModuleAdd to cartFirmware:Click here to openPC Software:Click here to openFeaturesThe POWER-Z KT001 can be used to test all the phone, rechargeable chargers, chargers, and USB PD Type-C notebooks, and the charging voltage and current of the tablet. Support QC3.0, QC2.0, AFC, FCP, PD trigger and has the agreement automatic detection function.Function– Size:77*35*14mm– LCD size:1.44 inch– LCD type:TFT– …
POWER-Z USB PD Tester MFi Identification PD Decoy instrument KT001Read More
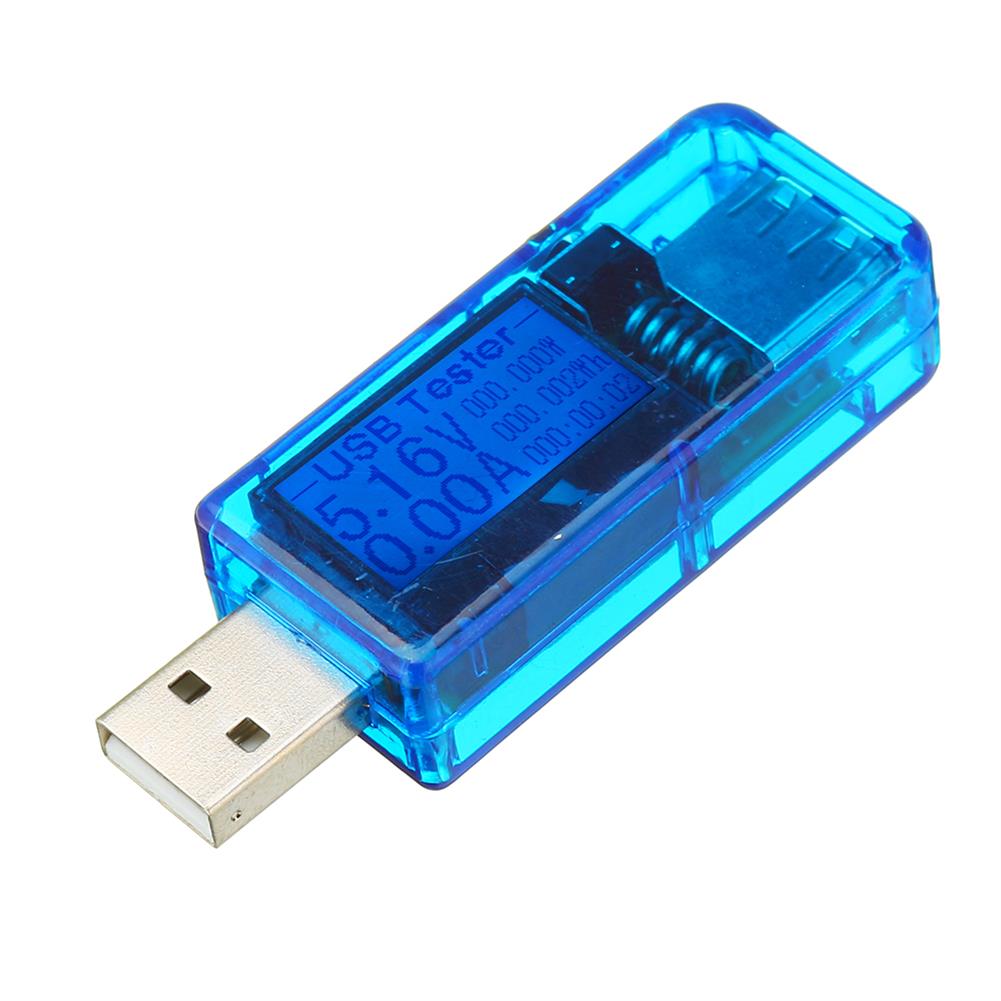
3pcs 12 in 1 Blue USB Tester DC Digital Voltmeter Amperemeter Voltagecurrent Meter Ammeter Detector Power Bank Charger indicator
$31.83Test & Measuring ModuleAdd to cartTechnical parametersVoltage measuring range:3.60V ~ 32.5 V Resolution precision:0.01 V Current measuring range:0.00A ~ 5.00 A Resolution precision:0.01 APower cumulative range:0 ~ 999999 WH Resolution precision:0.001 WhCapacity range:0 ~ 999999 mAH Resolution precision:0.001 AhTemperature:0 → ~ + 80 → Resolution precision:1 →D+ Voltage:0.000V ~ 2.999 V Resolution precision:0.001 VD- Voltage:0.000V ~ 2.999 V Resolution precision:0.001 …

Customers Also Viewed
Multiple Car Toys Magnetic Puzzle Box Book Educational Book Kids Learning Gift
$52.64MathematicsAdd to cartPackage included10 x Card76 x MagnetsFeatures1.Developing kids’ intelligence.2.Teaching kids to know more words.3.Easy for storage.SpecificationsColor:MulticolorMaterial:Paperboard, MagnetismSize:30x4x21.5cm
Basic Starter Kit UNO R3 Mini Breadboard LED Jumper Wire Button with Box for Geekcreit for Arduino – products that work with official Arduino boards
$18.62Module KitsAdd to cartDescriptionsPerfect for Shield Prototyping and TestingPlastic housing, metal contact clipsAccept wire with diameter 20-29AWGVolatge/current:300V/3-5A400 tie-point2 Power Lanes, Tie-point 1001 Double-strip, Tie-point 300Solderless Breadboard Size:82x55x8.5mmPackage included1 x Uno R3 Development Board1x 400 hole Breadboard10 x 220Ω resistor 5% carbon film10 x 1k resistor 5% carbon film10 x 10k resistor 5% carbon film10 x 100k resistor 5% …
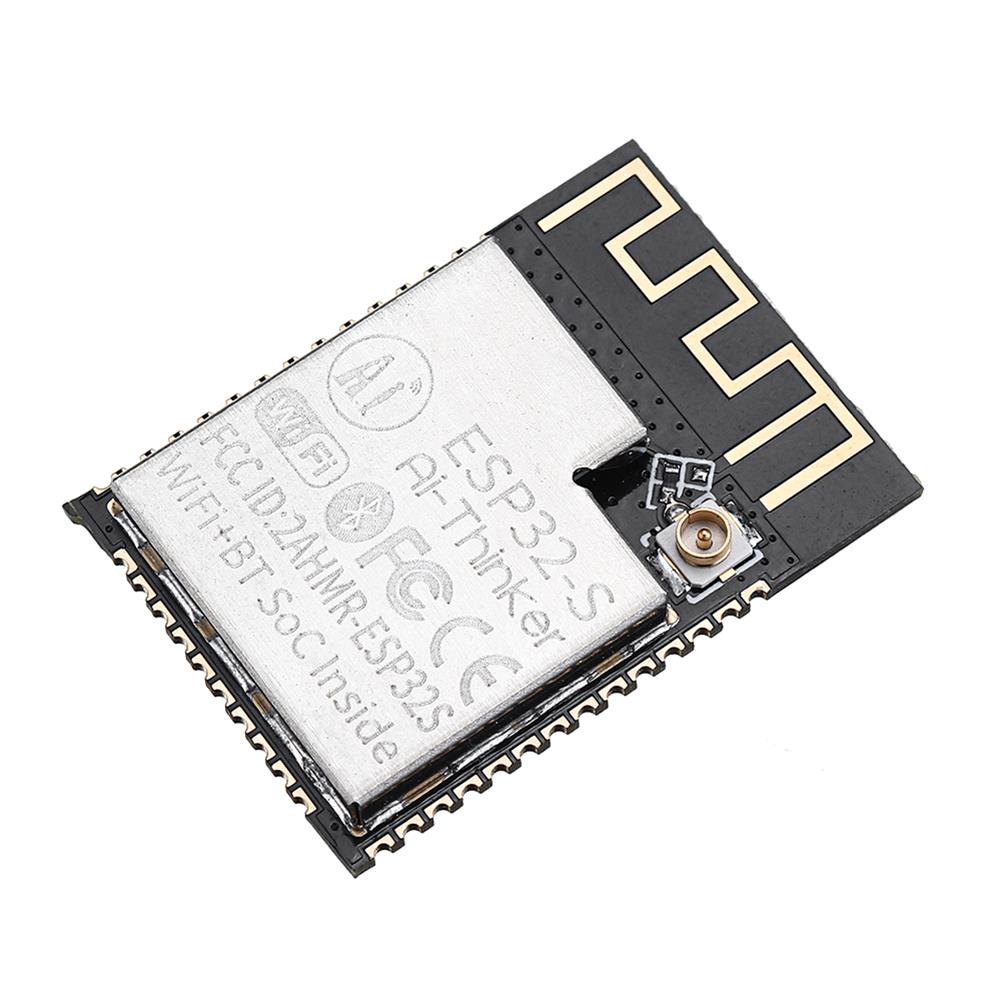
3pcs ESP32-S WiFi + Bluetooth ESP32S Serial to WiFi Dual Antenna Module
$29.27Smart ModuleAdd to cartDescriptionThe main chip uses a low-power dual-core 32-bit CPU with a frequency of up to 240MHz and computing power of up to 600DMIPS.Default 32Mbit SPI Flash, 520KB SRAMSupport SoftAP and Station modeUltra-small 802.11b/g/n Wi-Fi + BT/BLE SoC moduleSupport UART/SPI/I2C/I2S/PWM/ADC/DAC, etc.Support for firmware upgrade (FOTA)Antenna supports onboard antenna or IPEX block outputPackage includes3 x Wifi module
Geekcreit 433MHz DC 12V 10A Relay 1CH Channel Wireless RF Remote Control Switch Transmitter with Receiver
$15.30Smart ModuleAdd to cartIf you need more Transmitter, please buy Product ID:1215079>>>Manual:Click here to openFeaturesEasy to install and easy to carryWith a slidable cover on the remote controlWith a hook on the remote controlUse Learning coding, stable and reliableThe wireless signal can pass through walls, floors and doorsYou can turn on or turn off the receiver with transmitter …
CO2 Refill Adapter Connector Kit W21.8-14 Thread Set for Filling SodaStream
$56.69Electrical Pump & ValveAdd to cartFeature*CO2 Refill Adapter is used to fill CO2 into your Sodastream tank.*Adjustable valve pin ensures compatibility with any cylinder valve variation.*Easy to install and use.*Made of high quality metal, high hardness and durable.Specification*Material:Metal*Color:Silver (As Pictures Show)*Inner Thread:TR21-4*Outer Thread:W21.8-14Package Contents1*CO2 Refill AdapterNotes:The real color of the item may be slightly different from the pictures shown on …
CO2 Refill Adapter Connector Kit W21.8-14 Thread Set for Filling SodaStreamRead More
30pcs 2.5-5.5V TTP223 Capacitive Touch Switch Button Self Lock Module
$15.15Other Module BoardAdd to cartFeatures 1. Size:15*11mm 2. Power:2.5-5.5V 3.Trigger setting mode:(1->Short;0->No Short) AB=00:No-lock High TTL level output; AB=01:Self-lock High TTL level output; AB=10:No-lock Low TTL level output; AB=11:Self-lock Low TTL level output; Package included 30 x 2.5-5.5V TTP223 Capacitive Touch Switch Button Self-Lock Module For
NE555 Pulse Module LM358 Duty and Frequency Adjustable Square Wave Signal Generator Upgrade Version
$6.55Test & Measuring ModuleAdd to cartFeature1. Used as a square wave signal generator to generate square wave signals for experimental development.2. Used to generate a square wave signal that drives the stepper motor driver.3. Generate adjustable pulses for use by the MCU.4. Generate adjustable pulses to control the associated circuitry.Description1. Size:3.5CM * 4.6CM1. The main chip:LM358;2. Input voltage:5V-12VDC.3. Input current:≥100MA;4. …
3pcs LM3915 Level indicator Kit DC9V-12V DIY Electronic Production Module Kit
$13.73DIY Electronic KitsAdd to cartFeatureModel:AUL-10Supply voltage:DC9V-12VAudio input:0~1.5VrmsPCB size:66 x 28mm (L x W)Light row size:62.5 x 5 x 10.7mm (L x W x H)Two indication modes:bar indication and fire spot indication (Realized by MOD short-circuit point)Lamp row offers two kinds of vertical and horizontal installationTin-treated solder padsNote:Before power on, please confirm the polarity of the power supply is correct …
3pcs LM3915 Level indicator Kit DC9V-12V DIY Electronic Production Module KitRead More


Reviews
There are no reviews yet.