


HW-M543 DC12V~24V/AC220V intelligent Digital Display Temperature and Humidity Controller
$46.56
Shipping:Standard Shipping about 10-25 business days
Secure Payment:Paypal,VISA,MasterCard
Specification
Name:Digital Display Temperature and Humidity Controller
Brand:HW
Model:HW-M543
Control type:temperature and humidity
Working Voltage:DC 12V~24V/AC 220V
Output capacity:maximum 10A
Measurement object:air, water
Temperature range:-20~60 →
Temperature measurement error:÷0.1 →
Humidity range:0-100 %RH
Humidity measurement error:0.2 %
Installation type:Embedded
Dimensions:105*70*38 mm
Hole size:81*57 mm
Weight:About 154g
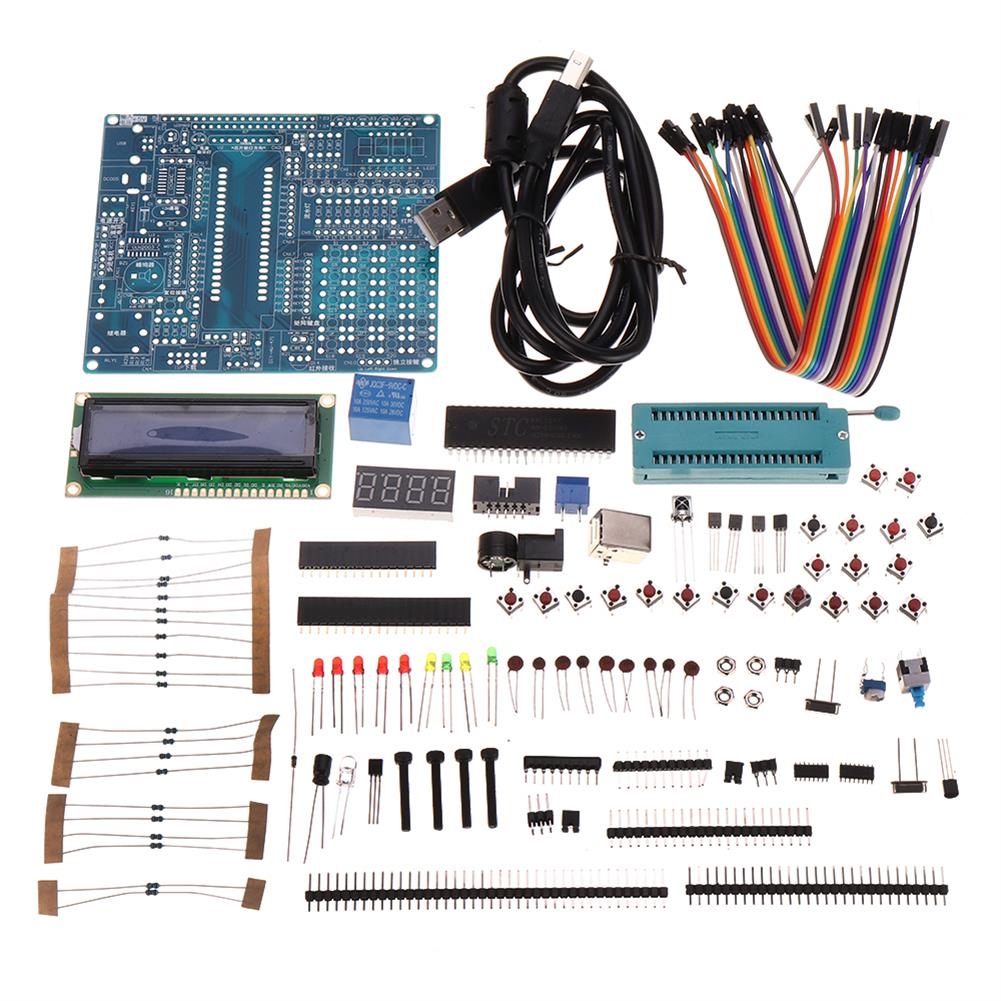
Package included
1 x Temperature and Humidity Controller
Setting instructions
1. Correctly connect the power supply and the temperature and humidity control equipment according to the wiring diagram, pay attention not to connect the temperature and humidity control equipment wrongly. When connecting the DC12~24V power supply, you must distinguish the positive and negative poles. AC220V does not divide the zero live wire.
2. Stop temperature setting
Press the set button (SET), when the red screen number starts to flash, press the up and down buttons to adjust and set the stop temperature you want; after setting, wait for 10 seconds without operation, the system automatically saves the data.
3. Heating or cooling mode setting
Long press the up button, when the red screen displays C-0, press the set button to enter the C-0 mode setting, press the up and down buttons to switch between the blue screen L and H, L stands for heating, H stands for cooling. (Note:The temperature control load you connect to at L must be a heating device, and at H, the load you connect must be a refrigerating device.) After setting, wait 10 seconds, the system automatically saves the data.
4. Temperature difference setting
Long press the up key, when the red screen shows C-0, press the up and down keys to switch to the C-1 temperature difference setting, press the setting key again to enter the temperature difference setting, and then press the up and down keys to adjust the setting you want Temperature difference value; wait 10 seconds after setting, the system automatically saves the data. (If the stop temperature is set to 35C, the mode is set to L heating mode, and the temperature difference is set to 5, then the start temperature is 35-5=30C and the temperature control range is between 30~35C. On the contrary, if the mode is set to H cooling mode , Then the starting temperature is 35 + 5=40C, and the temperature control range is between 35~40→)
5. Temperature calibration
Long press the up button, when the red screen displays C-0, press the up and down buttons to switch to the C-2 temperature correction mode, press the setting button once to enter the correction mode, and then press the up and down buttons to adjust and set the difference you want If the actual temperature is 28C and the probe detection temperature is 28.2C, then the correction difference can be set to -0.2; if the detection temperature is low, the correction difference can be adjusted higher. After setting, wait 10 seconds, the system will automatically save the data.
6. Stop humidity setting
Press the set button (SET), the red screen numbers start to flash, press the set button again to switch to the blue screen numbers flashing, and then press the up and down keys to adjust and set the stop humidity value you want; after setting, wait for 10 without operation Seconds, the system automatically saves the data.
7. Humidification or dehumidification mode setting
Long press the adjustment key, when the red screen displays H-0, press the set key to enter the H-0 mode setting, press the up and down keys to switch between the blue screen L and H, L stands for humidification, H stands for dehumidification. (Note:The humidity control load you connect to at L must be a humidifying device, and at H, the load you connect to must be a dehumidifying device.) After setting, wait 10 seconds, and the system automatically saves the data.
8. Humidity difference setting
Long press the adjustment key, when the red screen displays H-0, press the up and down keys to switch to the H-1 humidity difference setting, press the setting key to enter the humidity difference setting, press the up and down keys to adjust the setting you want After setting the difference, wait 10 seconds, the system automatically saves the data. (If the stop humidity is set to 50%RH, the mode is set to L humidification mode, the humidity difference is set to 5%RH, then the start humidity is 50-5=45%RH, and the humidity control range is between 45-50%RH, on the contrary If the mode is set to H dehumidification mode, then the starting humidity is 50 + 5 = 55%RH, and the humidity control range is between 50~55%RH)
9. Humidity calibration
Long press the adjustment key, when the red screen displays H-0, press the up and down keys to switch to the H-2 humidity correction mode, press the set key once to enter the correction mode, press the up and down keys to adjust the set difference; such as actual humidity It is 56%RH, the humidity detected by the probe is 56.2%RH, then the correction difference can be set to -0.2; if the detection temperature is low, the correction difference can be adjusted higher. After setting, wait 10 seconds, the system automatically saves the data.
CodeNamePredetermined areaDefault parameters
H-0Mode settingL:Humidify H:DehumidificationL:Heating mode
H-1 Humidity difference0.1-50%RH10%RH
H-2Humidity calibration-10 and 10%RH0.0%RH
10. Restore factory settings
Press the up and down keys at the same time for 5 seconds, when the screen displays 888, the factory restoration is complete.
| Weight | 0.132 kg |
|---|
Related products
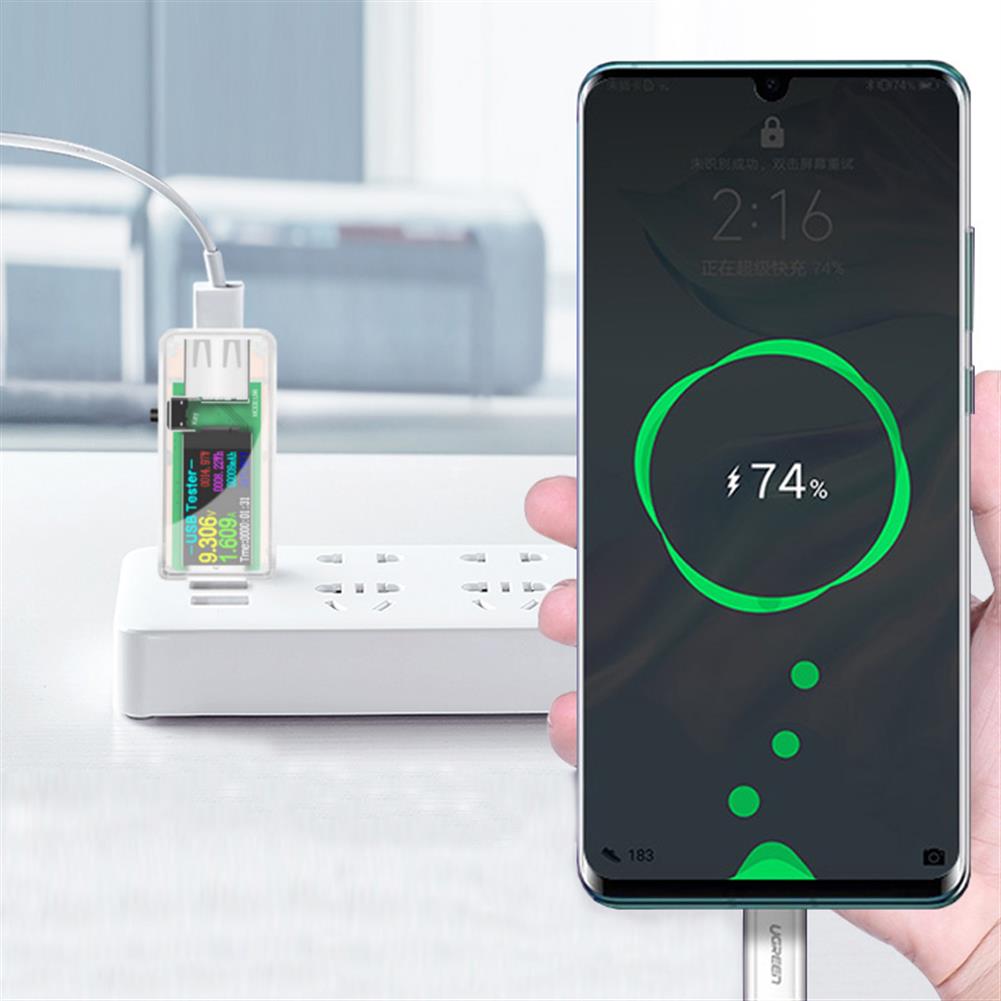
U96 USB Tester DC Digital Voltmeter Power Bank Charger indicator Voltage Current Meter Detector Clear
$18.58Test & Measuring ModuleAdd to cartU96 13 IN 1 Technical parametersVoltage measuring range:3.60V ~ 32.5 V Resolution precision:0.01 V Current measuring range:0.00A ~ 5.00 A Resolution precision:0.01 APower cumulative range:0 ~ 999999 WH Resolution precision:0.001 WhCapacity range:0 ~ 999999 mAH Resolution precision:0.001 AhTemperature:0 → ~ + 80 → Resolution precision:1 →D+ Voltage:0.000V ~ 2.999 V Resolution precision:0.001 VD- Voltage:0.000V ~ …
XY-WTH1 DC 6-30V Temperature and Humidity Controller Module Wet Control Switch Constant Sensor Dual Output thermostat
$43.73Test & Measuring ModuleAdd to cartFeatureModel:XY-WTH1Temperature range:-20 ° C ~ 60 ° CHumidity range:00%~100%RHControl accuracy:0.1 °C 0.1% RHDetection probe:integrated sensorOutput type:relay outputOutput capacity:up to 10AFunctionProduct features are two main types of classification:the functions of temperature and humidity.The function of temperature are as follows1. The automatic identification of work modeThe system automatically according to the start/stop temperature, identify work mode;Start temperature …
5pcs 2000W Thyristor Governor Motor 220V Regulating Dimming thermostat Module External Potentiometer Voltage Adjustable
$19.99Test & Measuring ModuleAdd to cartTips:This product needs to be connected to the load to adjust voltage, such as old-fashioned incandescent lamps or fans!FeatureUse voltage:AC 220VMaximum power:2000WVoltage regulation:AC 50-220VSpecification size:High temperature resistant FR-4 circuit board Circuit board size:about 36 x 48mmOuter size:48 x 60mm (knob direction) x 28mm (high)Control silicon withstand voltage up to 1200 volts / current 25A1.6mm thick …
Transistor Tester ESR Capacitance Meter Resistance inductance Measuring
$49.09Test & Measuring ModuleAdd to cartTransistor Tester ESR Capacitance Meter Resistance Inductance MeasuringSpecificationsVoltage:DC 9VCurrent:20mASize:80 x 53 x 20mmWire length:140mmDisplay size:57 x 37mmFunction introduction1. One key measure operation, time delay automatic power off. Turn off the current only 20mA, to support the operation of the battery.2. Automatic detection of PNP and NPN bipolar transistor, N, P channel JFET, MOSFET field effect …
Transistor Tester ESR Capacitance Meter Resistance inductance MeasuringRead More


Customers Also Viewed
LED Cool Light Egg Candler Tester Ultra Bright Pocket Poultry Egg Lamp incubator
$56.69Switch AccessoriesAdd to cartFeatures– Made of high quality ABS material, insulating, stable and durable.– LED lamp head, high power, strong light source, can clearly detect the hatching of eggs.– Using high-quality materials, safe and durable, with buttons that are easy to open and close.– Suitable for hatching eggs, but also for children and students to learn the process …
LED Cool Light Egg Candler Tester Ultra Bright Pocket Poultry Egg Lamp incubatorRead More
5pcs 2 Channel PWM Generator Module Pulse Frequency Duty Cycle Adjustable
$34.82Other Module BoardAdd to cartProduct Introduction1. Operating Voltage:5-30V,support micro USB 5.0V power supply2. Frequency Range:1Hz~150KHz3. Frequency Precision:2%4. Signal Load Capacity:output current is within 8–30mA5. Output Range:default 5V V-pp (can be changed by external power)6. Ambient Temperature:-30 Celsius ~70 Celsius Application Fields1. As square wave generator to generate square wave for experiment development2. Used to drive steeping motor driver’s square …
5pcs 2 Channel PWM Generator Module Pulse Frequency Duty Cycle AdjustableRead More
3.7V Lithium Battery 4 Paragraph Power indicator Module
$4.36Test & Measuring ModuleAdd to cartDescription1, onboard high precision voltage detection chip and power supply voltage chip2, onboard four power indicator LED lights, three kinds of color display, red, yellow, yellow, green,representing 20%, 50%, 80%, 100% of the battery3, set aside a battery testing interface and two positioning hole4, PCB size:22.2 (mm) x17.2 (mm)Package included1 x 3.7V Lithium Battery 4 …
3.7V Lithium Battery 4 Paragraph Power indicator ModuleRead More
YAHBOOM High-quality T-shape Expansion Board + 40Pin GPIO Flat Rainbow Ribbon Cable for Raspberry 4B/3B+/ZERO/W
$10.21Raspberry Pi & Orange PiAdd to cartDescriptionThis high-quality T-shape expansion board allows you to connect the Raspberry Pi GPIO port for breadboard experiments. We will provide a 40Pin soft cable for you to connect the Raspberry Pi board to the breadboard.FeaturesSpecifically designed for Raspberry Pi 4B/3B, Raspberry Pi 2B, Raspberry Pi 1B+, Raspberry pi 1A+, Raspberry Pi zero W, Raspberry Pi …
10pcs LM3915 10-segment Audio Level indicator Kit Electronic Soldering Training experiment DIY Parts
$33.89DIY Electronic KitsAdd to cartFeatrurePower supply:DC9-12VPCB size:62*27mm1 audio cable is needed. One end is subtracted and connected to the audio input port. The red cable is connected to AUDIO +, the green cable is connected to ADUIO-, and the blue cable is subtracted, do not need to solder.Package included10 x LM3915 10-segment Audio Level Indicator Kit
10pcs 40x40mm thermoelectric Power Generator Peltier Module TEG High Temperature 150 Degree
$55.12Electronic Accessories & SuppliesAdd to cartFeatureColding side posts with the wordsHeating side is emptyRed wire to positive, black wire to the negative, it generate electricity when the temperature difference happenedSpecificationModel:SP1848-27145 Color:whiteLead Length:about 30CMSize:40MM x 40MM x 3.4MM20 degree temperature difference:open-circuit voltage 0.97V, generated current:225MA40 degree temperature difference:open circuit voltage 1.8V, generated current:368MA60 degree temperature difference:open circuit voltage 2.4V, generated current:469MA80 …
10pcs 40x40mm thermoelectric Power Generator Peltier Module TEG High Temperature 150 DegreeRead More


Reviews
There are no reviews yet.