


HW-M543 DC12V~24V/AC220V intelligent Digital Display Temperature and Humidity Controller
$46.56
Shipping:Standard Shipping about 10-25 business days
Secure Payment:Paypal,VISA,MasterCard
Specification
Name:Digital Display Temperature and Humidity Controller
Brand:HW
Model:HW-M543
Control type:temperature and humidity
Working Voltage:DC 12V~24V/AC 220V
Output capacity:maximum 10A
Measurement object:air, water
Temperature range:-20~60 →
Temperature measurement error:÷0.1 →
Humidity range:0-100 %RH
Humidity measurement error:0.2 %
Installation type:Embedded
Dimensions:105*70*38 mm
Hole size:81*57 mm
Weight:About 154g
Package included
1 x Temperature and Humidity Controller
Setting instructions
1. Correctly connect the power supply and the temperature and humidity control equipment according to the wiring diagram, pay attention not to connect the temperature and humidity control equipment wrongly. When connecting the DC12~24V power supply, you must distinguish the positive and negative poles. AC220V does not divide the zero live wire.
2. Stop temperature setting
Press the set button (SET), when the red screen number starts to flash, press the up and down buttons to adjust and set the stop temperature you want; after setting, wait for 10 seconds without operation, the system automatically saves the data.
3. Heating or cooling mode setting
Long press the up button, when the red screen displays C-0, press the set button to enter the C-0 mode setting, press the up and down buttons to switch between the blue screen L and H, L stands for heating, H stands for cooling. (Note:The temperature control load you connect to at L must be a heating device, and at H, the load you connect must be a refrigerating device.) After setting, wait 10 seconds, the system automatically saves the data.
4. Temperature difference setting
Long press the up key, when the red screen shows C-0, press the up and down keys to switch to the C-1 temperature difference setting, press the setting key again to enter the temperature difference setting, and then press the up and down keys to adjust the setting you want Temperature difference value; wait 10 seconds after setting, the system automatically saves the data. (If the stop temperature is set to 35C, the mode is set to L heating mode, and the temperature difference is set to 5, then the start temperature is 35-5=30C and the temperature control range is between 30~35C. On the contrary, if the mode is set to H cooling mode , Then the starting temperature is 35 + 5=40C, and the temperature control range is between 35~40→)
5. Temperature calibration
Long press the up button, when the red screen displays C-0, press the up and down buttons to switch to the C-2 temperature correction mode, press the setting button once to enter the correction mode, and then press the up and down buttons to adjust and set the difference you want If the actual temperature is 28C and the probe detection temperature is 28.2C, then the correction difference can be set to -0.2; if the detection temperature is low, the correction difference can be adjusted higher. After setting, wait 10 seconds, the system will automatically save the data.
6. Stop humidity setting
Press the set button (SET), the red screen numbers start to flash, press the set button again to switch to the blue screen numbers flashing, and then press the up and down keys to adjust and set the stop humidity value you want; after setting, wait for 10 without operation Seconds, the system automatically saves the data.
7. Humidification or dehumidification mode setting
Long press the adjustment key, when the red screen displays H-0, press the set key to enter the H-0 mode setting, press the up and down keys to switch between the blue screen L and H, L stands for humidification, H stands for dehumidification. (Note:The humidity control load you connect to at L must be a humidifying device, and at H, the load you connect to must be a dehumidifying device.) After setting, wait 10 seconds, and the system automatically saves the data.
8. Humidity difference setting
Long press the adjustment key, when the red screen displays H-0, press the up and down keys to switch to the H-1 humidity difference setting, press the setting key to enter the humidity difference setting, press the up and down keys to adjust the setting you want After setting the difference, wait 10 seconds, the system automatically saves the data. (If the stop humidity is set to 50%RH, the mode is set to L humidification mode, the humidity difference is set to 5%RH, then the start humidity is 50-5=45%RH, and the humidity control range is between 45-50%RH, on the contrary If the mode is set to H dehumidification mode, then the starting humidity is 50 + 5 = 55%RH, and the humidity control range is between 50~55%RH)
9. Humidity calibration
Long press the adjustment key, when the red screen displays H-0, press the up and down keys to switch to the H-2 humidity correction mode, press the set key once to enter the correction mode, press the up and down keys to adjust the set difference; such as actual humidity It is 56%RH, the humidity detected by the probe is 56.2%RH, then the correction difference can be set to -0.2; if the detection temperature is low, the correction difference can be adjusted higher. After setting, wait 10 seconds, the system automatically saves the data.
CodeNamePredetermined areaDefault parameters
H-0Mode settingL:Humidify H:DehumidificationL:Heating mode
H-1 Humidity difference0.1-50%RH10%RH
H-2Humidity calibration-10 and 10%RH0.0%RH
10. Restore factory settings
Press the up and down keys at the same time for 5 seconds, when the screen displays 888, the factory restoration is complete.
| Weight | 0.132 kg |
|---|
Related products
5pcs 12 in 1 Blue USB Tester DC Digital Voltmeter Amperemeter Voltagecurrent Meter Ammeter Detector Power Bank Charger indicator
$48.11Test & Measuring ModuleAdd to cartTechnical parametersVoltage measuring range:3.60V ~ 32.5 V Resolution precision:0.01 V Current measuring range:0.00A ~ 5.00 A Resolution precision:0.01 APower cumulative range:0 ~ 999999 WH Resolution precision:0.001 WhCapacity range:0 ~ 999999 mAH Resolution precision:0.001 AhTemperature:0 → ~ + 80 → Resolution precision:1 →D+ Voltage:0.000V ~ 2.999 V Resolution precision:0.001 VD- Voltage:0.000V ~ 2.999 V Resolution precision:0.001 …
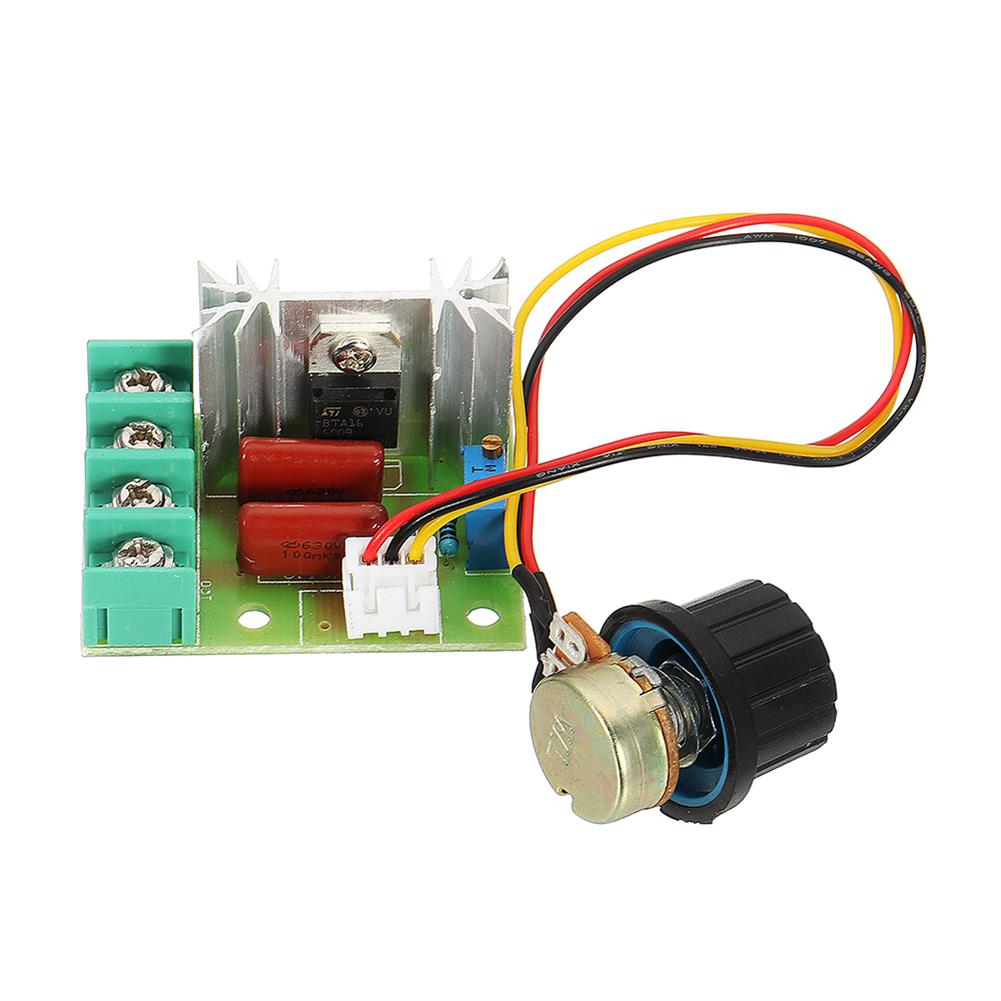
10pcs 2000W Thyristor Governor Motor 220V Regulating Dimming thermostat Module External Potentiometer Voltage Adjustable
$35.56Test & Measuring ModuleAdd to cartTips:This product needs to be connected to the load to adjust voltage, such as old-fashioned incandescent lamps or fans!FeatureUse voltage:AC 220VMaximum power:2000WVoltage regulation:AC 50-220VSpecification size:High temperature resistant FR-4 circuit board Circuit board size:about 36 x 48mmOuter size:48 x 60mm (knob direction) x 28mm (high)Control silicon withstand voltage up to 1200 volts / current 25A1.6mm thick …
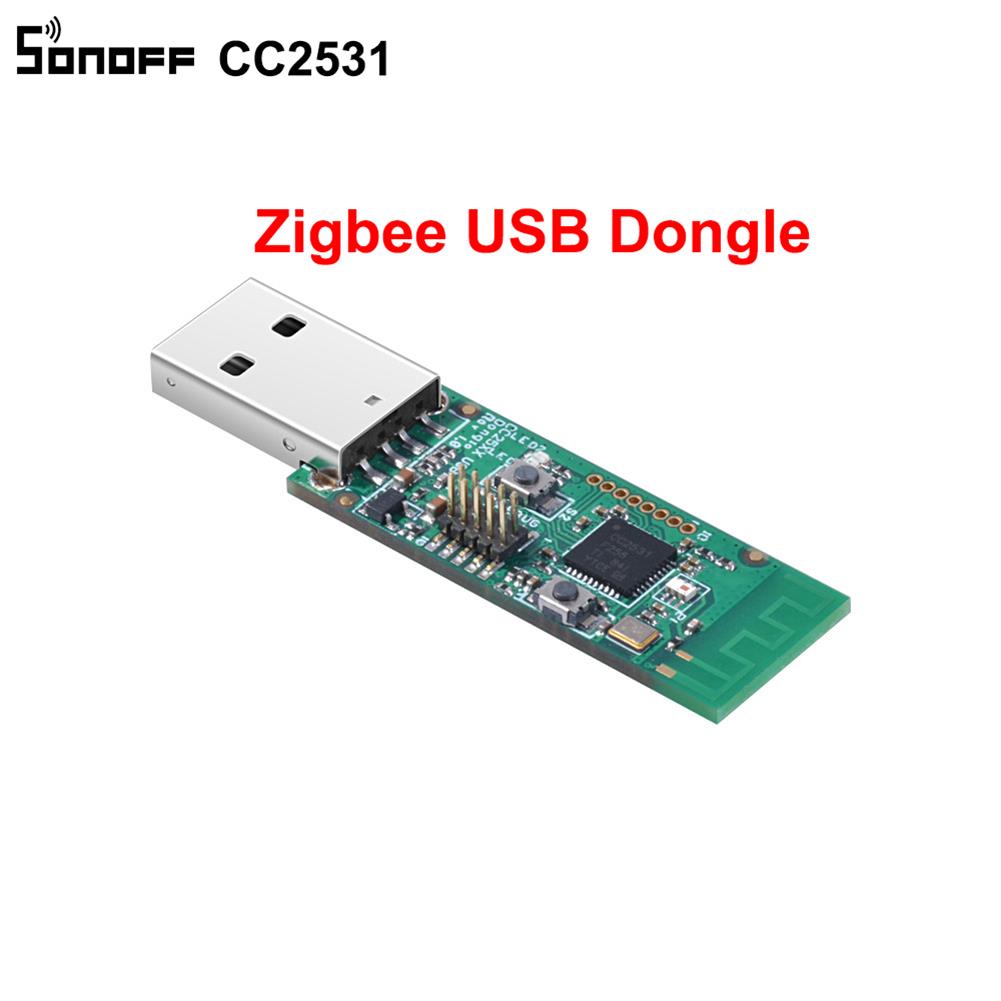
3Pcs Sonoff ZB CC2531 USB Dongle Module Bare Board Packet Protocol Analyzer USB interface Dongle Supports BASICZBR3 S31 Lite zb
$44.79Test & Measuring ModuleAdd to cartTo run ZB 2mqtt for the control of SONOFF ZB products like BASICZBR3, S31 Lite Zb in your home automation system, a CC2531 USB dongle integration is recommended. Features* The CC2531 USB dongle is a fully operational USB device which provides a PC interface to IEEE802.15.4 / ZB applications.* Comes with a CC2531ZNP-Prod firmware, it …
20pcs 2000W Thyristor Governor Motor 220V Regulating Dimming thermostat Module External Potentiometer Voltage Adjustable
$67.46Test & Measuring ModuleAdd to cartTips:This product needs to be connected to the load to adjust voltage, such as old-fashioned incandescent lamps or fans!FeatureUse voltage:AC 220VMaximum power:2000WVoltage regulation:AC 50-220VSpecification size:High temperature resistant FR-4 circuit board Circuit board size:about 36 x 48mmOuter size:48 x 60mm (knob direction) x 28mm (high)Control silicon withstand voltage up to 1200 volts / current 25A1.6mm thick …


Customers Also Viewed
LED Light Lighting Kit ONLY for LEGO 60141 City Series Police Station Bricks Toy
$54.66DIY Electronic KitsAdd to cartDescriptionThe product is just a light kit, not included the model!!!Interface:USBColor:As the picture shownFitmentONLY For LEGO 60141 City Series Police Station Bricks ToysFeaturesEasy to install.LED powered by USB.Make your model more cool.Package Included1 x LED Light Kit(Model Not Included)
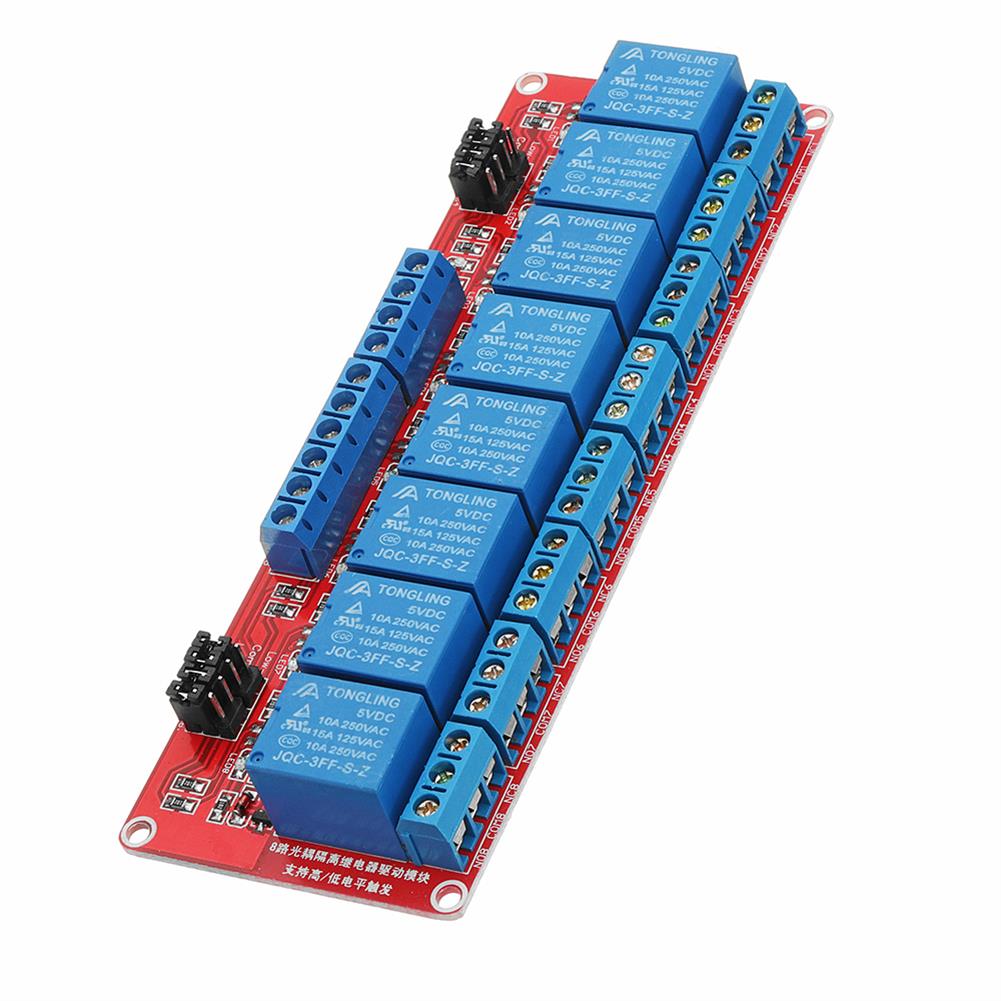
5V 8 Channel Level Trigger Optocoupler Relay Module
$19.67Relay ModuleAdd to cartDescriptionThe module uses genuine quality relay, normally open interfacesUsing SMD optocoupler isolation, driving ability, stable performanceThe module can be high or low by a jumper setting triggerFault-tolerant design, even if the control line is broken, the relay will not operateThe power indicator (green), the relay status indicator (red)The interface design of human nature, all interfaces …
5V 8 Channel Level Trigger Optocoupler Relay ModuleRead More
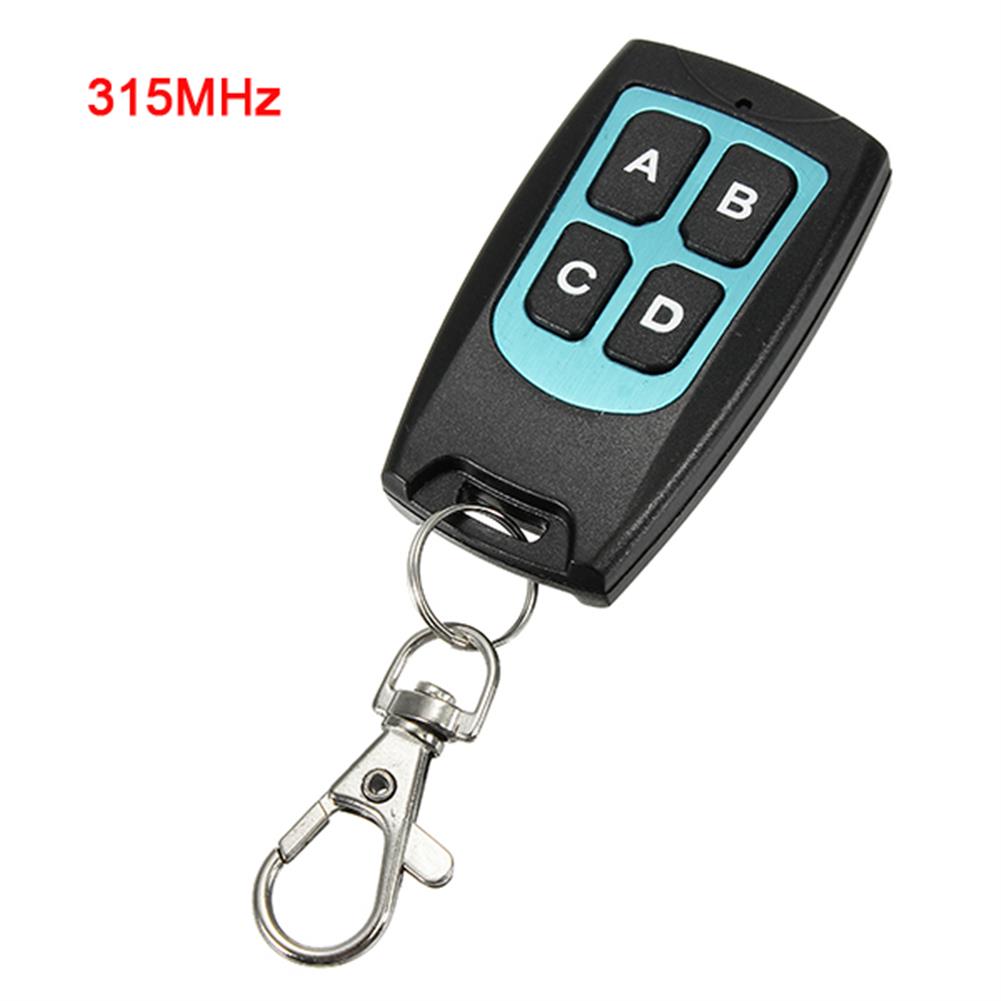
Transmitter Wireless Remote Control Switch 6V 4CH Channel 315Mhz
$8.73Smart ModuleAdd to cartNoteThis product does not supply any instructions, please reference the description.This version does not support copy code function, please note about this before you order it.FeatureVoltage:6VWorking frequency:315mhzExtremely easy to set up and useLearning face to face in secondsOnly copy of a fixed code, can not be copied rolling codeCovers application ranging from simple domestic remote …
Transmitter Wireless Remote Control Switch 6V 4CH Channel 315MhzRead More
DIY D880 Transistor Series Power Supply Regulator Module Board Kit
$6.55DIY Electronic KitsAdd to cartNote:This is a DIY kit, you need to assemble it, no instruction supply.SepecificationInput voltage:AC 12-17V (No direction)Output voltage:DC 8-14V (adjustable)Output current:500mABoard size:4.9 * 3.5cmPackage includes1 x PCB board2 x 9013 transistor1 x D880 transistor1 x 15 * 10 * 20mm heatsink1 x M3 * 6 screws2 x 3.96-2P pillars4 x 1N4007 diode1 x 0.5W 6.8V …
DIY D880 Transistor Series Power Supply Regulator Module Board KitRead More


Reviews
There are no reviews yet.