


5pcs 220V XH-W3002 Micro Digital thermostat High Precision Temperature Control Switch Heating and Cooling Accuracy 0.1
$59.66
Shipping:Standard Shipping about 10-25 business days
Secure Payment:Paypal,VISA,MasterCard
Feature
Product Name:Microcomputer Temperature Controller
Product model:XH-W3002
Temperature range:-50~110°C
Temperature control range:-50~110°C
Temperature measurement accuracy:+-0.2 °C
Temperature control accuracy:+-0.1 °C
Temperature probe:NTC10K (B3950) 1 meter waterproof probe
Supply voltage:DC12V/DC24V/AC220V
Output power:AC220V:1500W
Output type:direct output
Appearance size:60 x 45 x 31mm
Opening size:73mm (aperture 4mm)
Package includes
5 x Microcomputer Temperature Controller
Wiring
Key Description
Up key:Short press to display the starting temperature, long press to set the starting temperature.
Down button:short press to display the stop temperature, long press to set the stop temperature.
Shutdown button:Press to turn off the thermostat, and then press to turn on the thermostat.
Code:Code description:Setting range:Factory setting
P0:Starting temperature:-50~110°C:25
P1:Stop temperature:-50~110°C:40
P2:Temperature correction:-10~10°C:0°C
P3:Delayed start:0-10 minutes:0
P0. Set the startup temperature
Press the Setup button to enter the internal menu. The default display is P0. Press the Setup button again and set the desired startup temperature by pressing the up and down buttons.
P1. Set the stop temperature
Press the setup button to enter the internal menu, the display is P0, switch to P1 by the up and down keys, press the setup button again, and set the required stop temperature by the up and down buttons.
P2. Set the temperature correction
In the same way, enter the internal menu, switch to P2 by pressing the up and down buttons, press the setting button again, and set the required calibration temperature by pressing the up and down buttons. (Note:In the setting, if the detected temperature value is 0.5 °C larger than the actual temperature value, then the calibration temperature to be set is -0.5 ° C. If the detected value is 1 ° C smaller than the actual temperature value, the set calibration temperature is required. It is 1 ° C. Detection temperature + correction temperature = actual temperature.)
P3. Set the delay start
In the same way, enter the internal menu, switch to P3 by pressing the up and down buttons, press the setting button again, and set the required delay time by the up and down buttons, the unit is minute. (Note:Delay start is generally used for compressor refrigeration. If it is used in refrigerator freezer, this value needs to be set. According to compressor back pressure, the general setting is 3-6 minutes, if you are not using it for control or doesn’t need delay function, skip directly.
Instructions
Start temperature
Start temperature > stop temperature = cooling mode (output is connected to the cooling unit)
1. Connect the power supply and heating or cooling equipment according to the wiring diagram above (note the positive and negative poles)
2. Press and hold the up key to set the starting temperature. When the screen number flashes, press the up and down keys to set the starting temperature you want. After setting, wait for 5 seconds to brake the system.
3. Press and hold the key to set the stop temperature. When the screen number flashes, press the up and down keys to set the desired stop temperature. After setting, wait for 5 seconds to automatically save the data.
4. Restore the factory:Colleagues press and hold the up and down keys for 5 seconds, when the screen displays 888, the factory is restored.
5. Press the power off button to turn off the thermostat and press to turn on the thermostat.
Tips
888:In the case of power-on, press and hold the up and down keys for about 3 seconds, the digital tube displays 888, and automatically jumps to the detection temperature, that is, the factory settings are restored successfully.
LLL:Describe the sensor is open circuit, repair the sensor, or replace the sensor
HHH:The sensor is short circuit.
| Weight | 0.275 kg |
|---|
Related products
Tilt Angle Sensor Module with Cable STM32 AVR
$4.36Sensor & Detector ModuleAdd to cartTilt Angle Sensor Module With Cable For STM32 AVR Raspberry Pi Specification Working Voltage:3.3V ~ 12V Location hole diam:3.1mm PCB board size:16 x 14mm With 2pcs 20cm cable Package included 1 x Tilt angle sensor module 2 x 20cm cable
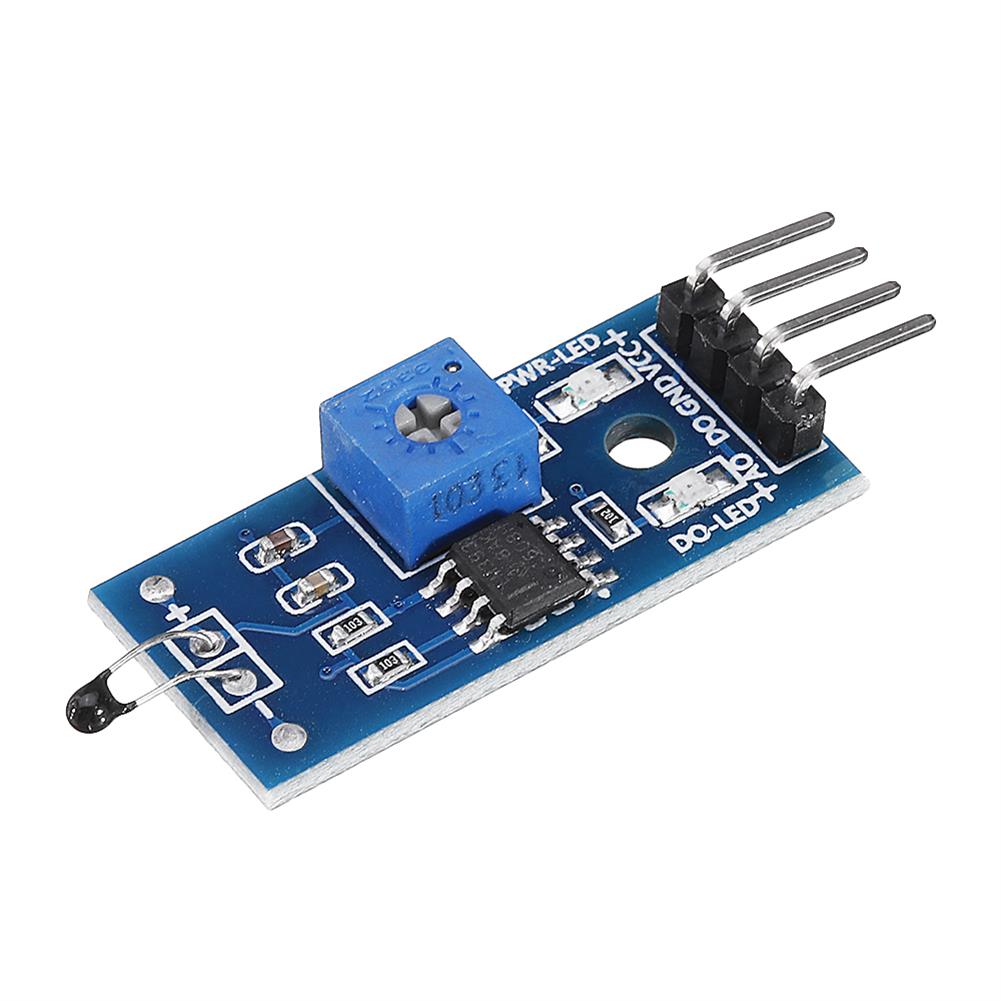
3pcs thermal Sensor Module Temperature Switch thermistor Sensor Board
$5.49Sensor & Detector ModuleAdd to cartUsesTemperature detection, temperature control sensors , ambient temperature detectionFeatures1. Using the NTC thermistor sensor, good sensitivity2. The comparator output signal is clean, good waveform, driving ability, more than 15mA.3. Adjust the temperature distribution position detection threshold4. The working voltage 3.3V-5V5. The output format:digital switching outputs ( 0 and 1 )6. Fixed bolt holes for easy …
3pcs thermal Sensor Module Temperature Switch thermistor Sensor BoardRead More
20pcs thermal Sensor Module Temperature Switch thermistor Sensor Board
$20.28Sensor & Detector ModuleAdd to cartUsesTemperature detection, temperature control sensors , ambient temperature detectionFeatures1. Using the NTC thermistor sensor, good sensitivity2. The comparator output signal is clean, good waveform, driving ability, more than 15mA.3. Adjust the temperature distribution position detection threshold4. The working voltage 3.3V-5V5. The output format:digital switching outputs ( 0 and 1 )6. Fixed bolt holes for easy …
20pcs thermal Sensor Module Temperature Switch thermistor Sensor BoardRead More
6mA 3-100CM Adjustable infrared Digital Obstacle Avoidance Sensor Module
$8.37Sensor & Detector ModuleAdd to cartSpecificationsWorking voltage:DC 3.8V-5.5VWorking current (5V):typical current 6mAInput and output signals (3 lines):GND, VCC is power, and VCC is 3.8V-5.5VObstacle detection time (range from obstacle-free to obstacle-free or obstacle-free to obstacle-free)Working Principle:Sensors actively emit infrared light, according to reflected light detection, if detected obstacles, OUT foot output 0, otherwise 1.Detection distance (test environment, indoor, maximum power, …
6mA 3-100CM Adjustable infrared Digital Obstacle Avoidance Sensor ModuleRead More


Customers Also Viewed
M5Stack 8-Way Servo HAT STM32F030F4 Microcontroller Control Board for M5StickC ESP32 IoT Development Board
$16.96Other Module BoardAdd to cartDescription 8Servos HAT is an 8-way servo control board compatible with M5StickC. The brains of the borad is the STM32F030F4 microcontroller which communicates with M5StickC through I2C. In order to ensure that multiple servos can work at the same time, the HAT is equipped with a separate 16340 battery base for an external and independent …
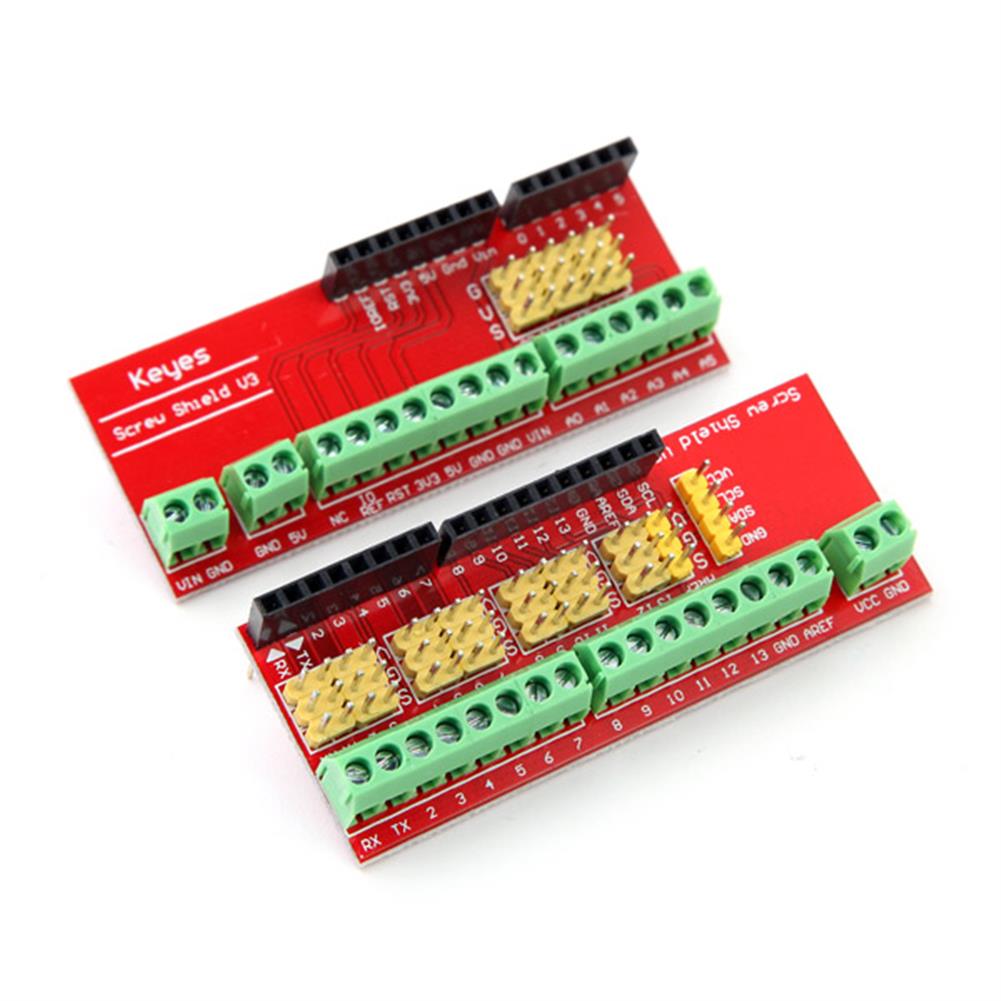
Screw Shield V3 Terminal Expansion Board for UNO R3
$8.73Expansion Board & ShieldAdd to cartScrew Shield V3 Terminal Expansion Board For Compatible UNO R3DescriptionWe use to do work, always feel bad connection on the port. Either use bread plates into line, either using the sensor cable expansion board with Dupont, feel less reliable, and now we launch a terminal expansion board can be directly screwed onto the thread of …
Screw Shield V3 Terminal Expansion Board for UNO R3Read More
CH340G RS232 Upgrade USB to TTL Auto Converter Adapter STC Brush Module
$6.55Converter BoardAdd to cartFeaturesThere are power light PWR, and TXD and RXD indicatorsReserve RTS, CTS location3.3V and 5V dual voltage selectionSupport XP/WIN7/WIN8/WIN10 systemAnti-short-circuit, anti-overcurrent, anti-reverse, anti-high voltage multiple protection.Package includes1 x Module
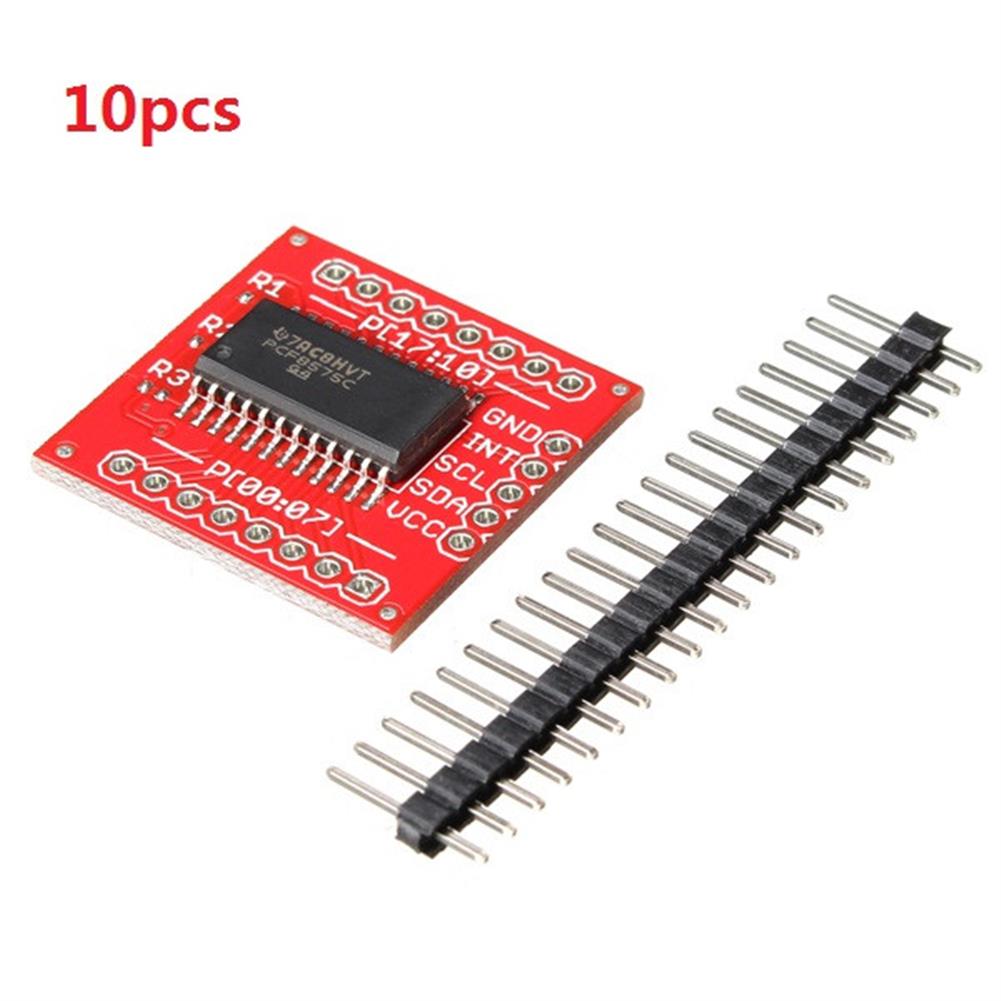
10pcs CJMCU-8575 PCF8575 Bidirectional IIC I2C And SMBus I/O Expander Expansion Board
$80.46Expansion Board & ShieldAdd to cartDescriptionHave you run out of I/O pins This great IC allows the user to expand up to 16 I/O using only two I/O for control! The PCF8575C is controlled through an I2C interface and features 16-bits of quasi-bidirectional input/output pins.Package included10 x Module
5pcs 30MA 5V 0.15W Mini Solar Panel Epoxy Board
$16.04Smart Robot & Solar PanelAdd to cartSpecifications– Maximum power:0.15 (W)– Working current:0-30MA(Depending on the intensity of sunlight)– Working voltage:5 (V)– System voltage:5.5 (V)– Open circuit voltage:5.5 (V)– Short circuit current:0.05(A)– Dimensions:about 53*30 (mm)– Weight:about 12g– For:DIYer– Quantity:5PcsPackage Included5 x solar panel
20Pcs Keyes Brick Finger Heartbeat Module(Pad hole) with Pin Header Board Analog Signal
$55.28Sensor & Detector ModuleAdd to cartDescriptionThis module is fully compatible with ARDUINO single-chip microcomputer, and its connection port is also compatible with Arduino sensor expansion board. This module mainly includes infrared transmitter and photosensitive receiver. The infrared transmitter is on one side of the finger, and the photosensitive receiver is on the other side of the finger; the photosensitive receiver …
20Pcs Keyes Brick Finger Heartbeat Module(Pad hole) with Pin Header Board Analog SignalRead More


Reviews
There are no reviews yet.