


5pcs 12V XH-W3002 Micro Digital thermostat High Precision Temperature Control Switch Heating and Cooling Accuracy 0.1
$51.07
Shipping:Standard Shipping about 10-25 business days
Secure Payment:Paypal,VISA,MasterCard
Feature
Product Name:Microcomputer Temperature Controller
Product model:XH-W3002
Temperature range:-50~110°C
Temperature control range:-50~110°C
Temperature measurement accuracy:+-0.2 °C
Temperature control accuracy:+-0.1 °C
Temperature probe:NTC10K (B3950) 1 meter waterproof probe
Supply voltage:DC12V/DC24V/AC220V
Output power:DC12V:120W
Output type:direct output
Appearance size:60 x 45 x 31mm
Opening size:73mm (aperture 4mm)
Package includes
5 x Microcomputer Temperature Controller
Wiring
Key Description
Up key:Short press to display the starting temperature, long press to set the starting temperature.
Down button:short press to display the stop temperature, long press to set the stop temperature.
Shutdown button:Press to turn off the thermostat, and then press to turn on the thermostat.
Code:Code description:Setting range:Factory setting
P0:Starting temperature:-50~110°C:25
P1:Stop temperature:-50~110°C:40
P2:Temperature correction:-10~10°C:0°C
P3:Delayed start:0-10 minutes:0
P0. Set the startup temperature
Press the Setup button to enter the internal menu. The default display is P0. Press the Setup button again and set the desired startup temperature by pressing the up and down buttons.
P1. Set the stop temperature
Press the setup button to enter the internal menu, the display is P0, switch to P1 by the up and down keys, press the setup button again, and set the required stop temperature by the up and down buttons.
P2. Set the temperature correction
In the same way, enter the internal menu, switch to P2 by pressing the up and down buttons, press the setting button again, and set the required calibration temperature by pressing the up and down buttons. (Note:In the setting, if the detected temperature value is 0.5 °C larger than the actual temperature value, then the calibration temperature to be set is -0.5 ° C. If the detected value is 1 ° C smaller than the actual temperature value, the set calibration temperature is required. It is 1 ° C. Detection temperature + correction temperature = actual temperature.)
P3. Set the delay start
In the same way, enter the internal menu, switch to P3 by pressing the up and down buttons, press the setting button again, and set the required delay time by the up and down buttons, the unit is minute. (Note:Delay start is generally used for compressor refrigeration. If it is used in refrigerator freezer, this value needs to be set. According to compressor back pressure, the general setting is 3-6 minutes, if you are not using it for control or doesn’t need delay function, skip directly.
Instructions
Start temperature
Start temperature > stop temperature = cooling mode (output is connected to the cooling unit)
1. Connect the power supply and heating or cooling equipment according to the wiring diagram above (note the positive and negative poles)
2. Press and hold the up key to set the starting temperature. When the screen number flashes, press the up and down keys to set the starting temperature you want. After setting, wait for 5 seconds to brake the system.
3. Press and hold the key to set the stop temperature. When the screen number flashes, press the up and down keys to set the desired stop temperature. After setting, wait for 5 seconds to automatically save the data.
4. Restore the factory:Colleagues press and hold the up and down keys for 5 seconds, when the screen displays 888, the factory is restored.
5. Press the power off button to turn off the thermostat and press to turn on the thermostat.
Tips
888:In the case of power-on, press and hold the up and down keys for about 3 seconds, the digital tube displays 888, and automatically jumps to the detection temperature, that is, the factory settings are restored successfully.
LLL:Describe the sensor is open circuit, repair the sensor, or replace the sensor
HHH:The sensor is short circuit.
| Weight | 0.27 kg |
|---|
Related products
3pcs thermal Sensor Module Temperature Switch thermistor Sensor Board
$5.49Sensor & Detector ModuleAdd to cartUsesTemperature detection, temperature control sensors , ambient temperature detectionFeatures1. Using the NTC thermistor sensor, good sensitivity2. The comparator output signal is clean, good waveform, driving ability, more than 15mA.3. Adjust the temperature distribution position detection threshold4. The working voltage 3.3V-5V5. The output format:digital switching outputs ( 0 and 1 )6. Fixed bolt holes for easy …
3pcs thermal Sensor Module Temperature Switch thermistor Sensor BoardRead More
Waterproof Ultrasonic Sensor Module integrated Ranging Sensor Reversing Radar Measuring Distance
$24.04Sensor & Detector ModuleAdd to cartThis module is easy to use. A control port sends a high level above 10US, so you can wait for the high level output at the receiving port. You can turn on the timer when there is an output. When this port goes low, you can read it. The value of the timer, at this …
Keyes Brick Tilt Module Sensor(Pad hole) with Pin Header Digital Signal
$4.36Sensor & Detector ModuleAdd to cartSpecificationsWorking voltage:DC 3.3-5VPositioning hole size:3mm in diameterControl signal:digital signalSize:34 x 22 x 9mmPackage included1 x Module BoardWiring, the UNO board is not includes.
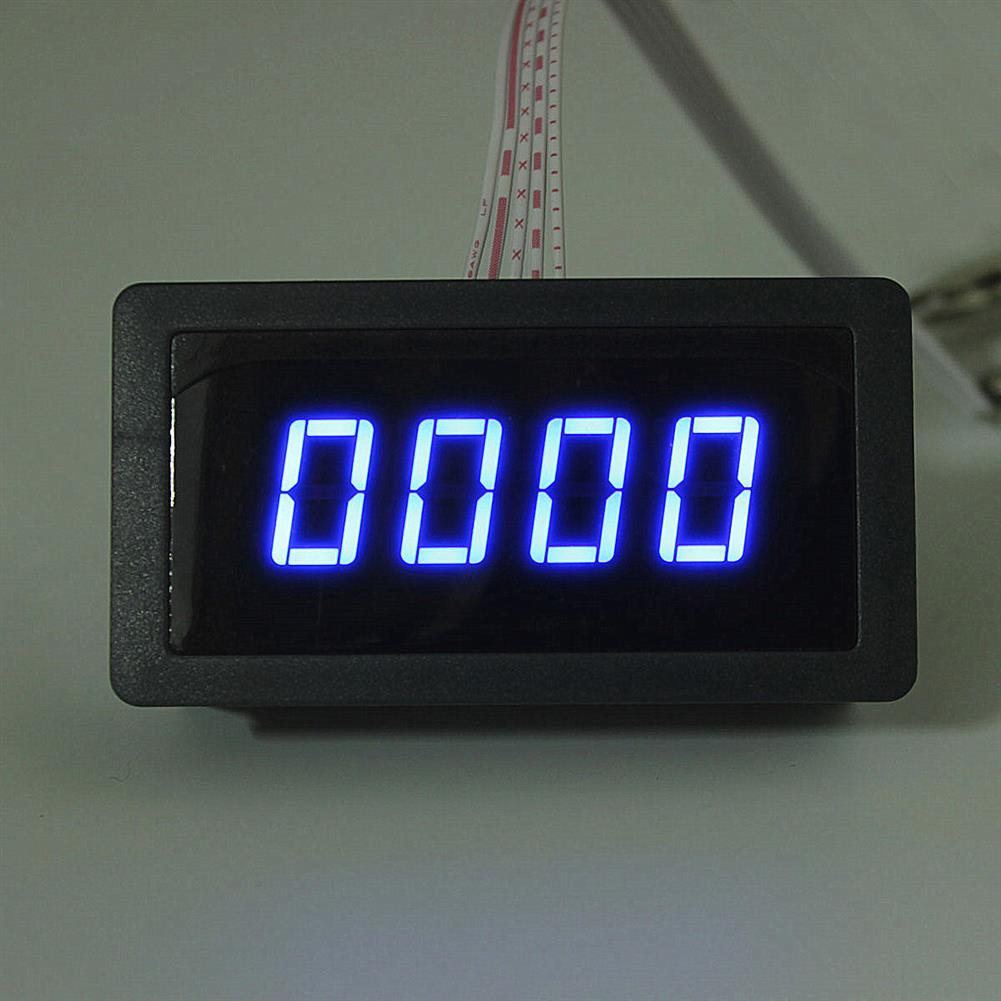
4 Digital LED Tachometer RPM Speed Meter + Proximity Switch Sensor NPN
$26.23Sensor & Detector ModuleAdd to cartSpecificationsWorking power supply:DC8-24v 40 mAMeasure range:5-9999 RPMDisplay:Blue LED 67*32mmSign:Pusle signal, Hall NPN 3 wires normally openHall proximity model:NJK-5002CAppearance:M12mm cylinderDetection range:10mmDetected objects:MagnetResponse frequency:100HZOperating temperature:0 to 50°CPackage included1 x Proximity switch1 x Tachometer


Customers Also Viewed
5Pcs CP2102 USB To TTL/Serial Module Downloader
$21.98Converter BoardAdd to cart5Pcs CJMCU CP2102 USB To TTL/Serial Module UART STC Downloader For Driver Installation Introduction:http://forum.hobbyant.com/forum-topic-56275.html Description CJMCU-CP2102 its highly integrated, built-in USB2.0 full-speed function controller, USB transceiver, crystal oscillator, EEPROM and asynchronous serial data bus (UART), supports full-featured modem signal without any external USB devices. CJMCU-CP2102 works with other USB-UART adapter circuit similar to the driver …
10pcs 180 Degree USB 3.0 Type A female Socket Connector SMT Charging Socket Plug Connector
$10.11Terminal BlocksAdd to cartSpecificationsColorBlueRated Current1.5ARated Voltage30VInsertion Force35N MaxDurability3000 Cycles Min Rubber CorePBT / Icp Ul94V-0 Resistance To Voltage500V Ac Min. Insulation Resistance≥1000MΩPull-Out Force10N Min.Initial 8-20N AfterWorking Temperature-20 Degrees To 60 Degrees Contact Impedance≤30mΩTerminalsBrass C2680,Nickel Base,Gold-Plated 1 u,Package included-10pcs X 180Degree Connectors
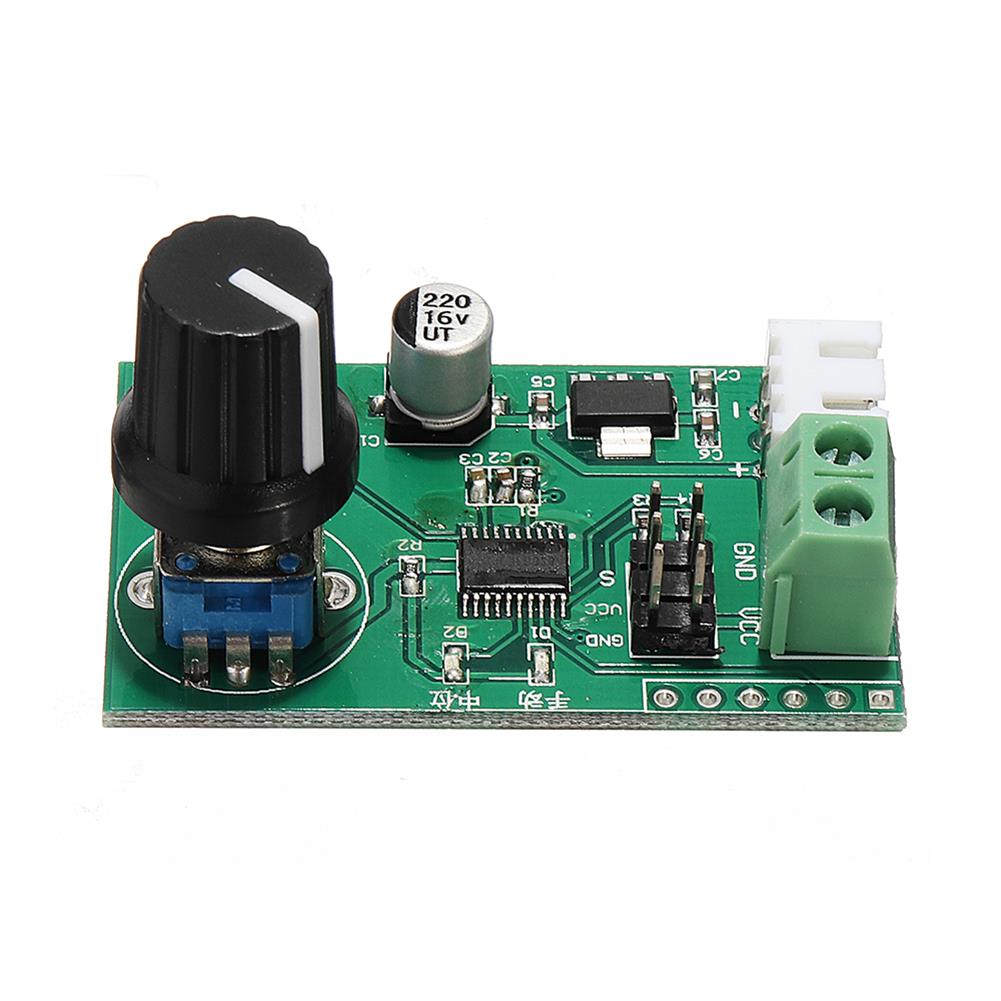
Dual Servos Knob Serial Port Control Board Futaba MG995 SG90 Steering Gear Debugging Module
$13.11Other Module BoardAdd to cartFeature1. The onboard stable 8-bit MCU is used to generate high-resolution PWM signals with precise control.2. Support manual mode and return to medium mode, switch by button, with mode indicator.3. Support knob adjustment or serial command control in manual mode.4. The serial port command control can use the matching host computer software or connect to …
Dual Servos Knob Serial Port Control Board Futaba MG995 SG90 Steering Gear Debugging ModuleRead More
Keyes Brick Laser Head Sensor Module (pad hole) with Pin Header Board Digital Signal
$4.36Sensor & Detector ModuleAdd to cartDescriptionThis sensor is fully compatible with ARDUI NO single-chip microcomputer, and its connection port is also compatible with Arduino sensor expansion board. It is mainly composed of a laser head, which is composed of a light-emitting tube core, a condenser lens, and a copper adjustable sleeve. After connecting to the power supply, we directly input …
Keyes Brick Laser Head Sensor Module (pad hole) with Pin Header Board Digital SignalRead More
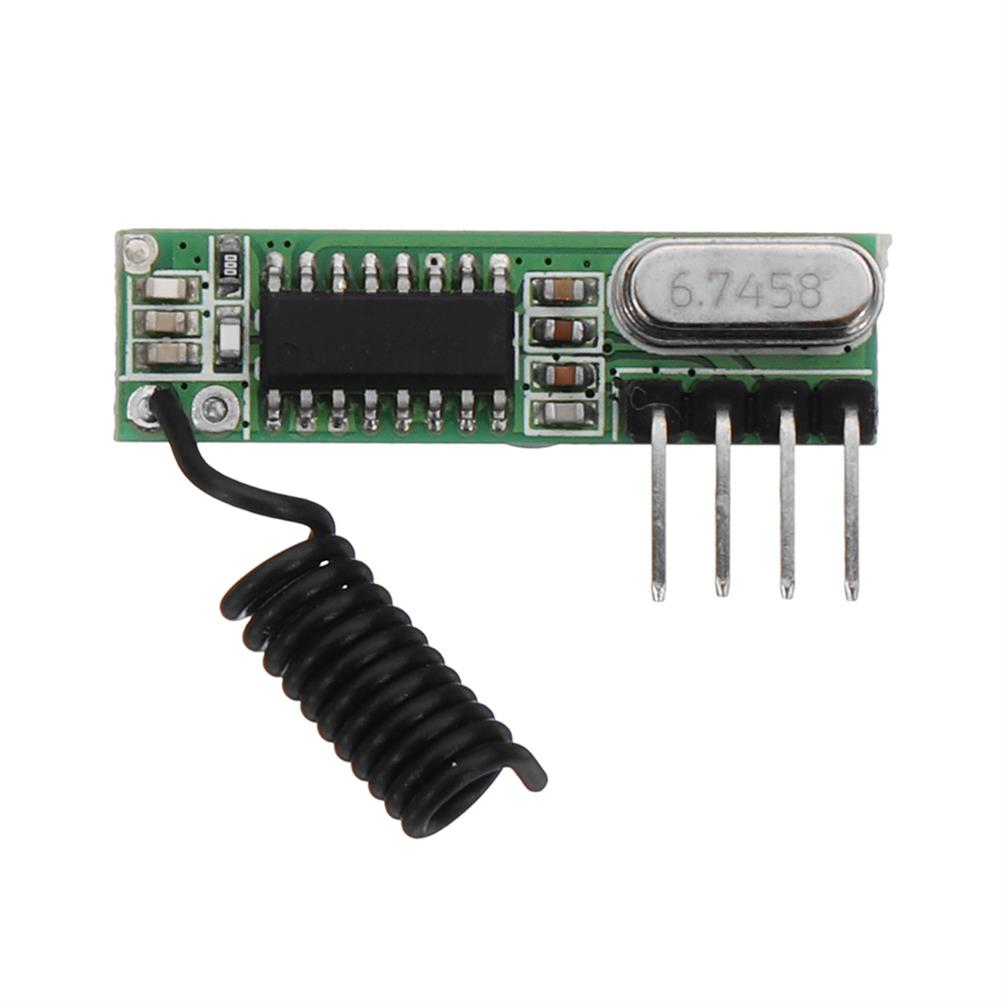
5pcs DC3~5V AK-119 433.92MHZ 4 Pin Superheterodyne Receiver Board without Decoding -105dBm
$10.37Other Module BoardAdd to cartFeatures1. The product is small in size, high in sensitivity and strong in anti-interference ability;2. The same definition as the four-pin pin of RXB12, the usage is the same. The unit price is lower than RXB12 and can be directly replaced.Technical ParametersWorking voltage:DC3~5VTransmission rate:4.80KBPSQuiescent current:6mAReceive sensitivity:-105dBmDimensions:30 * 9 * 5mmWorking temperature:-20 ° C ~ +80 …
5pcs DC3~5V AK-119 433.92MHZ 4 Pin Superheterodyne Receiver Board without Decoding -105dBmRead More
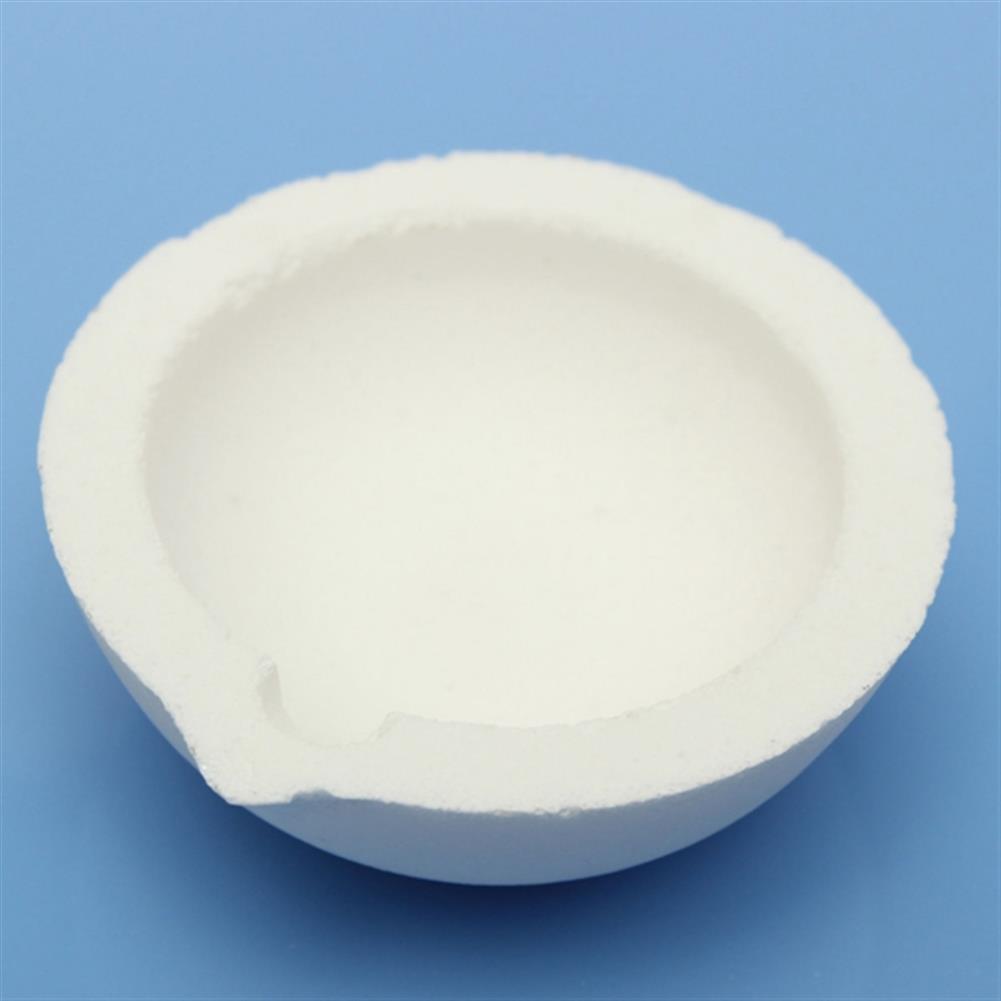
150g Capacity Quartz Silica Melting Crucible Pot for Gold Silver Platinum Refine
$16.19Glassware KitAdd to cart150g Capacity Quartz Silica Melting Crucible Pot For Gold Silver Platinum RefineDescriptionMaterial:quartzCapacity:150gDiameter:43X57mm/1.69inch X2.24inch(ID*OD)Height:20mm/0.79inchDeepth:15mm/0.59inchNet Weight:40gFeatureQuartz silica melting crucibleProduced by modern ceramic processing technologyHigh orrosion resistance and strength,the temperature resistance up to 2800℃/5072FPerfect for gold silver casting and refine usagePackage included1X Quartz Silica Melting Crucible
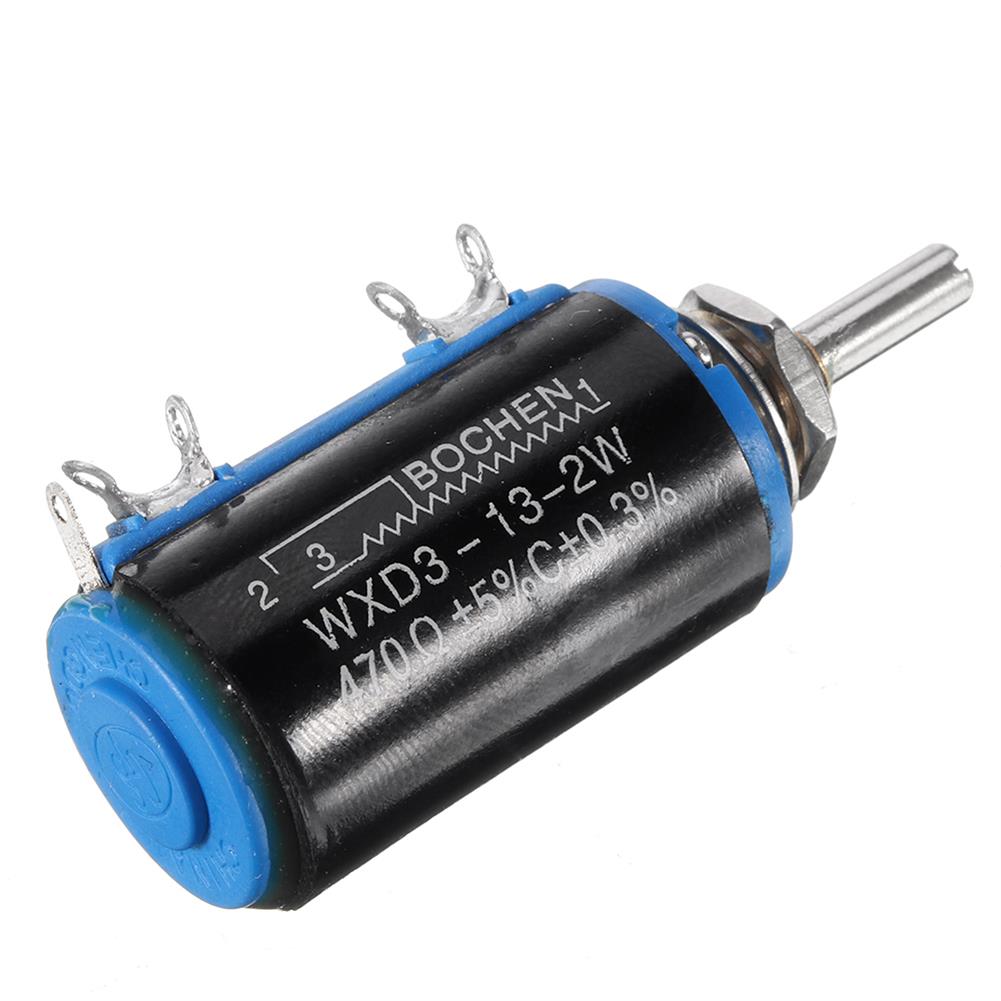
WXD3-13-2W Precision Potentiometer 470R 470 Ohm Wirewound Multi-Turn Potentiometer
$4.50Module ComponentsAdd to cartSpecificationsResistance range:470┯Resistance tolerance:÷ 5%Rotation angle:3600 ÷ 20 Number of laps:10 lapsRated voltage:160VStarting torque:3.5 ~ 100mN.mRated power:2W (85 →) 0W (125 →)Linearity accuracy:÷ 0.3%Mechanical durability:10,000 weeksPackage included1 x Potentiometer


Recently Viewed Products
-
 10pcs MP1584 5V Buck Converter 7-30V Adjustable Step Down Regulator Module with Switch OPEN-SMART for Arduino - products that work with official for Arduino boards $47.55
 -
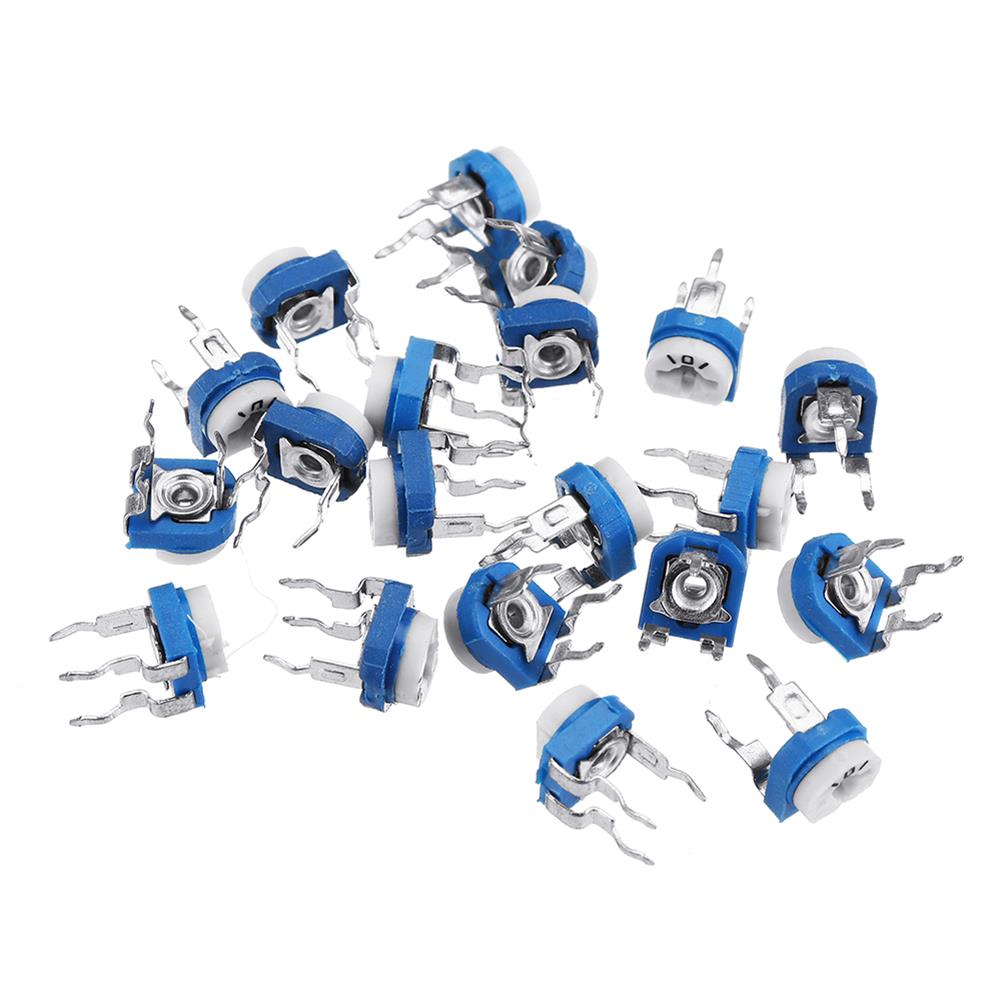 400pcs RM065 100 Ohm Trimpot Trimmer Potentiometer Variable Resistor $48.10
 -
 3Pcs DC12V 4 Channel Level Trigger Optocoupler Relay Module Power Supply Module $23.23
 -
 bluetooth 5.0 MP3 Audio Decoder Board Module Wireless Car USB MP3 Player TF Card Slot USB FM Remote Controller Decoding Board $21.86
 -
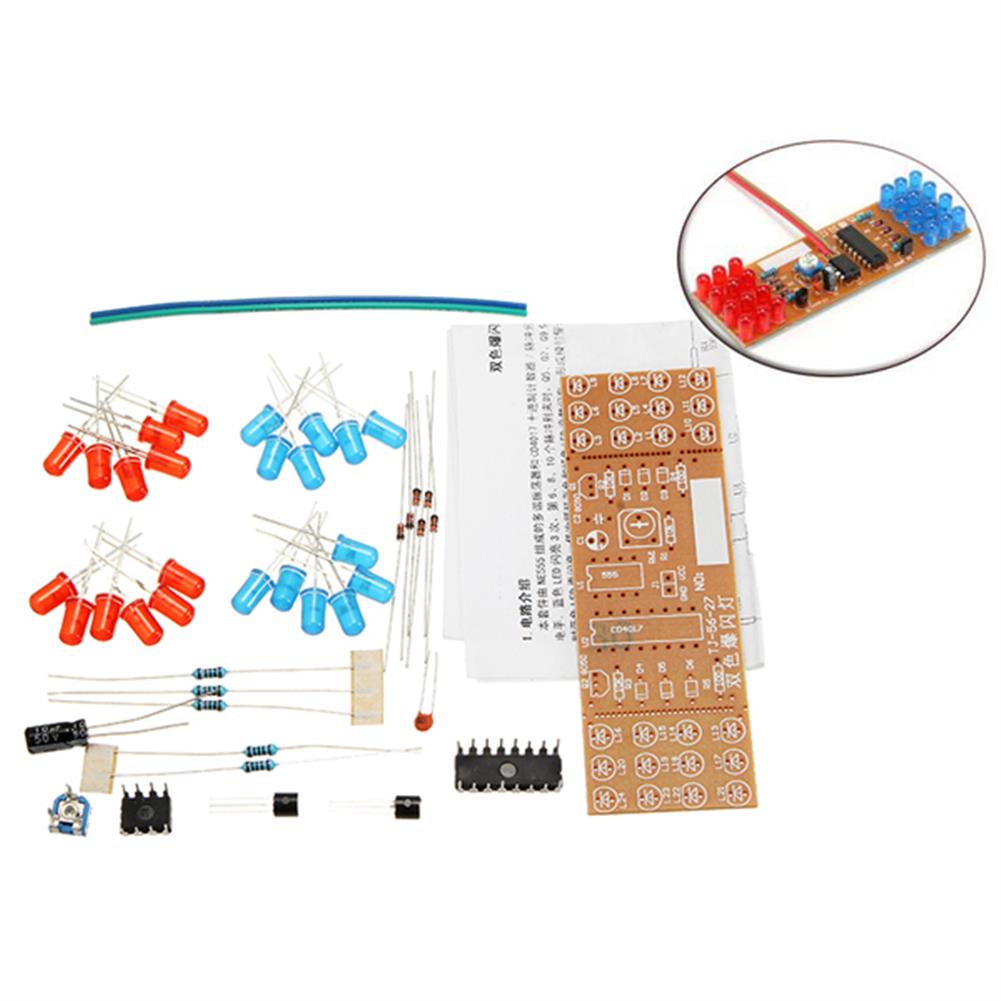 DIY Double Color Flashing Lights Kit Electronic Production NE555+CD4017 Practice Learning Kit $8.73
 -
 6pcs IC Lock Seat Zif Socket Test Universal zif Sockets 14Pin $11.66
 -
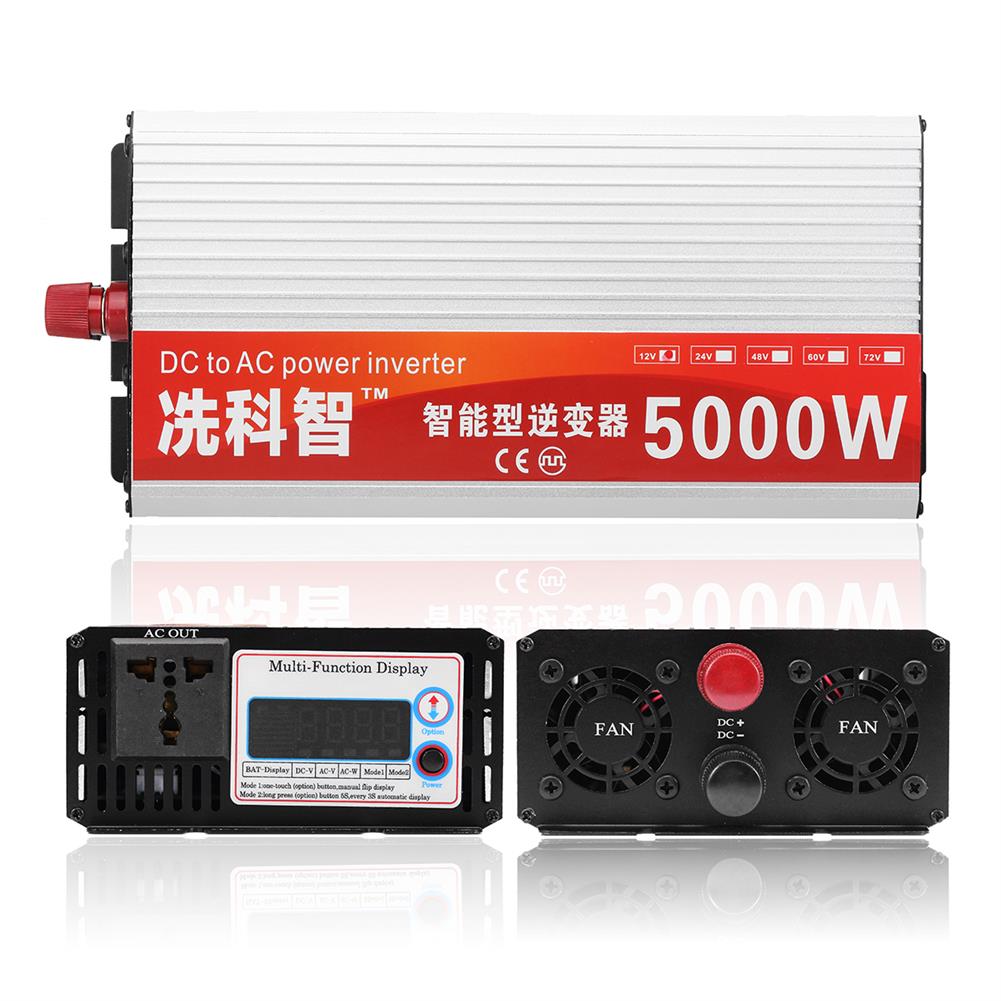 DC 12V/24V/48V To AC 220V 5000W Modified Sine Wave intelligent Power inverter Dual LCD Display Converter $317.91
 -
 15V 200mA 3W Mini Solar Panel Small Solar Cell Polysilicon Solar Module Education $18.21
 -
 10pcs 2000W Thyristor Governor Motor 220V Regulating Dimming thermostat Module External Potentiometer Voltage Adjustable $35.56
 -
 5Pcs 3S 12.6V 6A BMS Li-ion Lithium Battery Protection Board 18650 Power Bank Balance Battery Board $24.04
Reviews
There are no reviews yet.