


5pcs 12V XH-W3002 Micro Digital thermostat High Precision Temperature Control Switch Heating and Cooling Accuracy 0.1
$51.07
Shipping:Standard Shipping about 10-25 business days
Secure Payment:Paypal,VISA,MasterCard
Feature
Product Name:Microcomputer Temperature Controller
Product model:XH-W3002
Temperature range:-50~110°C
Temperature control range:-50~110°C
Temperature measurement accuracy:+-0.2 °C
Temperature control accuracy:+-0.1 °C
Temperature probe:NTC10K (B3950) 1 meter waterproof probe
Supply voltage:DC12V/DC24V/AC220V
Output power:DC12V:120W
Output type:direct output
Appearance size:60 x 45 x 31mm
Opening size:73mm (aperture 4mm)
Package includes
5 x Microcomputer Temperature Controller
Wiring
Key Description
Up key:Short press to display the starting temperature, long press to set the starting temperature.
Down button:short press to display the stop temperature, long press to set the stop temperature.
Shutdown button:Press to turn off the thermostat, and then press to turn on the thermostat.
Code:Code description:Setting range:Factory setting
P0:Starting temperature:-50~110°C:25
P1:Stop temperature:-50~110°C:40
P2:Temperature correction:-10~10°C:0°C
P3:Delayed start:0-10 minutes:0
P0. Set the startup temperature
Press the Setup button to enter the internal menu. The default display is P0. Press the Setup button again and set the desired startup temperature by pressing the up and down buttons.
P1. Set the stop temperature
Press the setup button to enter the internal menu, the display is P0, switch to P1 by the up and down keys, press the setup button again, and set the required stop temperature by the up and down buttons.
P2. Set the temperature correction
In the same way, enter the internal menu, switch to P2 by pressing the up and down buttons, press the setting button again, and set the required calibration temperature by pressing the up and down buttons. (Note:In the setting, if the detected temperature value is 0.5 °C larger than the actual temperature value, then the calibration temperature to be set is -0.5 ° C. If the detected value is 1 ° C smaller than the actual temperature value, the set calibration temperature is required. It is 1 ° C. Detection temperature + correction temperature = actual temperature.)
P3. Set the delay start
In the same way, enter the internal menu, switch to P3 by pressing the up and down buttons, press the setting button again, and set the required delay time by the up and down buttons, the unit is minute. (Note:Delay start is generally used for compressor refrigeration. If it is used in refrigerator freezer, this value needs to be set. According to compressor back pressure, the general setting is 3-6 minutes, if you are not using it for control or doesn’t need delay function, skip directly.
Instructions
Start temperature
Start temperature > stop temperature = cooling mode (output is connected to the cooling unit)
1. Connect the power supply and heating or cooling equipment according to the wiring diagram above (note the positive and negative poles)
2. Press and hold the up key to set the starting temperature. When the screen number flashes, press the up and down keys to set the starting temperature you want. After setting, wait for 5 seconds to brake the system.
3. Press and hold the key to set the stop temperature. When the screen number flashes, press the up and down keys to set the desired stop temperature. After setting, wait for 5 seconds to automatically save the data.
4. Restore the factory:Colleagues press and hold the up and down keys for 5 seconds, when the screen displays 888, the factory is restored.
5. Press the power off button to turn off the thermostat and press to turn on the thermostat.
Tips
888:In the case of power-on, press and hold the up and down keys for about 3 seconds, the digital tube displays 888, and automatically jumps to the detection temperature, that is, the factory settings are restored successfully.
LLL:Describe the sensor is open circuit, repair the sensor, or replace the sensor
HHH:The sensor is short circuit.
| Weight | 0.27 kg |
|---|
Related products
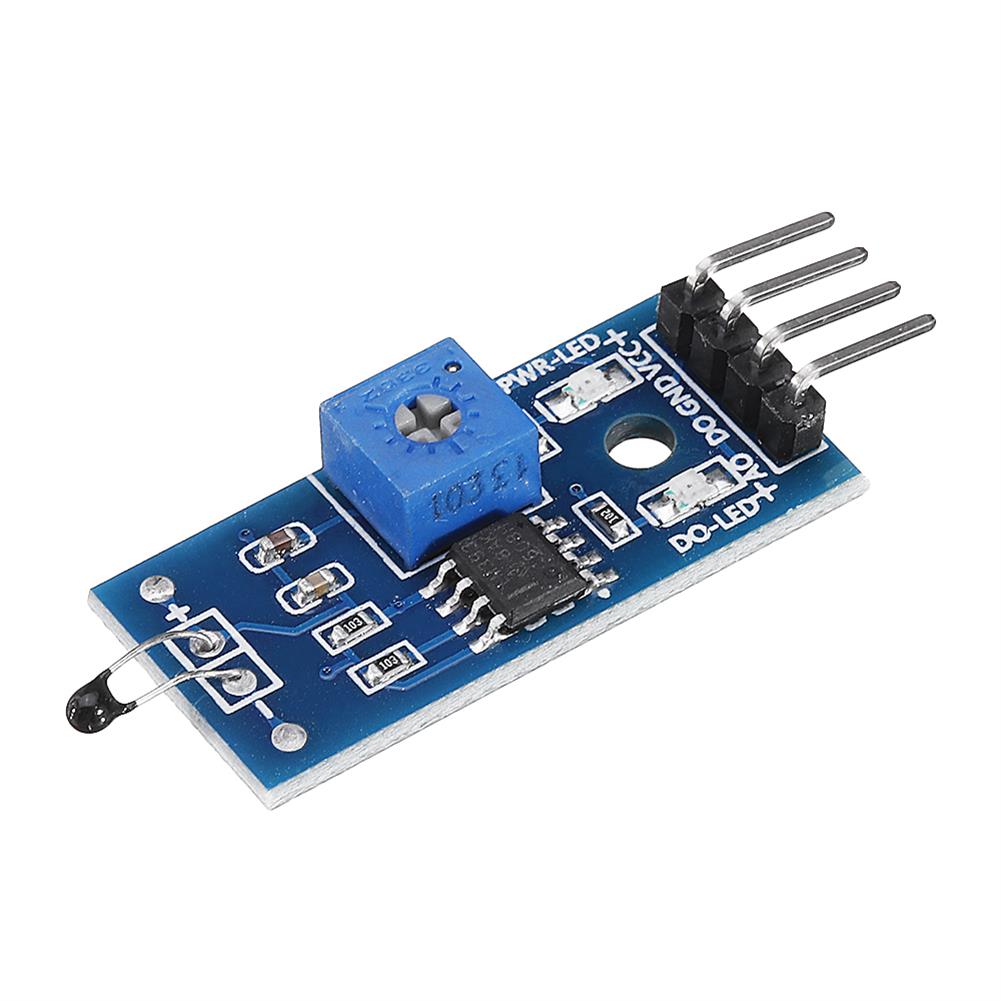
30pcs thermal Sensor Module Temperature Switch thermistor Sensor Board
$27.45Sensor & Detector ModuleAdd to cartUsesTemperature detection, temperature control sensors , ambient temperature detectionFeatures1. Using the NTC thermistor sensor, good sensitivity2. The comparator output signal is clean, good waveform, driving ability, more than 15mA.3. Adjust the temperature distribution position detection threshold4. The working voltage 3.3V-5V5. The output format:digital switching outputs ( 0 and 1 )6. Fixed bolt holes for easy …
30pcs thermal Sensor Module Temperature Switch thermistor Sensor BoardRead More
20pcs thermal Sensor Module Temperature Switch thermistor Sensor Board
$20.28Sensor & Detector ModuleAdd to cartUsesTemperature detection, temperature control sensors , ambient temperature detectionFeatures1. Using the NTC thermistor sensor, good sensitivity2. The comparator output signal is clean, good waveform, driving ability, more than 15mA.3. Adjust the temperature distribution position detection threshold4. The working voltage 3.3V-5V5. The output format:digital switching outputs ( 0 and 1 )6. Fixed bolt holes for easy …
20pcs thermal Sensor Module Temperature Switch thermistor Sensor BoardRead More
DC 5-5.5V Light Source Tracking PCB Board Solar Automatic Tracker Light Seeking Module Ray Tracing
$13.11Sensor & Detector ModuleAdd to cartSpecificationsVoltage:5-5.5V DCCurrentPrinciple:Use a covering on the photosensitive nozzle, when the light is shining on the obstruction to form a shadow, the light on one sideWhen the difference is formed with the other side, the motor is controlled to find the balance point, that is, the center of the light source.Size:35x16x12 mmLine length:15cmAperture:3mmNote1. The power supply …
Stepless Dimmable Touch Sensor Switch DC 5V 12V 24V Sensor Touch Detector Dimmer Switch for LED Strip Light
$10.92Sensor & Detector ModuleAdd to cartSpecificationsType:Touch DimmerMaterial:MetalVoltage:5-30VOutput Current:2AQuiescent CurrentWorking Temperature:-20-50Service time:>80000hOutput Mode:Sensor output, input is outputSwitch mode:Touch sensor on/off switchInstallation:Recessed installationLightweight and compact sizeApplication:LED light, LED strip, cabinet kicthen light, kinds of electric applicationsPackage Included1 x Stepless Dimmable Touch Sensor Switch DC 5V 12V 24V


Customers Also Viewed
433MHz 100M Wireless Transceiver Module Kit Transmitter + Receiver + 2pcs Copper Spring Antenna
$8.73Smart ModuleAdd to cartDescriptionSTX882 ASK Wireless Remote Control Transmitter ModuleSTX882 is a ASK transmitter module with small size, ultra high power, low harmonics. With high stability, it can be achieved at 50mW power when the voltage is 3.6V, it is the maximum transmitter power module under the the same voltage in the market. Data port of the module …
5V 3.3V FT232RL USB Module To Serial 232 Adapter Download Cable
$10.92Other Module BoardAdd to cart5V 3.3V FT232RL USB Module To Serial 232 Adapter Download Cable ForFeature1. With FT232RL chipset, support 3.3V, 5V2. With over current protection, using 500MA self-restore fuse3. RXD/TXD transceiver communication indicator4. Pin definition:DTR,RXD,TX,VCC,CTS,GNDPackage included1 x USB Module
12V/220V 2CH HIFI Audio Stereo Power Amplifier Bass bluetooth FM Radio Car Home
$74.91Solar CollectorsAdd to cartSpecificationsColo:BlackModel:G30Input voltage:AC 220V/ DC12V(in car)Plug:EU plug(sent with an adapter according to your country)bluetooth:SupportRMS power:18W x2Peak power:45W x2Load impedance:4-16ΩSNR:85 dbFM frequency:87.5-108MHzDistoration rate:0.05%Frequency:10Hz-20KHzSize:Approx. 19×12.5×4.5cm/ 7.48×4.92×1.77inchFeatures-Mini HIFI digital bluetooth audio power amplifier.-TF Card, AUX, U disk, MP3 format play, support bluetooth wireless connection.-Supports FM stereo radio.-With treble, bass, and volume control, very easy to use.-Low distortion supplies a …
12V/220V 2CH HIFI Audio Stereo Power Amplifier Bass bluetooth FM Radio Car HomeRead More
KY-011 5mm 2 Color Red and Green LED Common Cathode Module Board for Arduno Diy Starter Kit 2-color KY011
$4.36LED BoardAdd to cartSpecificationsColor:Green + RedDiameter:5mmPackage Type:DiffusionVoltage:2.0-2.5vCurrent:10mAViewing angle:150 degreeWavelength:571 +644 nmLuminous intensity (MCD):20-40; 40-80Stent type:long-leggedPackage Included1 x KY-011 Two Color Red and Green LED Module for Arduno
1000Pcs 5 Colors 3mm F3 Ultra Bright Round LED Diode Kit
$19.67Electronic Accessories & SuppliesAdd to cart1000Pcs 5 Colors 3mm F3 Ultra Bright Round LED Diode Kit Red / Green / Blue / White / YellowParameterWorking current:20 (mA)Working voltage:Red:1.9V-2.1V Yellow:1.9V-2.1V Blue:3.0V-3.2V Green:3.0V-3.2V White:3.0V-3.2VMCD:Red:1000-1500 Yellow:700-900 Blue:2000-3000 Green:7000-9000 White:6000-8000Wave length:Red:620-625 Yellow:588-590 Blue:455-465 Green:567-570 White:Color temperature 8000Each colors 200Pcs, total 1000PcsPackage included2 x 500Pcs 5 Colors LED Diode kit
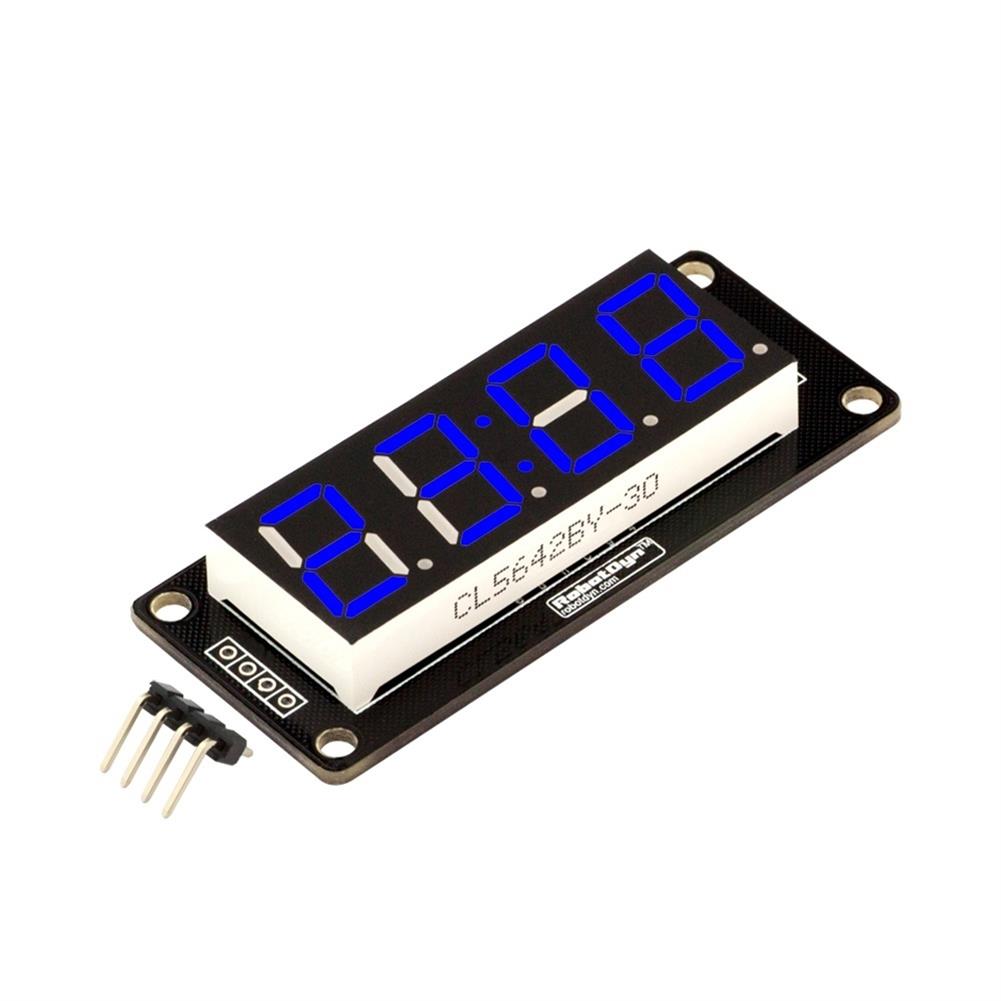
4 Digit LED Display Tube 7 Segments TM1637 50x19mm Blue Clock Display Colon Module
$13.11Display ScreenAdd to cartFeatureThis is a basic 4-digit 7-segment display module.The display features double points in midle. The decimal point per digit not active.Module connecting to digital I/O on 2 pins.For Arduino use library:TM1637.hPackage includes1 x LED Display TubeSketch include inchTM1637.hinch // include the TM1637 libraryTM1637 display(2, 3);// // initialize the library for pins 2, 3void setup()void loop()
DIY LED Light String Kit Part for Lego 10267 House Model Building Gingerbread Flash
$69.97DIY Electronic KitsAdd to cartSpecification1. Name:LED Light Set2. Model:D858093. Material:Plastic4. Power:Less Than 5V5. Fitment:For Lego 10267Note1. LED Light Set Only. Toy is not included.2. Manual installtion. It needs to be assembled by yourself.Package Included10 x 15cm Bit Light(Warm White)1 x 15cm Enhance Bit Light(Warm White)4 x 30cm Flashing Bit Light(Red)4 x 30cm Flashing Bit Light(White)1 x Multi Colour Light …
DIY LED Light String Kit Part for Lego 10267 House Model Building Gingerbread FlashRead More


Recently Viewed Products
-
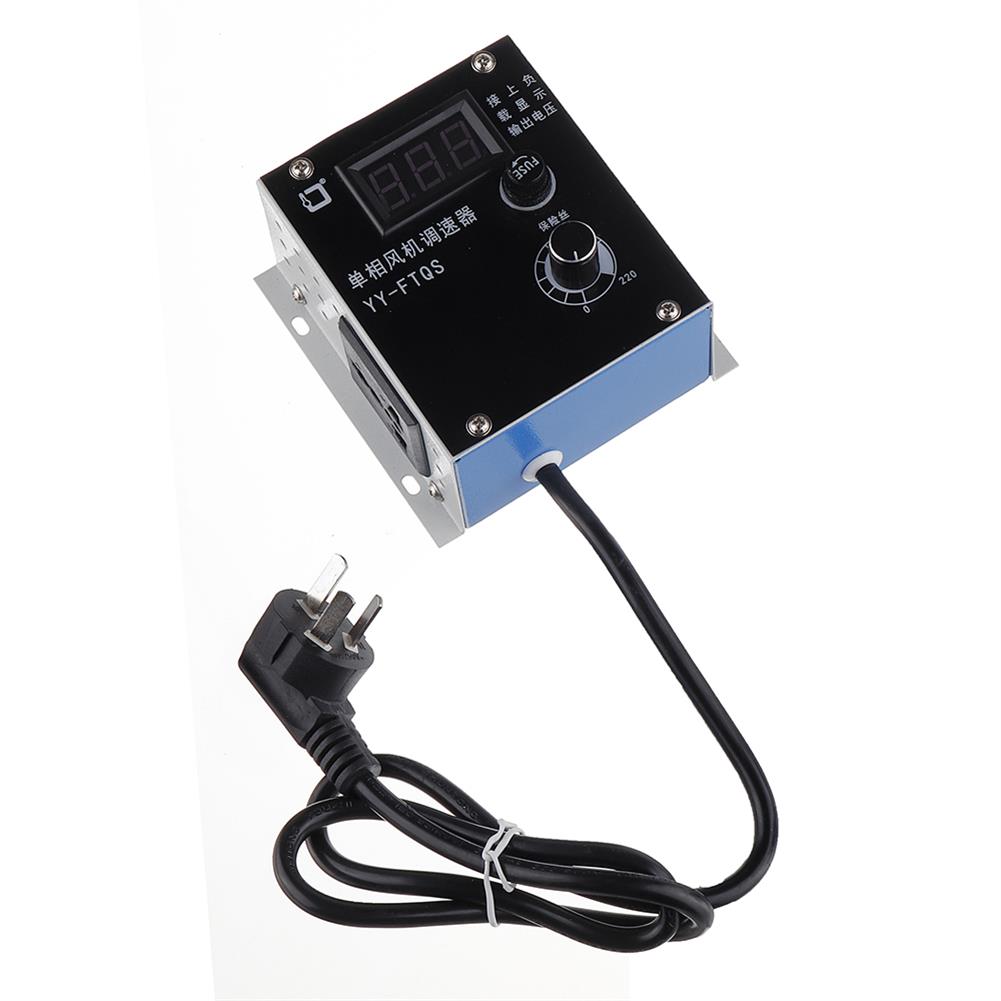 AC Motor Speed Controller 3000W AC 220V Motor Speed Stepless Regulator Controller Temperature Adjustment and Dimming $48.10
 -
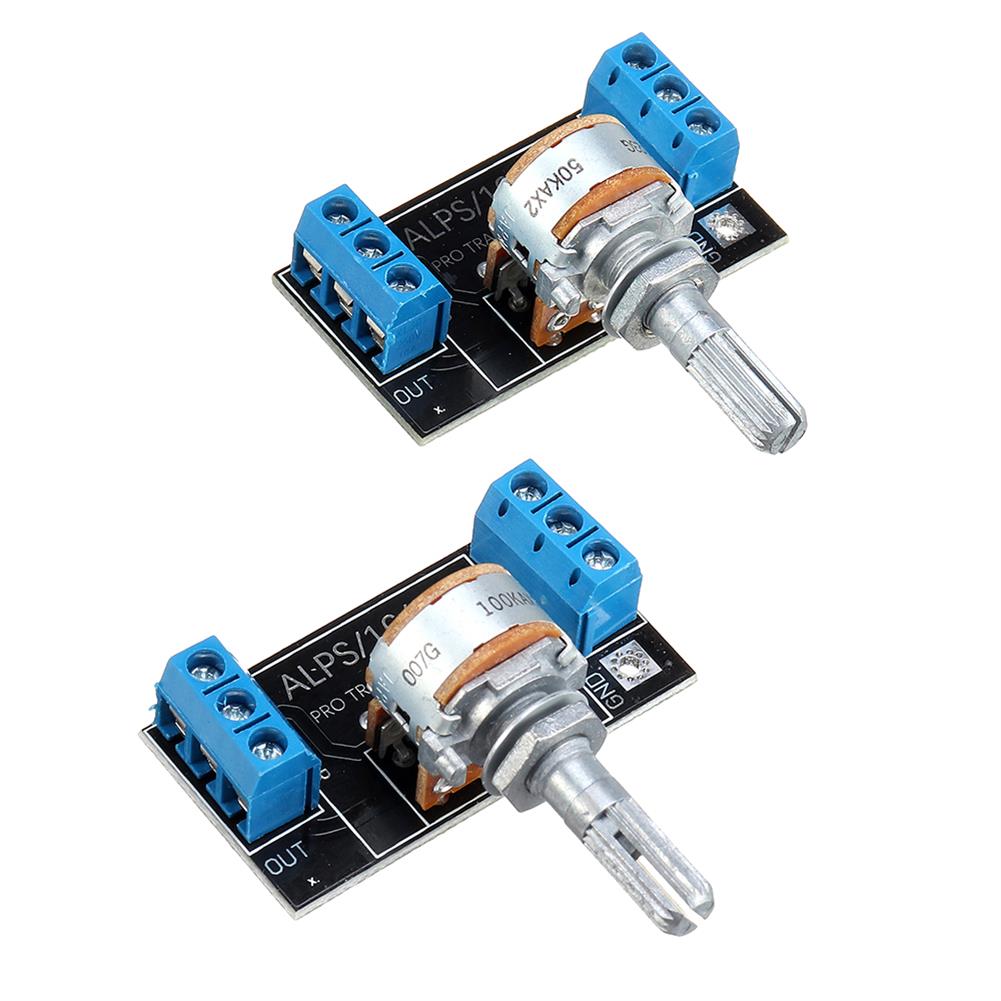 50K/100K ALPS Potentiometer RK16 Double 6-Pin Volume Potentiometer PCB Board $10.81
 -
 5Pcs DIY bluetooth 5.0 Audio Receiver Module MP3 bluetooth Decoder Board Car Speaker Audio Amplifier Board $21.86
 -
 0.15-400MHz Antenna Isolator Antenna DC Isolator DIY Parts $16.47
 -
 200V 4000Rpm Electric Centrifuge Laboratory Medical Practice Lab Centrifuge Electrical Equipment $248.78
 -
 12W 5.5V Tri-fold Foldable Waterproof Monocrystalline Silicon Solar Panel with 2Pcs Carabiner + USB Port $91.31
 -
 10pcs IR LED infrared Light Board for CCTV Camera Night Vision 30-40M 6*Array LED White 2.5W DC12V $26.76
 -
 Black Waterproof Portable Compact Collection Box Storage Travel Carry Bag Case for Gopro Hero 5 4 3+ $29.84
 -
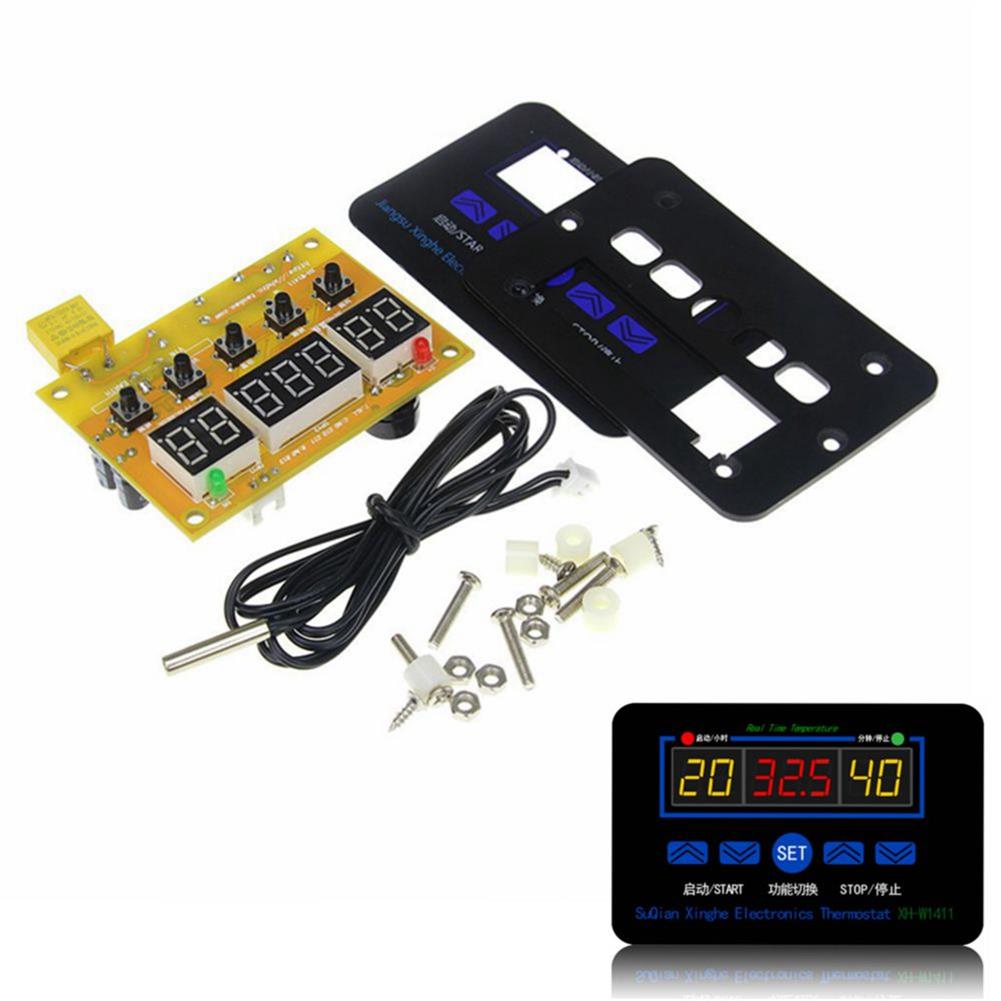 XH-W1411 12V 10A Smart Electronics LED Digital thermometer Temperature Controller Switch Module $16.02
 -
 HAWEEL 20W Waterproof Solar Charging Panel Solar Panel with Tiger Clip Support Fast Charging Connected in Series $126.39
Reviews
There are no reviews yet.