


3pcs XH-W1321 0.1 Digital thermostat Mini Embedded Red Digital Display Switch Temperature Controller with Waterproof NTC Sensor Meter
$30.89
Shipping:Standard Shipping about 10-25 business days
Secure Payment:Paypal,VISA,MasterCard
Specifications
Product Name:Miniature embedded digital display thermostat
Product Model:XH-1321
Material:ABS
Case Color:White
LED Color:Red
Input Voltage:DC12V
Temperature Measurement Range:-50-110→
Temperature Control Range:-50-110→
Control Accuracy:0.1→
Display Accuracy:0.1→
Measuring Input:NTC10K Waterproof Probe L=1 Meter
Output Type:Relay Output(Output Switch)
Output Capacity:10A
Size (Length x Width x Height):about 56 x 38 x 32mm (2.17 x 1.50 x 1.26 Inch )
Opening hole size:46 x 34mm
Key Function
SET:Press once during normal use, directly enter the stop temperature setting state, use the up and down keys to set the required stop temperature, long press to enter the internal setting menu.
UP:After long press the setting button to enter the internal setting, increase the value setting by the up button.
DOWN:After long press the setting button to enter the internal setting, use the up button to decrease the value setting.
Code:Description:Setting range (method):Factory settings
P0:Operating mode:H/C:C
P1:Backlash setting:0.1-50:2
P2:Temperature correction:-9.9~+9.9°C:0
P3:Delayed start:0-9:0
Detailed Code Descriptions
P0:Working mode:This value must be set when the thermostat is used for the first time. If it is used for heating heating, set to H, if it is used for cooling cooling, set to C.
P1:Hypothesis setting:Press and hold the setting button for 3 seconds to enter the internal menu, select P1, and press the setting button again to enter the hysteresis value setting state. The hysteresis is the difference required when the thermostat reaches the set temperature and stops working again. For example, it is set to the heating mode. When it is heated to 40 degrees, it stops at 35 degrees and starts to return. The difference is 5
P2:Temperature correction:Press and hold the setting button for 3 seconds to enter the internal menu. Press the up and down keys to select P2, press the setting button again, and set the required calibration temperature by the up and down keys. In the setting, if the detected temperature value is 0.5 °C larger than the actual temperature value, the calibration temperature to be set is -0.5 °C. If the detected temperature value is 1 °C smaller than the actual temperature value, the calibration temperature to be set is 1 °C, and the detection temperature +-calibration temperature = actual temperature.
P3:Delay start:Press and hold the setting button for 3 seconds to enter the internal menu, select P3 by the up and down keys, press the setting button again, and set the required delay time (minutes) by the up and down keys. The delay start is generally used for compressor refrigeration. If it is used in the refrigerator freezer, this value needs to be set. According to the compressor back pressure, the set value is usually 3-6 minutes, if it is not used to control the compressor or no delay. Function, skip this item directly.
Instructions
Set the difference back:Why set the backlash setting When you control the device, the temperature will rise or fall back. How many degrees does the temperature change If you want the temperature to change by 10°, the device needs to set the difference back to 10. By setting the difference back, the device can cycle through the temperature range.
Set the stop temperature:press the set button once in the normal display state to stop the temperature value flashing. You can set the desired stop temperature value by using the up and down keys.
How to set factory settings are restored:Press and hold the up and down keys while the power is on, the digital tube display 888 will then automatically jump to the detection temperature.
Heating mode setting method
Setup steps
The first step is to set P0=H
The second step sets the stop temperature
The third step sets the hysteresis value
Setting method
1. Press and hold the setting button to enter the internal menu and set P0 to H.
2. Press the setting button to stop the temperature flashing, and the up and down keys to set the temperature.
3. Press and hold the setting button to enter the internal menu and set the P1 hysteresis setting.
Use Cases
Control the water heater, heat it to 65 ° C to stop, the temperature drops back to 50 ° C and start heating again, how to set
Step 1:Determine the working mode as heating mode and set P0 to H
Step 2:Press the setting button to stop the temperature flashing. Set the starting temperature to 50 °C with the up and down keys.
The third step:stop at 65 °C, start again at 50 °C, so the return difference needs to be set to 65-50=15, enter the internal menu and set P1 to 15, the heating case is set!
Cooling mode setting mode
Setup steps
The first step is to set P0=C
The second step sets the stop temperature
The third step sets the hysteresis value
Setting method
Press and hold the setting button to enter the internal menu and set P0 to C.
Press the setting button to stop the temperature flashing, and the up and down keys to set the temperature.
Long press the setting button to enter the internal menu, set the P1 backlash setting
Use Cases
Control the farm, ventilate to 26 ° C to stop, the temperature rises to 28 ° C to start the refrigeration again, how to set up
The first step:determine the working mode is cooling mode, set P0 to C
Step 2:Press the SET button to stop the temperature flashing. Set the stop temperature to 28 °C with the up and down keys.
The third step:stop at 26 ° C, start again at 28 ° C, so the return difference needs to be set to 28-26 = 2, enter the internal menu to set P1 to 2, the cooling case is set!
Package includes
3 x Miniature embedded digital display thermostat
| Weight | 0.138 kg |
|---|
Related products
Stepless Dimmable Touch Sensor Switch DC 5V 12V 24V Sensor Touch Detector Dimmer Switch for LED Strip Light
$10.92Sensor & Detector ModuleAdd to cartSpecificationsType:Touch DimmerMaterial:MetalVoltage:5-30VOutput Current:2AQuiescent CurrentWorking Temperature:-20-50Service time:>80000hOutput Mode:Sensor output, input is outputSwitch mode:Touch sensor on/off switchInstallation:Recessed installationLightweight and compact sizeApplication:LED light, LED strip, cabinet kicthen light, kinds of electric applicationsPackage Included1 x Stepless Dimmable Touch Sensor Switch DC 5V 12V 24V
4 Digital LED Tachometer RPM Speed Meter + Proximity Switch Sensor NPN
$26.23Sensor & Detector ModuleAdd to cartSpecificationsWorking power supply:DC8-24v 40 mAMeasure range:5-9999 RPMDisplay:Blue LED 67*32mmSign:Pusle signal, Hall NPN 3 wires normally openHall proximity model:NJK-5002CAppearance:M12mm cylinderDetection range:10mmDetected objects:MagnetResponse frequency:100HZOperating temperature:0 to 50°CPackage included1 x Proximity switch1 x Tachometer
Waterproof Ultrasonic Sensor Module integrated Ranging Sensor Reversing Radar Measuring Distance
$24.04Sensor & Detector ModuleAdd to cartThis module is easy to use. A control port sends a high level above 10US, so you can wait for the high level output at the receiving port. You can turn on the timer when there is an output. When this port goes low, you can read it. The value of the timer, at this …
5pcs 6mA 3-100CM Adjustable infrared Digital Obstacle Avoidance Sensor Module
$36.94Sensor & Detector ModuleAdd to cartSpecificationsWorking voltage:DC 3.8V-5.5VWorking current (5V):typical current 6mAInput and output signals (3 lines):GND, VCC is power, and VCC is 3.8V-5.5VObstacle detection time (range from obstacle-free to obstacle-free or obstacle-free to obstacle-free)Working Principle:Sensors actively emit infrared light, according to reflected light detection, if detected obstacles, OUT foot output 0, otherwise 1.Detection distance (test environment, indoor, maximum power, …
5pcs 6mA 3-100CM Adjustable infrared Digital Obstacle Avoidance Sensor ModuleRead More


Customers Also Viewed
AMS1117-5.0V 5V DC-DC Step Down Power Supply Module Power Buck Board LDO 800MA
$2.94Power Supply ModuleAdd to cartFeature1. Input:DC 6V – 12V ( input voltage must be higher than the output voltage to 1V or more. )2. Output:5.0V (+-0.05v error ), 800mA ( load current must not exceed 800ma)3. Three pairs of panel design, layout nice ;4. Specially designed two pin mounting holes, can be directly fixed on hole board for extended …
AMS1117-5.0V 5V DC-DC Step Down Power Supply Module Power Buck Board LDO 800MARead More
10A 300W High Power DC-DC Step Down Power Module 24V 19V 12V 5V Adjustable Buck Board Converter
$39.35Power Supply ModuleAdd to cartSpecification1. Input voltage:DC 3.5~30V2. Output voltage:DC 0.8~29V3. Output current:10A (MAX)4. Conversion efficiency:92%5. Blue digital display, the static current is 2-8mA (depends on the tube status)6. Onboard voltmeter:It can display the input voltage and output voltage, pressing the button of bottom short press digital tube to switch. The IN LED light shows the input voltages, while …
60pcs 2W 22KR Metal Film Resistor Resistance 1% 22K ohm Resistor
$7.41Electronic Accessories & SuppliesAdd to cartSize ConversionInchesCentimetersPlease according to your own measurements to choose your suitable size. The tags inside the items will show in our Asian (Type) size.DescriptionFive-color ringResistance:22k OhmAccuracy:+/- 1%Power:2WPackage included60 x 2W 22k Ohm Resistor
5pcs Hall Magnetic induction Sensor Magnetic Detection Magnetic Pole Resolver North and South Pole Detection Module DIY Kit
$16.88DIY Electronic KitsAdd to cartProduct parametersSize:33mm x 22mmOperating voltage:4.5V to 24V DCModule function:South and North poles distinguish, the South Pole is close to the bright blue light, and the North Pole is close to the bright red light.Maximum output load current:25MAOperating temperature range:-40 to 80 degrees Celsius.Detection distance:visually within 7MM, strong magnetic can reach 1.5CM.Interface definitionVCC:Positive power supplyGND:Negative power …
10pcs EQKIT OTL-1 Power Amplifier Circuit DIY Kit High Sensitivity OTL Discrete Component Amplifier Kit
$34.47DIY Electronic KitsAdd to cartDescriptionThis is a kit parts. You should solder it by yourself.This circuit belongs to the OTL circuit teaching model, its maximum power is only 1W, driven by two complementary transistors S8550 and S8050.It can be used for exercise welding techniques, understanding the triode complementary OTL output type and how to adjust the static operating point, …
YEABRICKS DIY LED Lighting Light Kit for Lego 10254 Christmas Holiday Car Building Blocks Lighting Accessories
$42.40DIY Electronic KitsAdd to cartSpecificationPlastic material:ABSPower supply:USBBlock net weight:0.07KGColor:As the picture shownThe product is just a light kit, not included the model!!!FitmentONLY For Lego 10254 Christmas Holiday Car Building Blocks Lighting AccessoriesPackage Included1 x LED Light Kit (Model Not Included)
LILYGO TTGO T5 V1.0 Wifi bluetooth Wireless Module Base ESP-32 ESP32 1.54 inch RBW Display
$45.91Display ScreenAdd to cartOverviewThis is an E-paper display module, resolution with embedded controller, communicating via SPI interface, supports more color display.Due to the advantages like ultra low power consumption, wide viewing angle, clear display without electricity, it is an ideal choice for applications such as shelf label, industrial instrument, and so on.Features· No backlight, keeps displaying last content …
LILYGO TTGO T5 V1.0 Wifi bluetooth Wireless Module Base ESP-32 ESP32 1.54 inch RBW DisplayRead More


Recently Viewed Products
-
 5pcs YDA138 bluetooth Digital Amplifier Board 3.5mm Audio Class D Stereo 2 Channel Power $68.23
 -
 7pcs Polyhedral Dices TRPG Game Dungeons And Dragons Dices with Storage Bag $12.74
 -
 20pcs D222 Speaker Frequency Drvider Crossover Filters with Junction Box $112.06
 -
 5MP infrared IR Night Vision CMOS Camera Module for Raspberry Pi $52.64
 -
 Geekcreit XH-M229 Desktop Computer Chassis Power Supply Module ATX Transfer Board Power Output Terminal Module $16.07
 -
 5Pcs Mini DC-DC 9V/12V/19V To 3.3V 3A Buck Car Charging Step Down Power Supply Module $16.35
 -
 M5Stack ESP32 Open Source Faces Pocket Computer with Keyboard/Gameboy/Calculator Development Board $177.66
 -
 10Pcs 50v 1000uf 1000mf Electrolytic Capacitor 1000UF 50V 13x25mm $10.92
 -
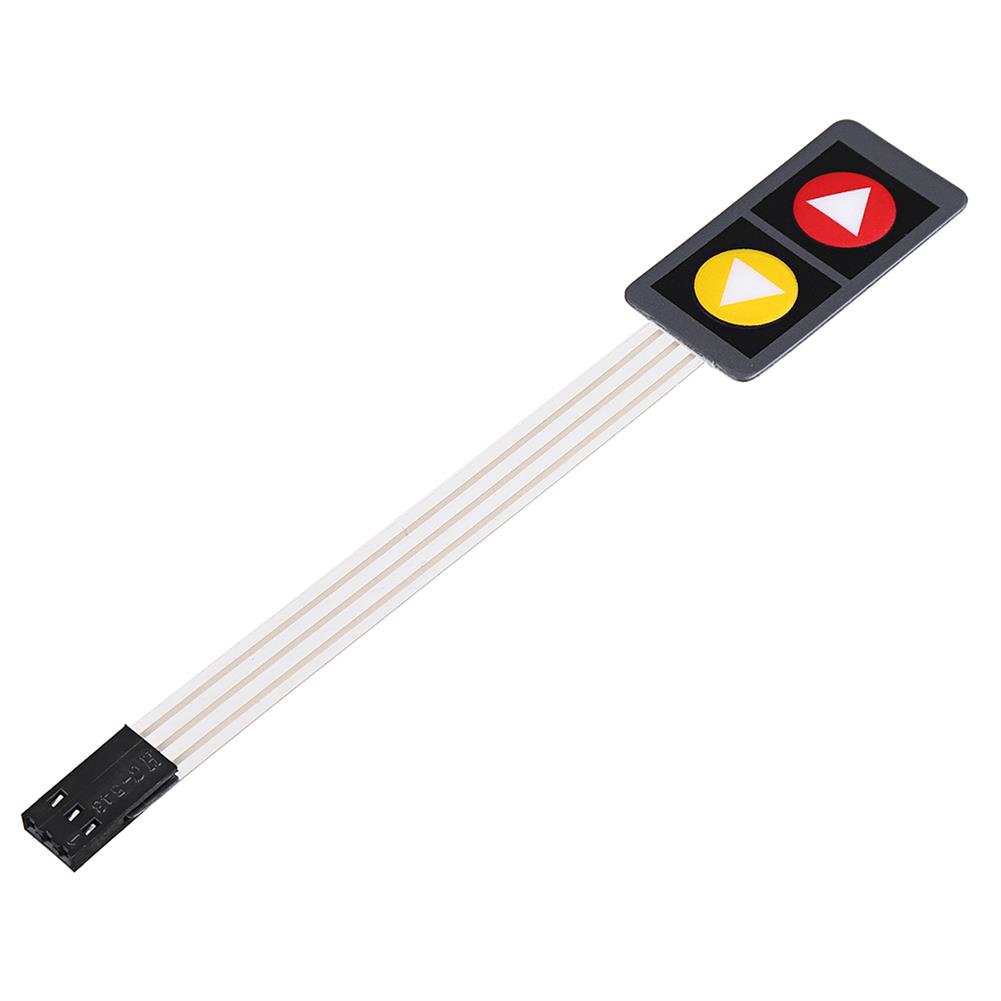 10Pcs 2 Key Press Film Switch Module with Symbol Single Chip Microcomputer Extended Keyboard Electronic Switch Module $16.75
 -
 5pcs R411B01 3.3V Auto RS485 to TTL RS232 Transceiver Converter SP3485 Module for Raspberry pi Breadboard Banana pi ESP8266 $18.63
Reviews
There are no reviews yet.