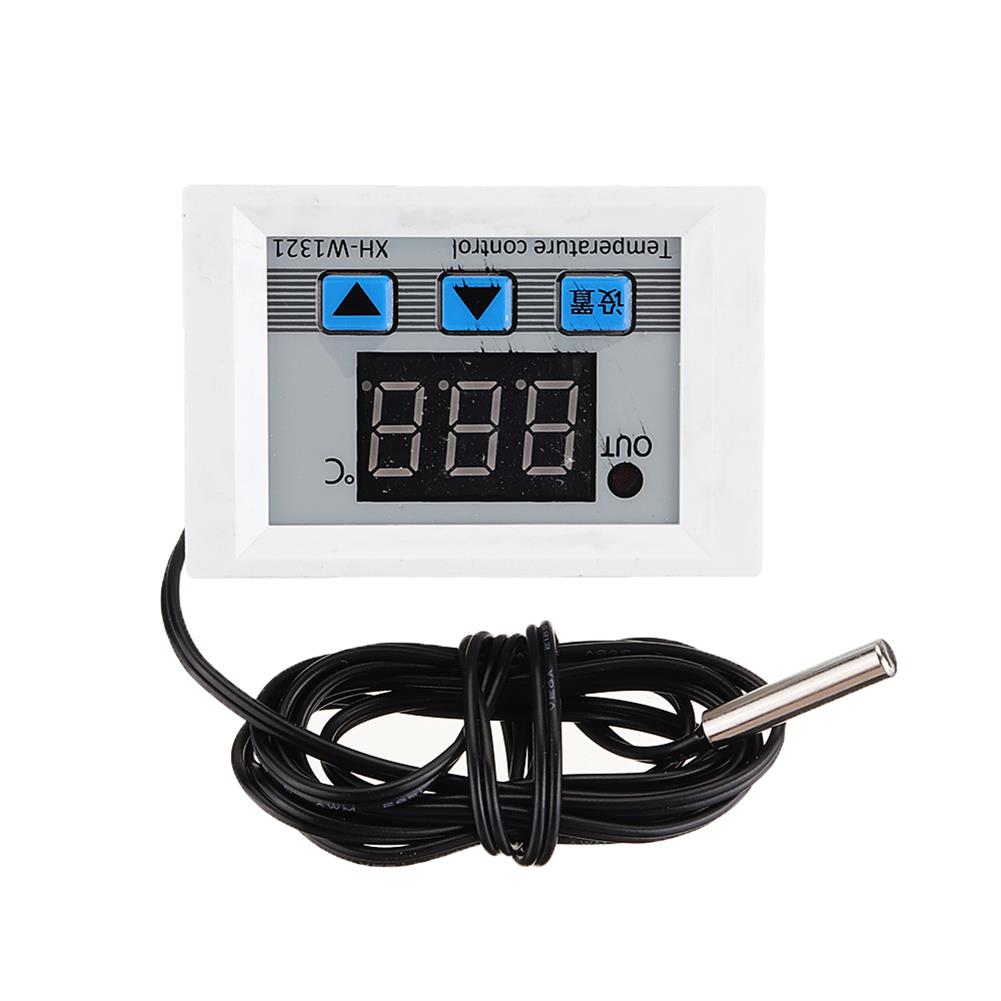
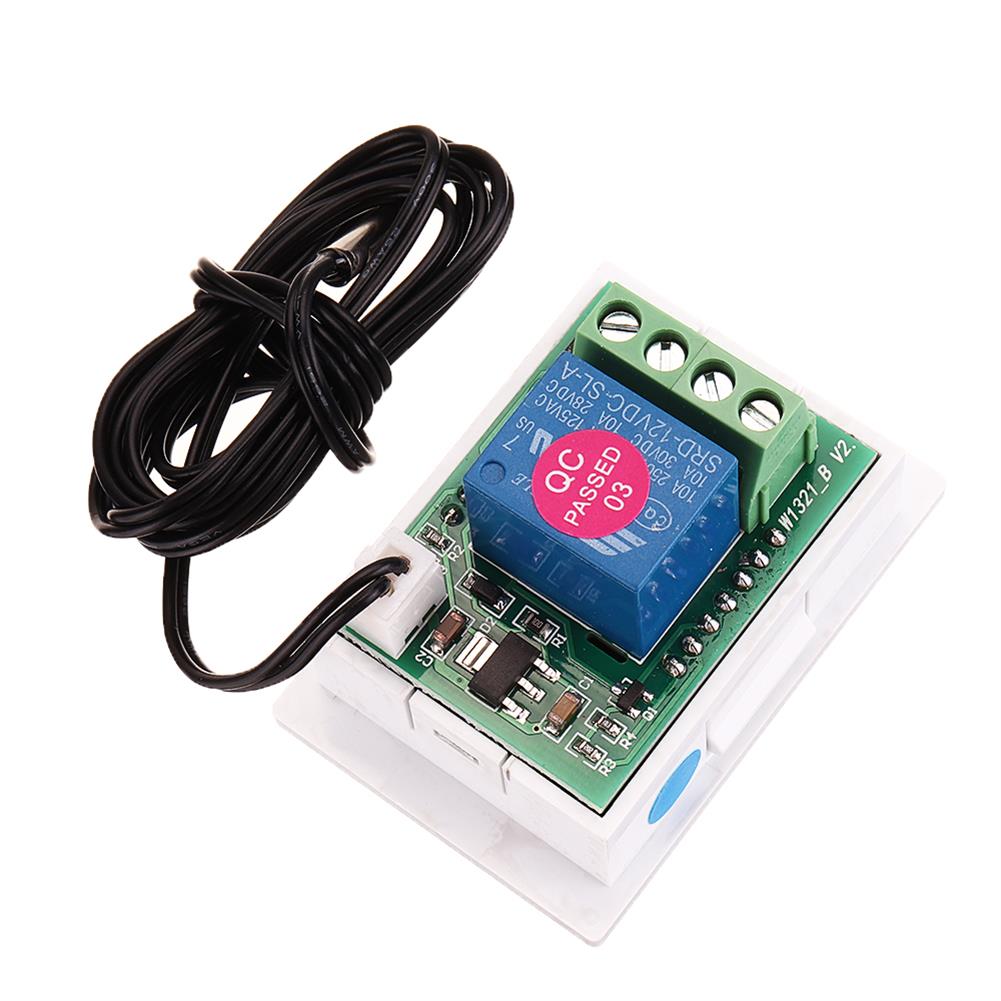
5pcs XH-W1321 0.1 Digital thermostat Mini Embedded Blue Digital Display Switch Temperature Controller with Waterproof NTC Sensor Meter
$48.34
Shipping:Standard Shipping about 10-25 business days
Secure Payment:Paypal,VISA,MasterCard
Specifications
Product Name:Miniature embedded digital display thermostat
Product Model:XH-1321
Material:ABS
Case Color:White
LED Color:Blue
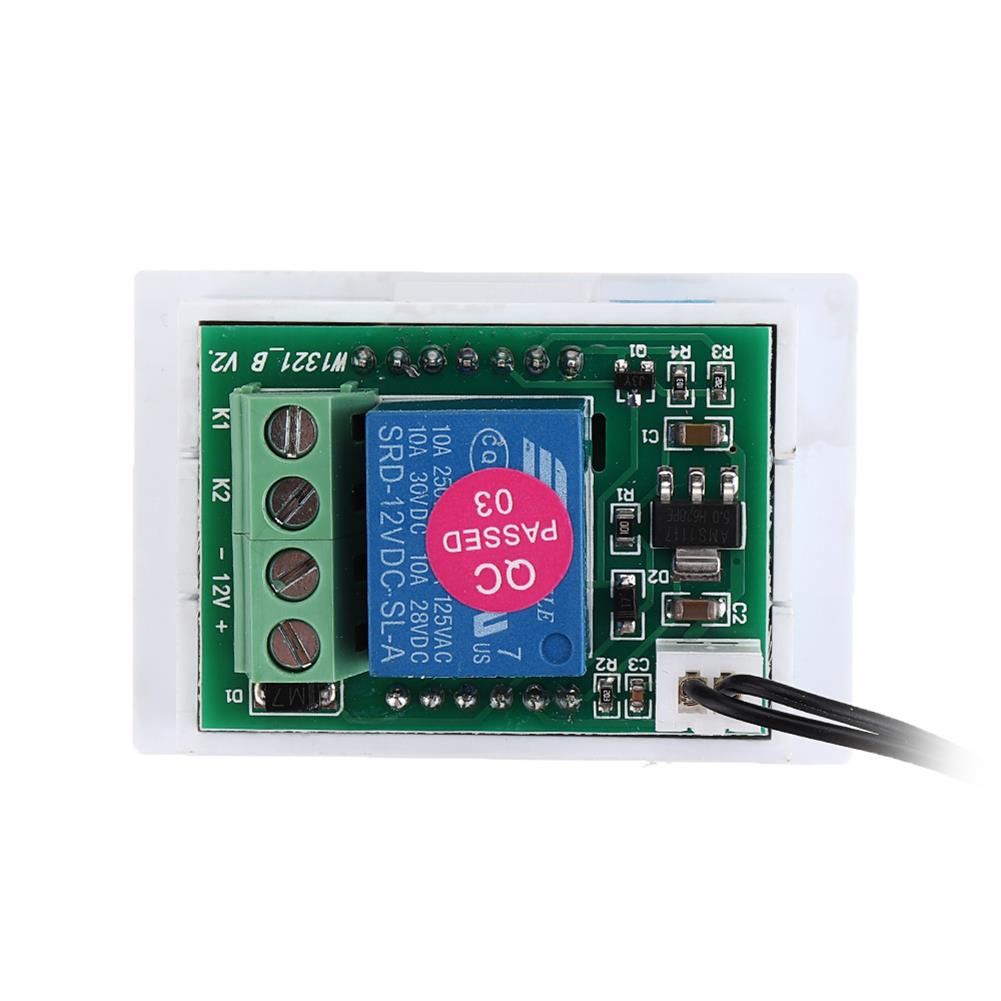
Input Voltage:DC12V
Temperature Measurement Range:-50-110→
Temperature Control Range:-50-110→
Control Accuracy:0.1→
Display Accuracy:0.1→
Measuring Input:NTC10K Waterproof Probe L=1 Meter
Output Type:Relay Output(Output Switch)
Output Capacity:10A
Size (Length x Width x Height):about 56 x 38 x 32mm (2.17 x 1.50 x 1.26 Inch )
Opening hole size:46 x 34mm
Key Function
SET:Press once during normal use, directly enter the stop temperature setting state, use the up and down keys to set the required stop temperature, long press to enter the internal setting menu.
UP:After long press the setting button to enter the internal setting, increase the value setting by the up button.
DOWN:After long press the setting button to enter the internal setting, use the up button to decrease the value setting.
Code:Description:Setting range (method):Factory settings
P0:Operating mode:H/C:C
P1:Backlash setting:0.1-50:2
P2:Temperature correction:-9.9~+9.9°C:0
P3:Delayed start:0-9:0
Detailed Code Descriptions
P0:Working mode:This value must be set when the thermostat is used for the first time. If it is used for heating heating, set to H, if it is used for cooling cooling, set to C.
P1:Hypothesis setting:Press and hold the setting button for 3 seconds to enter the internal menu, select P1, and press the setting button again to enter the hysteresis value setting state. The hysteresis is the difference required when the thermostat reaches the set temperature and stops working again. For example, it is set to the heating mode. When it is heated to 40 degrees, it stops at 35 degrees and starts to return. The difference is 5
P2:Temperature correction:Press and hold the setting button for 3 seconds to enter the internal menu. Press the up and down keys to select P2, press the setting button again, and set the required calibration temperature by the up and down keys. In the setting, if the detected temperature value is 0.5 °C larger than the actual temperature value, the calibration temperature to be set is -0.5 °C. If the detected temperature value is 1 °C smaller than the actual temperature value, the calibration temperature to be set is 1 °C, and the detection temperature +-calibration temperature = actual temperature.
P3:Delay start:Press and hold the setting button for 3 seconds to enter the internal menu, select P3 by the up and down keys, press the setting button again, and set the required delay time (minutes) by the up and down keys. The delay start is generally used for compressor refrigeration. If it is used in the refrigerator freezer, this value needs to be set. According to the compressor back pressure, the set value is usually 3-6 minutes, if it is not used to control the compressor or no delay. Function, skip this item directly.
Instructions
Set the difference back:Why set the backlash setting When you control the device, the temperature will rise or fall back. How many degrees does the temperature change If you want the temperature to change by 10°, the device needs to set the difference back to 10. By setting the difference back, the device can cycle through the temperature range.
Set the stop temperature:press the set button once in the normal display state to stop the temperature value flashing. You can set the desired stop temperature value by using the up and down keys.
How to set factory settings are restored:Press and hold the up and down keys while the power is on, the digital tube display 888 will then automatically jump to the detection temperature.
Heating mode setting method
Setup steps
The first step is to set P0=H
The second step sets the stop temperature
The third step sets the hysteresis value
Setting method
1. Press and hold the setting button to enter the internal menu and set P0 to H.
2. Press the setting button to stop the temperature flashing, and the up and down keys to set the temperature.
3. Press and hold the setting button to enter the internal menu and set the P1 hysteresis setting.
Use Cases
Control the water heater, heat it to 65 ° C to stop, the temperature drops back to 50 ° C and start heating again, how to set
Step 1:Determine the working mode as heating mode and set P0 to H
Step 2:Press the setting button to stop the temperature flashing. Set the starting temperature to 50 °C with the up and down keys.
The third step:stop at 65 °C, start again at 50 °C, so the return difference needs to be set to 65-50=15, enter the internal menu and set P1 to 15, the heating case is set!
Cooling mode setting mode
Setup steps
The first step is to set P0=C
The second step sets the stop temperature
The third step sets the hysteresis value
Setting method
Press and hold the setting button to enter the internal menu and set P0 to C.
Press the setting button to stop the temperature flashing, and the up and down keys to set the temperature.
Long press the setting button to enter the internal menu, set the P1 backlash setting
Use Cases
Control the farm, ventilate to 26 ° C to stop, the temperature rises to 28 ° C to start the refrigeration again, how to set up
The first step:determine the working mode is cooling mode, set P0 to C
Step 2:Press the SET button to stop the temperature flashing. Set the stop temperature to 28 °C with the up and down keys.
The third step:stop at 26 ° C, start again at 28 ° C, so the return difference needs to be set to 28-26 = 2, enter the internal menu to set P1 to 2, the cooling case is set!
Package includes
5 x Miniature embedded digital display thermostat
| Weight | 0.22 kg |
|---|
Customers Also Viewed
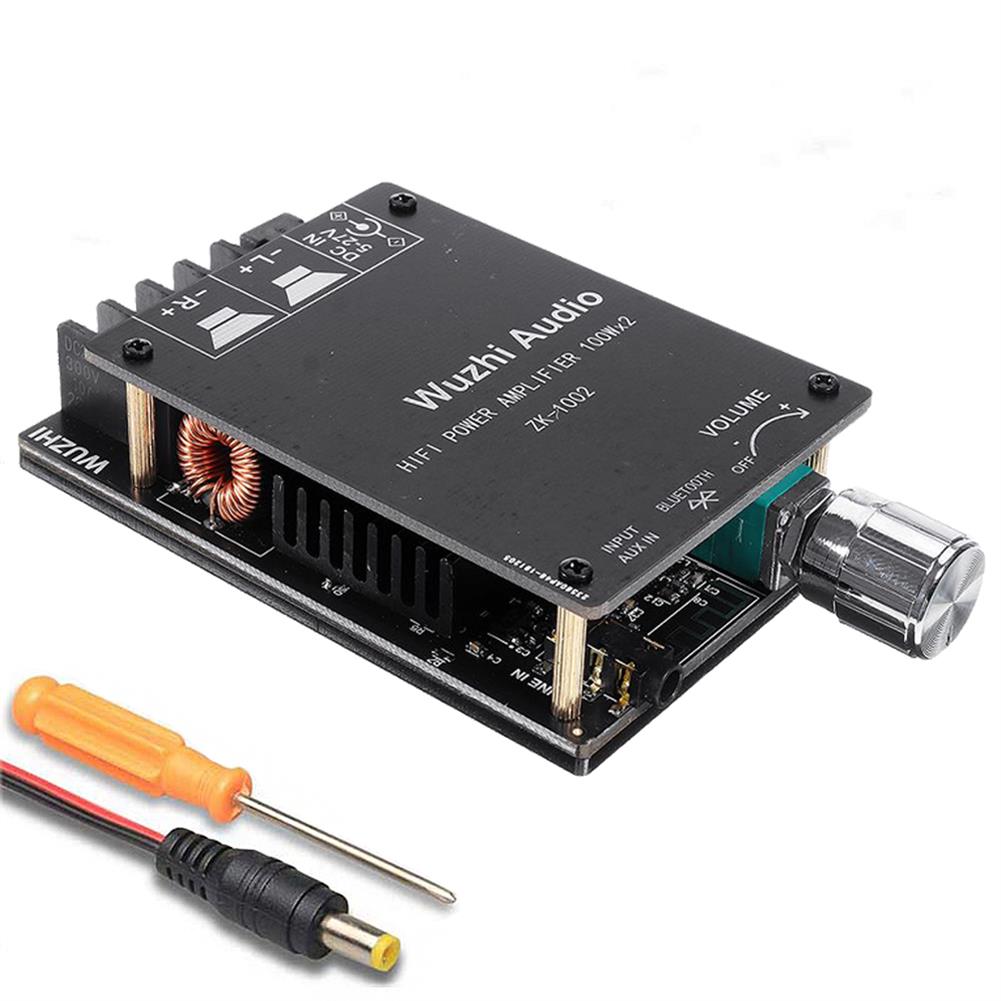
1002 HIFI 2x100W TPA3116 AUX+ bluetooth 5.0 HIFI High Power Digital Amplifier Stereo Board AMP Amplificador Home theater
$34.98Amplifier BoardAdd to cartThis is 1002 HIFI ,If you need other parameters, please click ID to buy.502C HIFI ID:1582750502L MINI ID:16526301002L MINI ID:1652631SpecificationsFeatures– This product is full of materials, featuring high performance and high performance price, especially for HIFI music power amplifier with high power and high fidelity.– TPA3116D2 is a type D amplifier IC launched by TI …
3Pcs Waveshare FT232 Module USB to Serial USB to TTL FT232RL Communication Module Mini Port Flashing Board
$39.35Converter BoardAdd to cartFeaturesUse original FT232RLSupport Linux, Android, WinCE, Windows 7/8/8.1/10…Support 3 power supply modes:5V external power supply; 3.3V external power supply; external power supply (requires 3.3V-5V)With 3 LEDs:TXD LED, RXD LED, POWER LEDTXD, RXD, RTS , CTS:lead out with curved pinOther functions PIN:reserved pad (distribution pin, row seat, can be plugged into or plugged into the user …
40 Pin 2.54mm Male Female SIL Socket Row Strip PCB Connector
$4.58Electronic Accessories & SuppliesAdd to cartDescriptionPitch:2.54mm Gender of Connector:Male & FemaleNumber of Pins:40 PinType of Row:Single-RowType of connector:StraightColor:BlackPackage include1 x 40Pin Single Row Straight Male1 x 40Pin Single Row Straight Female
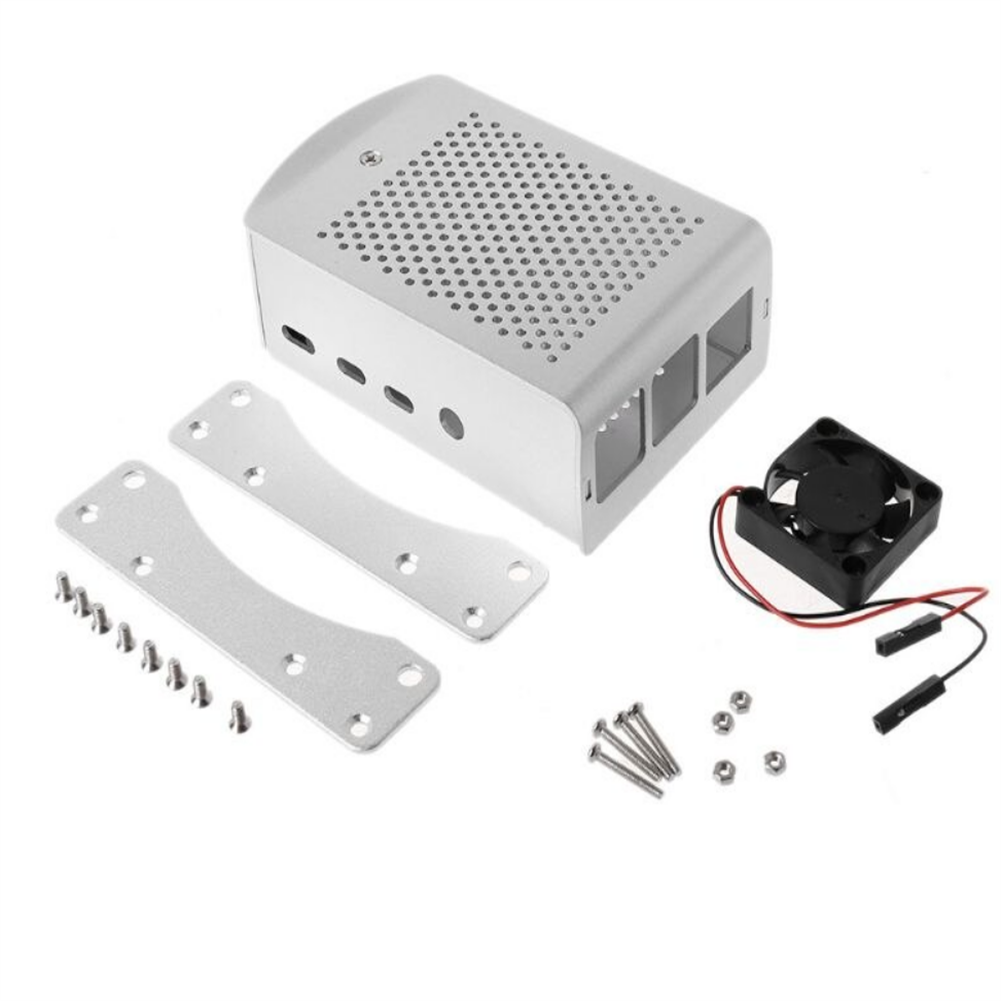
5 Pcs Sliver Aluminum Alloy Case with Cooling Fan Protective Shell Metal Enclosure fit for Raspberry Pi 4 Model B
$93.66Raspberry Pi & Orange PiAdd to cartThe Raspberry Pi is not included, you could get it here:Raspberry Pi 4 Model BDescriptionThis is a Protective case designed specifically for Raspberry Pi 4 Model BThe product is made of aluminum and it is very strong,high hardness, pressure resistance, strong metallic luster, not easy to rust,it can perfectly protect your motherboard Aluminum alloy material …
Wooden Stereo Puzzle Building Blocks Kids Early Educational Learning Toys Gifts
$26.31MathematicsAdd to cartSpecificationsName:Wooden Puzzle Building Blocks ToysModel:E27991Materials:WoodenSuitable Age:Three years old and aboveProduct Category:stereo puzzleFeatures-Enrich your baby’s imagination and creativity, and cultivate your baby’s hands-on ability.-Spell different animals through different shapes, teach your baby to know animals.-Use high-quality wood, clear texture, even wood, soft and smooth color tone.-Free a non-woven storage bag to let your baby manage his …
Wooden Stereo Puzzle Building Blocks Kids Early Educational Learning Toys GiftsRead More
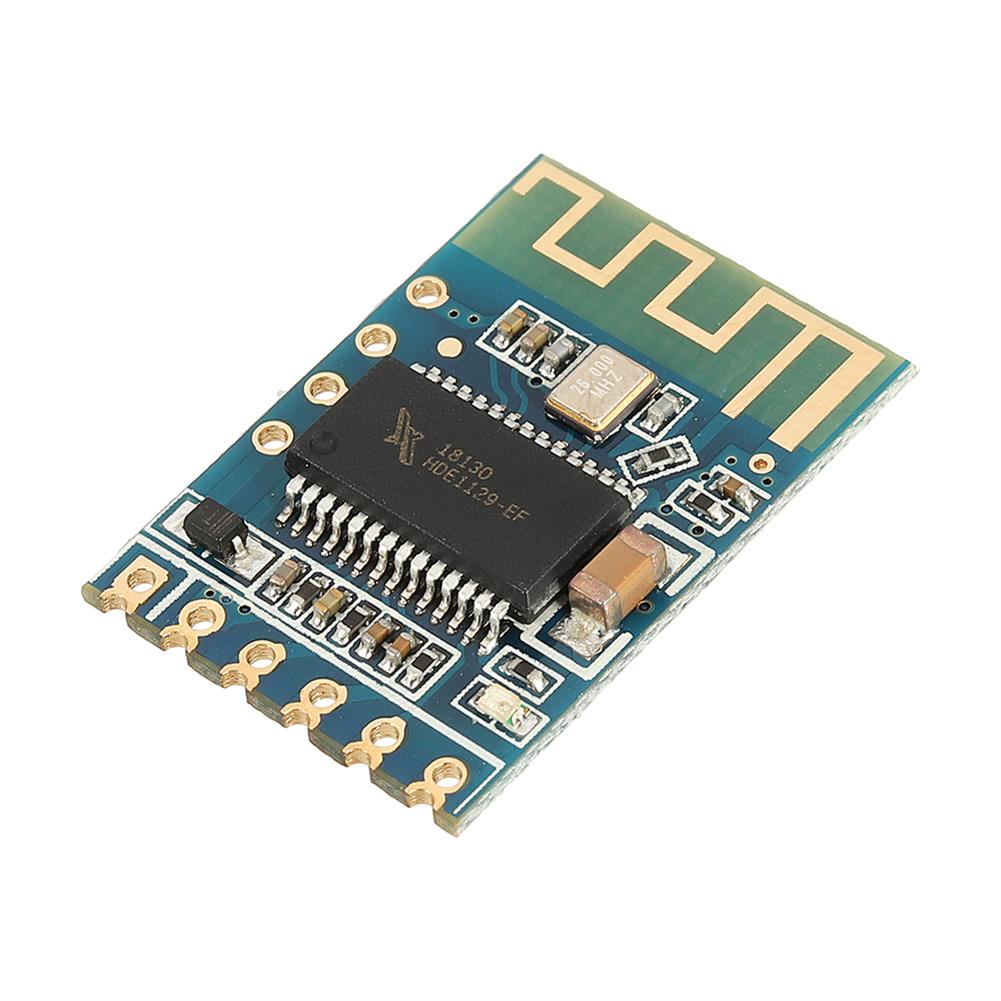
5pcs bluetooth 4.0 Audio Receiver Board for Stereo Dual Channel Audio Speaker Amplifier JDY-62
$22.79Smart ModuleAdd to cart>>>Manual:Click here to openNote:Pins can be soldered to pins or patches with 2.54mm pitch and 2.54 pin headersPins:Function:Description1:VCC:Voltage range 4.2 to 5V, can’t exceed 5V2:GND:Power GND3:L:Left channel output4:R:Right channel output5:MUTE:High level when mute, usually low level6:KC:Empty pinCommon problem1. No bluetooth searchGenerally caused by power supply interference, the power supply line must be added with LC …
19S 60V LiFe Po4 Battery 3.2V Power Protection Board 30A-180A with Temperature Protection Equalization Function Overcurrent Protection BMS Battery Protection Board
$60.74Battery Protection ModuleAdd to cartCurrent 30A / Current 40A / Current 50A / Current 60A / Current 70A / Current 100A / Current 150A / Current 180A / Current 130A /
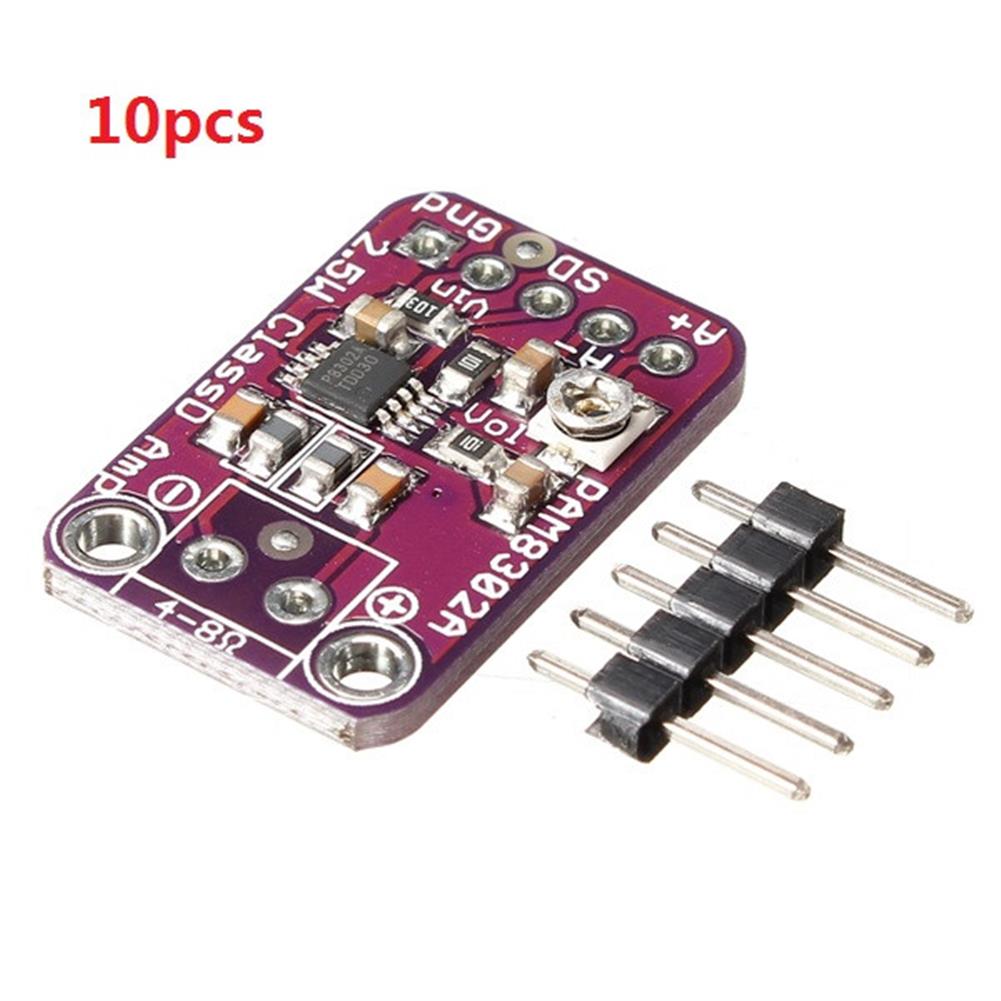
10pcs CJMCU-832 PAM8302 Single Channel Class D Audio Power Amplifier Development Board
$33.05Amplifier BoardAdd to cartDescriptionThis super small mono amplifier is surprisingly powerful – able to deliver up to 2.5 Watts into 4-8 ohm impedance speakers. Inside the miniature chip is a class D controller, able to run from 2.0V-5.5VDC. Since the amp is a class D, its very efficient (over 90% efficient when driving an 8Ω speaker at over …
10pcs CJMCU-832 PAM8302 Single Channel Class D Audio Power Amplifier Development BoardRead More








Reviews
There are no reviews yet.