


3pcs XH-W1321 0.1 Digital thermostat Mini Embedded Blue Digital Display Switch Temperature Controller with Waterproof NTC Sensor Meter
$30.89
Shipping:Standard Shipping about 10-25 business days
Secure Payment:Paypal,VISA,MasterCard
Specifications
Product Name:Miniature embedded digital display thermostat
Product Model:XH-1321
Material:ABS
Case Color:White
LED Color:Blue
Input Voltage:DC12V
Temperature Measurement Range:-50-110→
Temperature Control Range:-50-110→
Control Accuracy:0.1→
Display Accuracy:0.1→
Measuring Input:NTC10K Waterproof Probe L=1 Meter
Output Type:Relay Output(Output Switch)
Output Capacity:10A
Size (Length x Width x Height):about 56 x 38 x 32mm (2.17 x 1.50 x 1.26 Inch )
Opening hole size:46 x 34mm
Key Function
SET:Press once during normal use, directly enter the stop temperature setting state, use the up and down keys to set the required stop temperature, long press to enter the internal setting menu.
UP:After long press the setting button to enter the internal setting, increase the value setting by the up button.
DOWN:After long press the setting button to enter the internal setting, use the up button to decrease the value setting.
Code:Description:Setting range (method):Factory settings
P0:Operating mode:H/C:C
P1:Backlash setting:0.1-50:2
P2:Temperature correction:-9.9~+9.9°C:0
P3:Delayed start:0-9:0
Detailed Code Descriptions
P0:Working mode:This value must be set when the thermostat is used for the first time. If it is used for heating heating, set to H, if it is used for cooling cooling, set to C.
P1:Hypothesis setting:Press and hold the setting button for 3 seconds to enter the internal menu, select P1, and press the setting button again to enter the hysteresis value setting state. The hysteresis is the difference required when the thermostat reaches the set temperature and stops working again. For example, it is set to the heating mode. When it is heated to 40 degrees, it stops at 35 degrees and starts to return. The difference is 5
P2:Temperature correction:Press and hold the setting button for 3 seconds to enter the internal menu. Press the up and down keys to select P2, press the setting button again, and set the required calibration temperature by the up and down keys. In the setting, if the detected temperature value is 0.5 °C larger than the actual temperature value, the calibration temperature to be set is -0.5 °C. If the detected temperature value is 1 °C smaller than the actual temperature value, the calibration temperature to be set is 1 °C, and the detection temperature +-calibration temperature = actual temperature.
P3:Delay start:Press and hold the setting button for 3 seconds to enter the internal menu, select P3 by the up and down keys, press the setting button again, and set the required delay time (minutes) by the up and down keys. The delay start is generally used for compressor refrigeration. If it is used in the refrigerator freezer, this value needs to be set. According to the compressor back pressure, the set value is usually 3-6 minutes, if it is not used to control the compressor or no delay. Function, skip this item directly.
Instructions
Set the difference back:Why set the backlash setting When you control the device, the temperature will rise or fall back. How many degrees does the temperature change If you want the temperature to change by 10°, the device needs to set the difference back to 10. By setting the difference back, the device can cycle through the temperature range.
Set the stop temperature:press the set button once in the normal display state to stop the temperature value flashing. You can set the desired stop temperature value by using the up and down keys.
How to set factory settings are restored:Press and hold the up and down keys while the power is on, the digital tube display 888 will then automatically jump to the detection temperature.
Heating mode setting method
Setup steps
The first step is to set P0=H
The second step sets the stop temperature
The third step sets the hysteresis value
Setting method
1. Press and hold the setting button to enter the internal menu and set P0 to H.
2. Press the setting button to stop the temperature flashing, and the up and down keys to set the temperature.
3. Press and hold the setting button to enter the internal menu and set the P1 hysteresis setting.
Use Cases
Control the water heater, heat it to 65 ° C to stop, the temperature drops back to 50 ° C and start heating again, how to set
Step 1:Determine the working mode as heating mode and set P0 to H
Step 2:Press the setting button to stop the temperature flashing. Set the starting temperature to 50 °C with the up and down keys.
The third step:stop at 65 °C, start again at 50 °C, so the return difference needs to be set to 65-50=15, enter the internal menu and set P1 to 15, the heating case is set!
Cooling mode setting mode
Setup steps
The first step is to set P0=C
The second step sets the stop temperature
The third step sets the hysteresis value
Setting method
Press and hold the setting button to enter the internal menu and set P0 to C.
Press the setting button to stop the temperature flashing, and the up and down keys to set the temperature.
Long press the setting button to enter the internal menu, set the P1 backlash setting
Use Cases
Control the farm, ventilate to 26 ° C to stop, the temperature rises to 28 ° C to start the refrigeration again, how to set up
The first step:determine the working mode is cooling mode, set P0 to C
Step 2:Press the SET button to stop the temperature flashing. Set the stop temperature to 28 °C with the up and down keys.
The third step:stop at 26 ° C, start again at 28 ° C, so the return difference needs to be set to 28-26 = 2, enter the internal menu to set P1 to 2, the cooling case is set!
Package includes
3 x Miniature embedded digital display thermostat
| Weight | 0.132 kg |
|---|
Related products
10pcs 6mA 3-100CM Adjustable infrared Digital Obstacle Avoidance Sensor Module
$64.02Sensor & Detector ModuleAdd to cartSpecificationsWorking voltage:DC 3.8V-5.5VWorking current (5V):typical current 6mAInput and output signals (3 lines):GND, VCC is power, and VCC is 3.8V-5.5VObstacle detection time (range from obstacle-free to obstacle-free or obstacle-free to obstacle-free)Working Principle:Sensors actively emit infrared light, according to reflected light detection, if detected obstacles, OUT foot output 0, otherwise 1.Detection distance (test environment, indoor, maximum power, …
10pcs 6mA 3-100CM Adjustable infrared Digital Obstacle Avoidance Sensor ModuleRead More
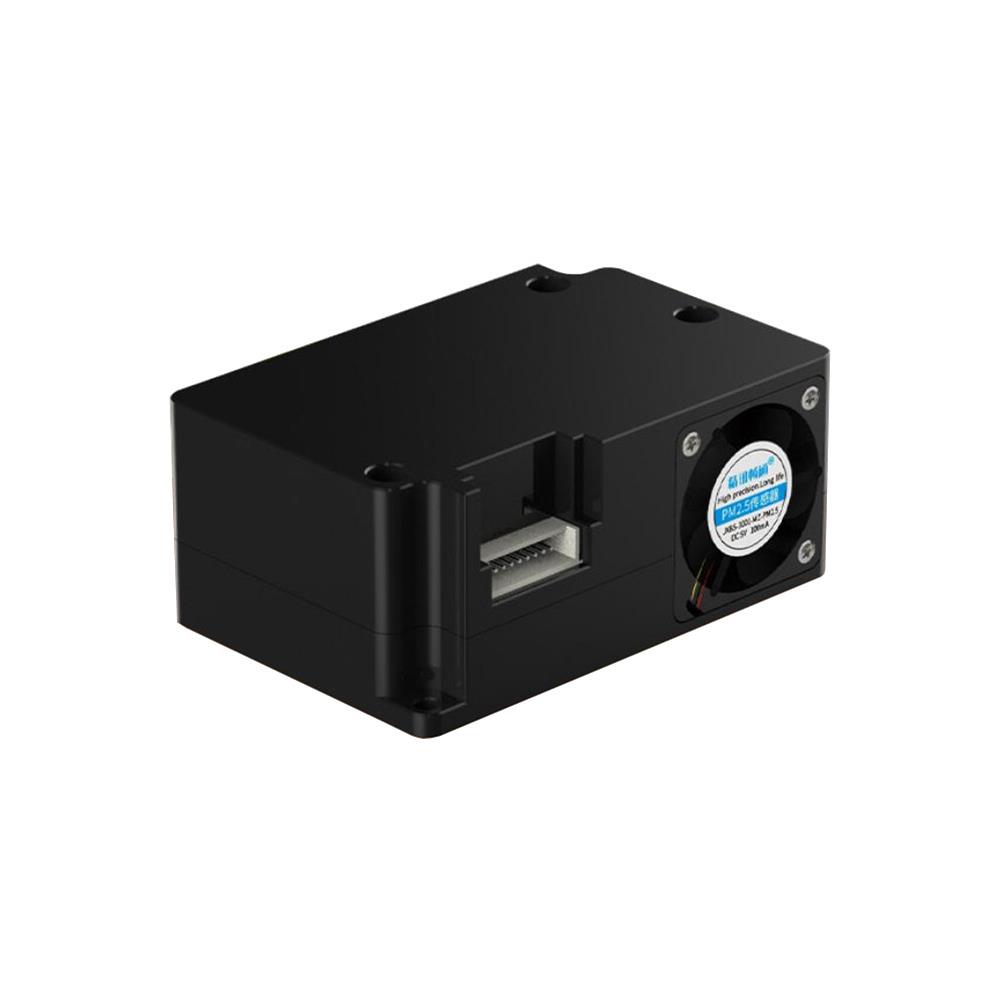
PM2.5 Laser Particulate Matter Sensor PM1.0 PM10 Air Quality Detection Sensor Monitoring Particulate Matter Sensor Module
$39.35Sensor & Detector ModuleAdd to cartTechnical ParametersPM2.5/PM10 measuring range:0-999ug/m3PM2.5/PM10 resolution:lug/m3PM2.5/PM10 accuracyConsistency of particle concentration:0-100ug/m3:÷10%;100-500ug/m3:÷10%Minimum detectable particle diameter:0.3umPower supply voltage:5V÷0.1VMaximum working current:100mAOperating temperature range:-10~60CWorking humidity range:0-95%RHStorage temperature:-30~70CResponse speedProduct appearance size:53x35x23mmApplication areasAir Purifier / Air Quality Detector / Fresh Air Ventilation SystemSupporting air-conditioning / cars with air purification function and consumer electronicsAgricultural greenhouse / environmental monitoring of outdoor breeding placesKitchen and bathroom …
5pcs 6mA 3-100CM Adjustable infrared Digital Obstacle Avoidance Sensor Module
$36.94Sensor & Detector ModuleAdd to cartSpecificationsWorking voltage:DC 3.8V-5.5VWorking current (5V):typical current 6mAInput and output signals (3 lines):GND, VCC is power, and VCC is 3.8V-5.5VObstacle detection time (range from obstacle-free to obstacle-free or obstacle-free to obstacle-free)Working Principle:Sensors actively emit infrared light, according to reflected light detection, if detected obstacles, OUT foot output 0, otherwise 1.Detection distance (test environment, indoor, maximum power, …
5pcs 6mA 3-100CM Adjustable infrared Digital Obstacle Avoidance Sensor ModuleRead More
Waterproof Ultrasonic Sensor Module integrated Ranging Sensor Reversing Radar Measuring Distance
$24.04Sensor & Detector ModuleAdd to cartThis module is easy to use. A control port sends a high level above 10US, so you can wait for the high level output at the receiving port. You can turn on the timer when there is an output. When this port goes low, you can read it. The value of the timer, at this …


Customers Also Viewed
6Pcs Pulse Power Supply Plug Connector Pigtail for Polaris Ranger XP1000 & RS1 2018 2019
$30.36ConnectorsAdd to cartSpecificationColor:As the pictures shownQuantity:6 PcsFitmentFor New Polaris Ranger XP 1000 3 SeaterFor Polaris Ranger and Polaris RS1For Polaris Ranger Crew XP 1000 EPS 2018 (Any Machine with Pulse Style Connector)For Polaris Ranger XP 1000 EPS 2018 (Any Machine with Pulse Style Connector)Features– Easy to Install.– Fully sealed and weather proof.– Plugged right in and seals …
6Pcs Pulse Power Supply Plug Connector Pigtail for Polaris Ranger XP1000 & RS1 2018 2019Read More
900pcs PH2.0 2p 3p 4 pin 2.0mm Pitch Terminal Kit / Housing / Pin Header JST Connector Wire Connectors Adaptor PH Kits
$21.69Electronic Accessories & SuppliesAdd to cartDescription2pin = 20 sets = 120pcs3pin = 20 sets = 120pcs4pin = 20 sets = 120pcsPin Connector Terminal:540 pcsTotal:60set(900pcs)Package included3 x 300pcs PH2.0 2p 3p 4 pin 2.0mm Pitch Terminal Kit
PortaPack H1 with TCXO Touch Screen for HackRF one 1MHz-6GHz SDR Receiver and Transfer Board AM FM SSB ADS-B SSTV Ham Radio Transceiver
$223.22Motherboard & Development BoardAdd to cartShell:Product ID:1566465FeatureNote:This version includes TCXO.WIKI:https://github.com/sharebrained/portapack-hackrf/wikiFAQ:Black screenSolution:The program is not burned, please install the program:to openThe PortaPack attaches to your HackRF and adds a touchscreen display, navigation controls, headphone jack, a real-time clock, and a micro SD card slot.Just add a USB battery, and yoursquore ready to explore the radio spectrum wherever you are. The PortaPack …
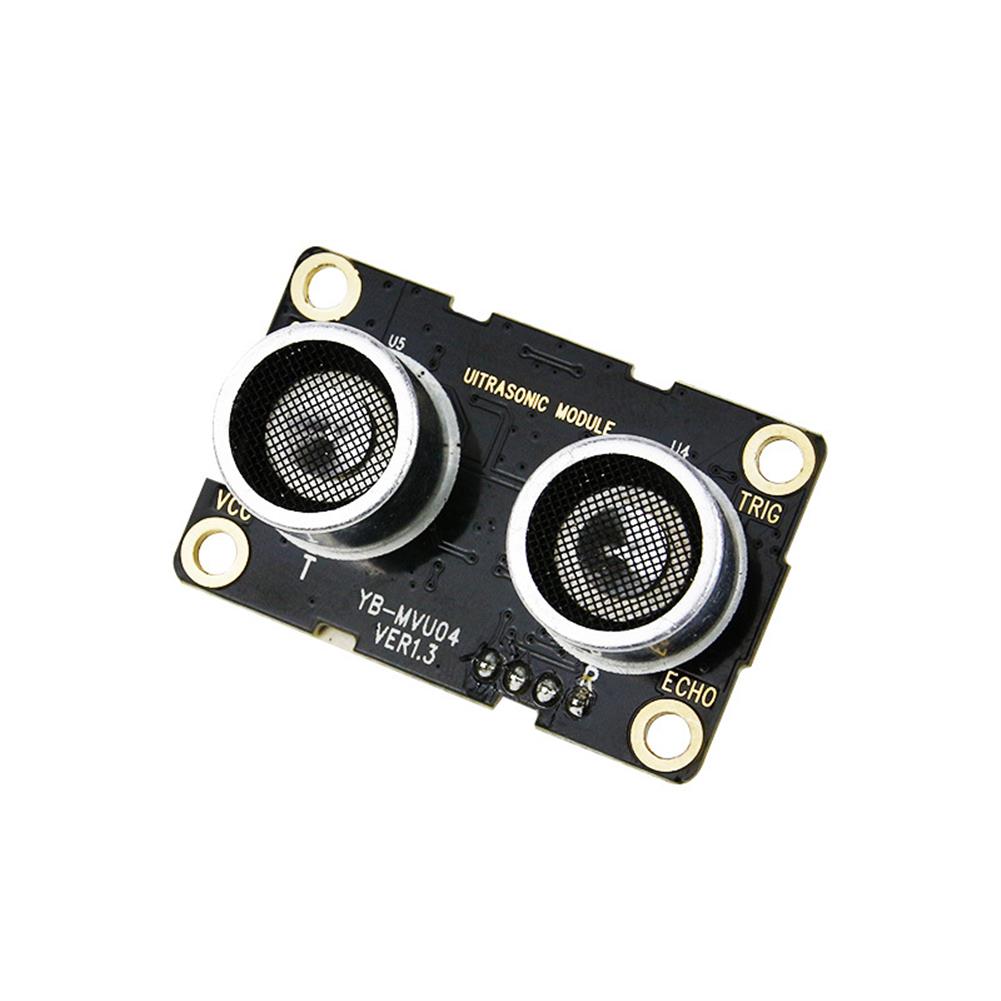
Yahboom Ultrasonic Module for Microbit Ranging
$15.35Smart Robot & Solar PanelAdd to cartIntroduction of Ultrasonic moduleMore info for you to download1.Working principleThe ultrasonic module is a sensor that uses ultrasonic characteristics to detect the distance. It has two ultrasonic probes for transmitting and receiving ultrasonic waves. The range of measurement is 3-450 cm.3-1 Ultrasonic emission and reception schematic(1) You need to input a high level signal of …
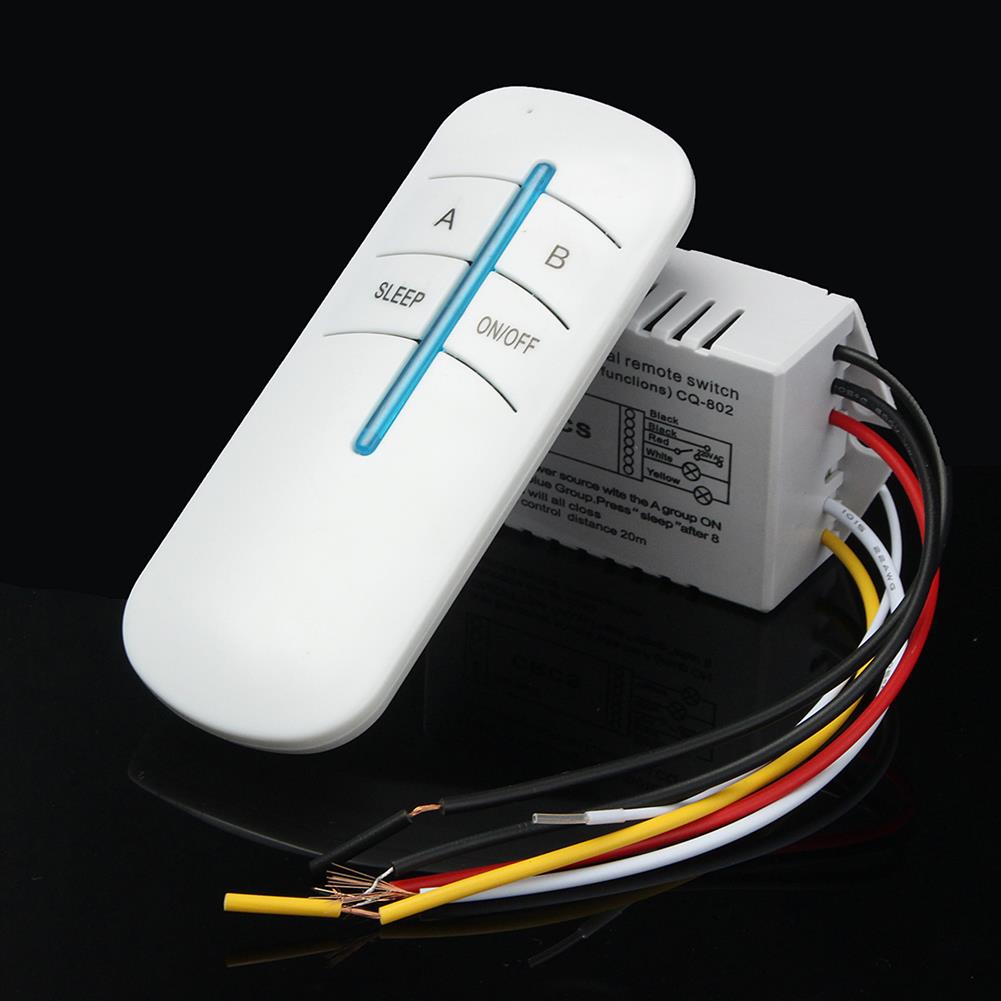
2 Channel Port 180-240V ON/OFF Wireless Digital Remote Control Light Wall Switch 20M
$10.92Smart ModuleAdd to cartFeaturesEasy to operate which can fully turn on or turn off the whole circuit.With the capability of penetrating walls and anti-disturbance.Fast and easy installation, not obstructed by walls, capable of connecting any loadsRemote controller and switch can be used simultaneously for ease and flexibilityEquipped with high load relay,high voltage capacitor and high quality receiver.Apply electrical:Droplight, …
2 Channel Port 180-240V ON/OFF Wireless Digital Remote Control Light Wall Switch 20MRead More
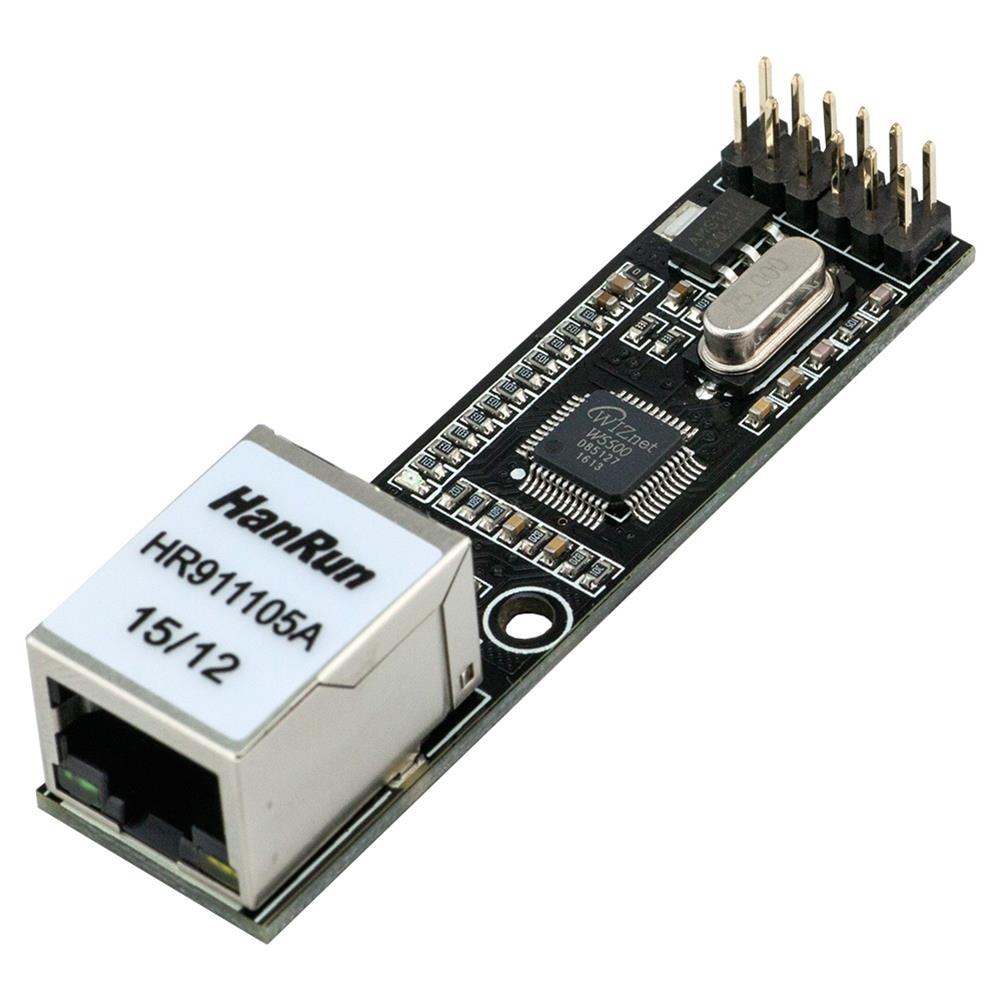
W5500 Ethernet Module LAN Network Module with Logic 3.3V/5V Shield
$22.50Smart ModuleAdd to cartFeatureThe W5500 – Ethernet LAN Network Module can be used to provide your projects with internet connectivity. The W5500 module enables users to have Internet connectivity in their applications just by using the single chip in which TCP/IP stack, 10 / 100 Ethernet MAC and PHY embedded. Supports 8 independent sockets simultaneously.The W5500 Ethernet module …
W5500 Ethernet Module LAN Network Module with Logic 3.3V/5V ShieldRead More
2.4G NF-04 Wireless SPI Module BK2425 250k~2Mbps Transparent Transmission Receiver for Doorbell Remote Control Switch
$3.60Smart ModuleAdd to cartIntroductionNF-04 is a 2.4G wireless module with small size and on-board antenna. It has a high airspeed (up to 2Mbps), SPI interface, and a pure hardware module. It has high stability, high cost performance and good spectrum test characteristics. , small size, using all industrial grade components.NF-04 can be widely used in various Internet of …


Reviews
There are no reviews yet.